Things have been pretty busy over here ever since we flew back to the states from Korea back in May. After landing, we promptly bought a shuttle bus and started our five-week renovation on our build. Once we finished all that work, we then took her out for a shakedown road trip out west to the coast of California and then back again.
Pssst, Follow Us On Instagram (@hedgersabroad) To Watch Our Stories And See More Photos From Our Trip!
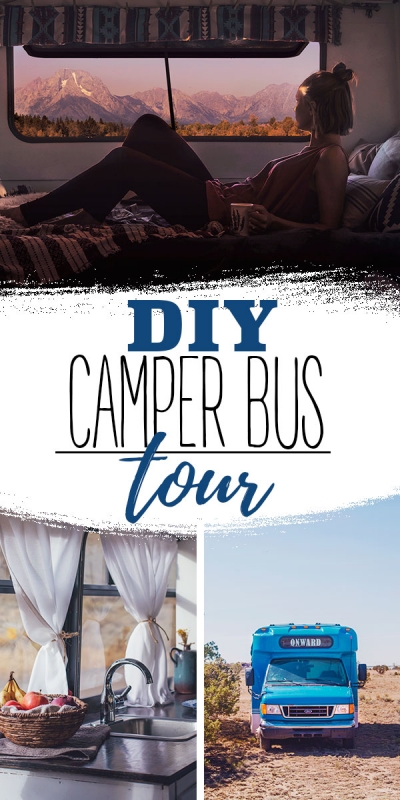
Back at home in Oklahoma, we parked her for another couple of weeks while we did a bit of hanging out with family and some more updates and repairs. Now we are finally back on the road again and our bus is looking pretty good with all our updates, if we do say so ourselves. We decided it was at last time to do a proper tour video and post showing all the bells and whistles that Onward has!
Tour Our Camper Bus Conversion, Onward!


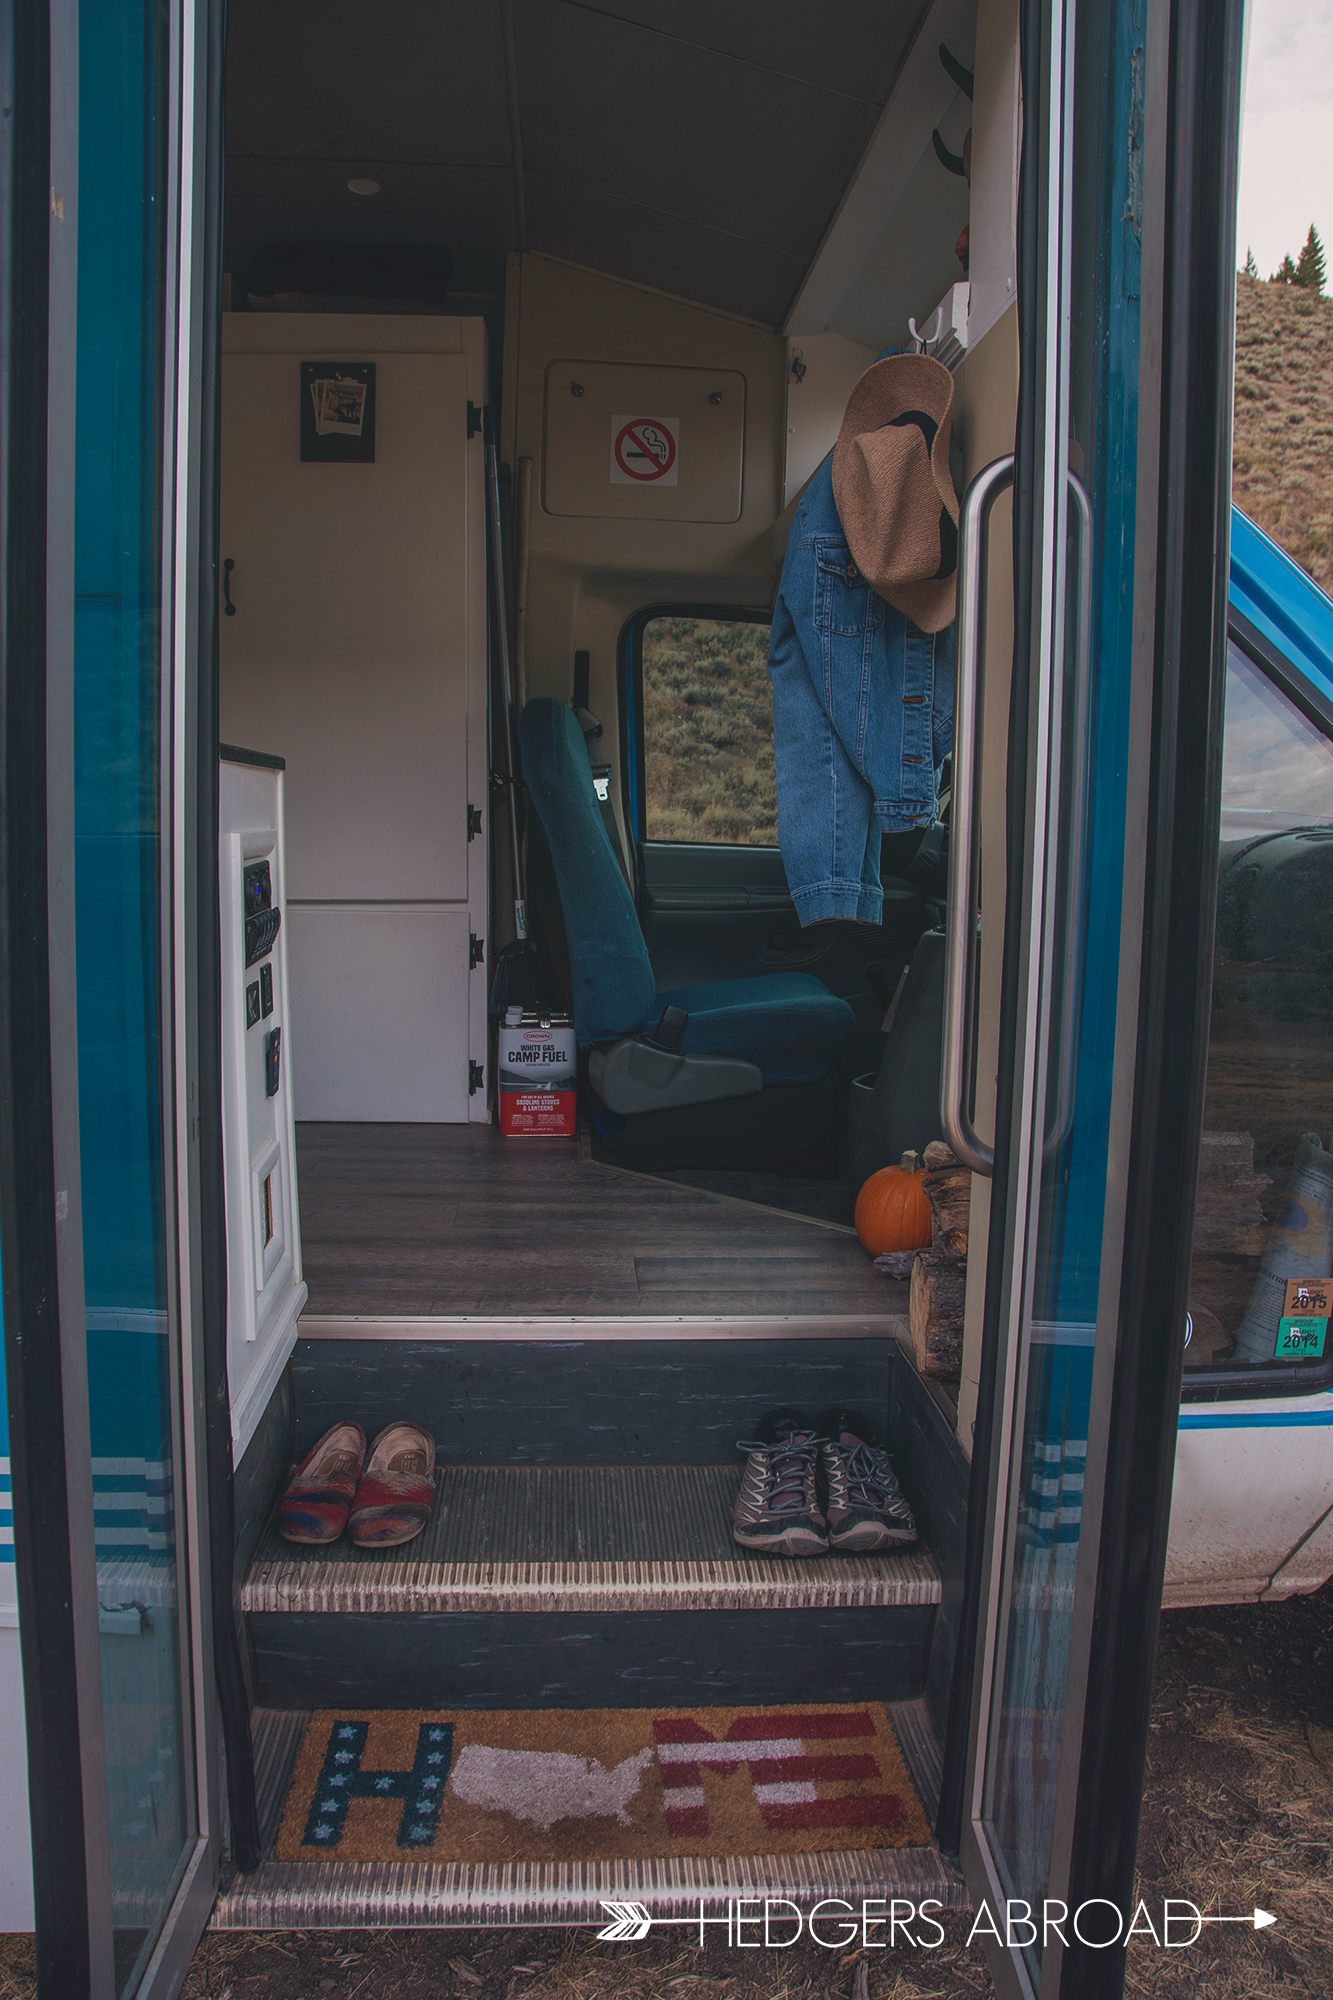
A door is a door, right? WRONG! Our electric door is a portal into our humble yet spacious living space (155 square feet!) and the entryway is where it all starts. With the press of our keychain remote, the door electronically swings open on our steps, revealing our welcome mat and whatever shoes we’ve removed while on the bus. Where a passenger seat should be is a pile of logs that we try to maintain for campfires when we’re unable to find logs. Above the cockpit is a small shelf that we constructed for extra storage and aesthetic purposes instead of a “destination window.”
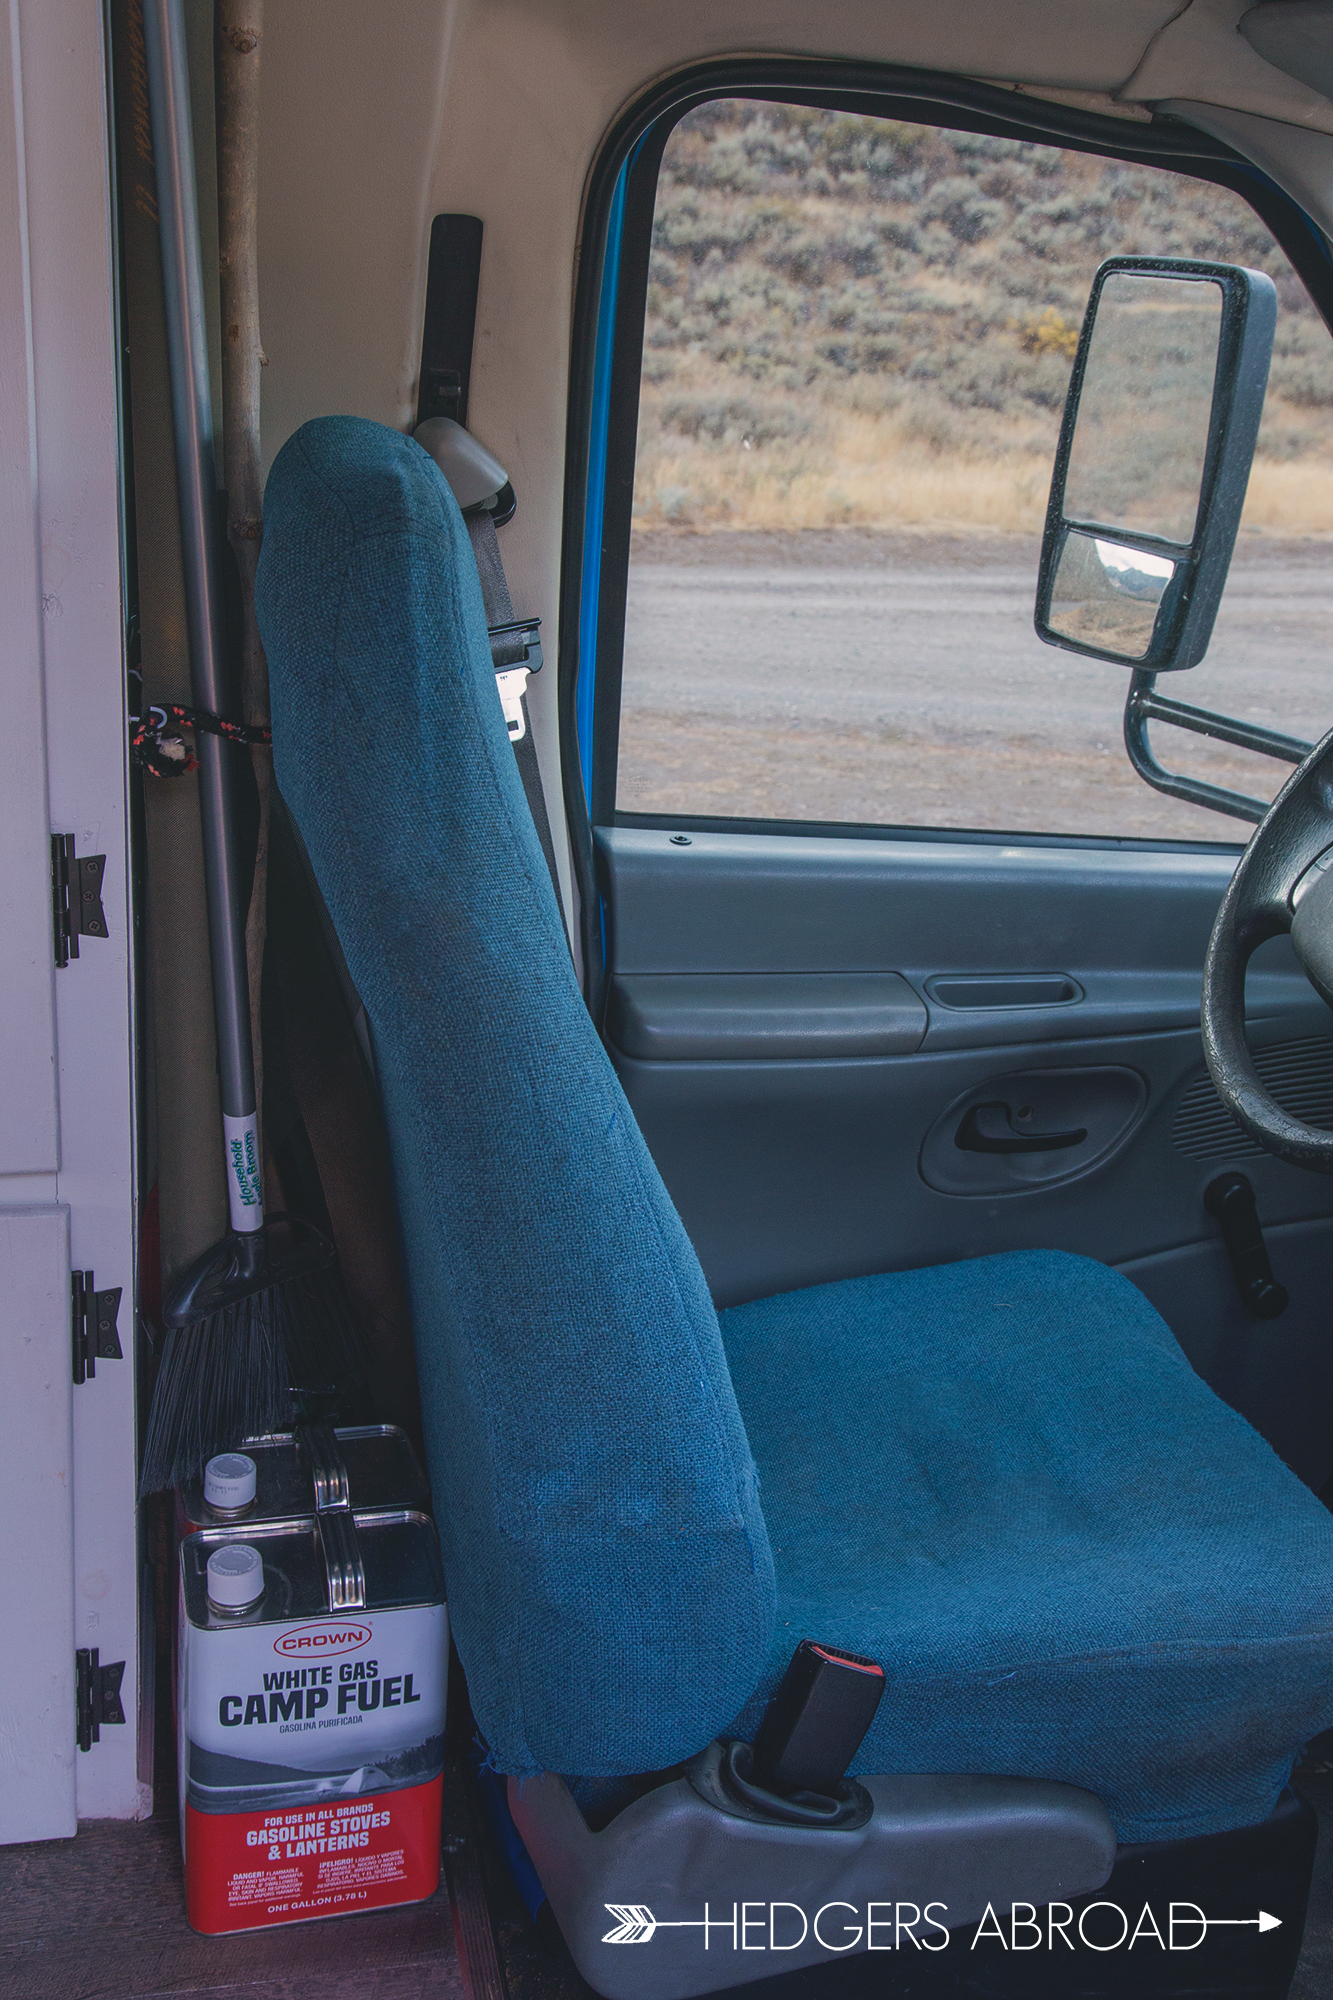
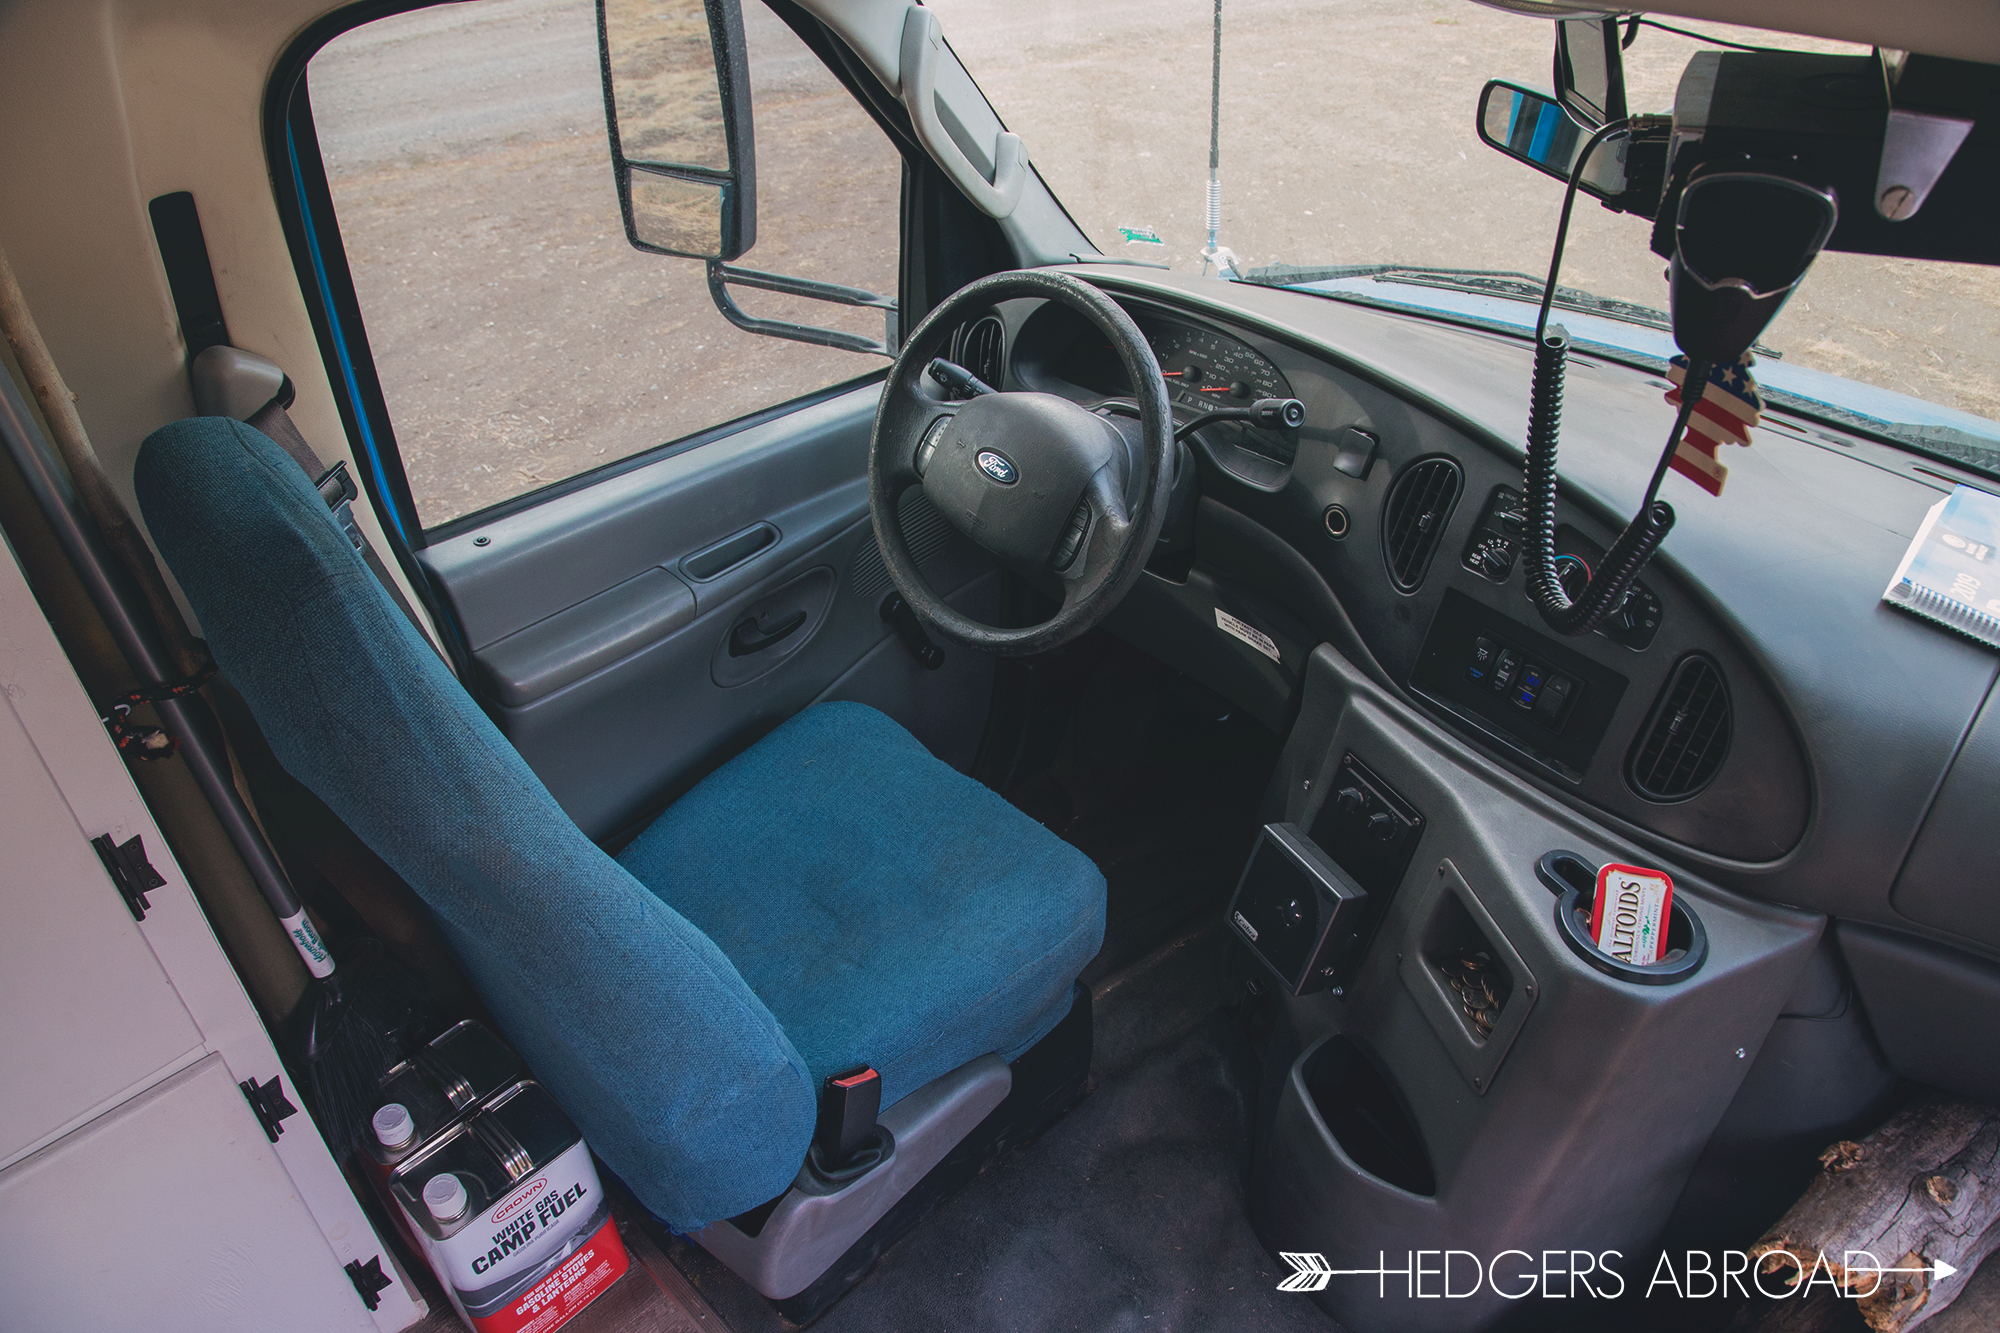
The command center for all bus travels, our cockpit is where we attempt to control our big blue bus conversion as it lumbers down the road. The seat, dials, steering wheel, and basic elements of a driver’s seat are all pretty standard in Onward, but we’ve made a few simple modifications. When we purchased Onward, many of the switches needed replaced for the electric door controls and we decided to make some upgrades as well.
For ease, a new rocker switch was added to open and close the main door, a small map light with a switch for simple illumination at night, a voltage meter so that the main battery could be monitored, and a powered USB socket was included so that the driver could power a phone or mp3 player. All of these switches were wired into the main battery so that the driver seat is completely connected to the vehicle itself, making the rear portion of the bus completely reliant on our house battery that’s running off of solar power. In addition to the new switches, we added a CB radio to satisfy my boyhood obsessions while also providing a bit of emergency communication and NOAA Weather Band for times when we’re out of cell range. A window-mounted GPS was also purchased to make navigation easier for the driver (when the passenger isn’t helping with navigation). To finish our cockpit, a cheap rear-view camera was added to make maneuvering easier in reverse since the traditional rear-view mirror is practically useless. All in all the cockpit is very basic but has all of the tools a driver needs within arm’s reach.

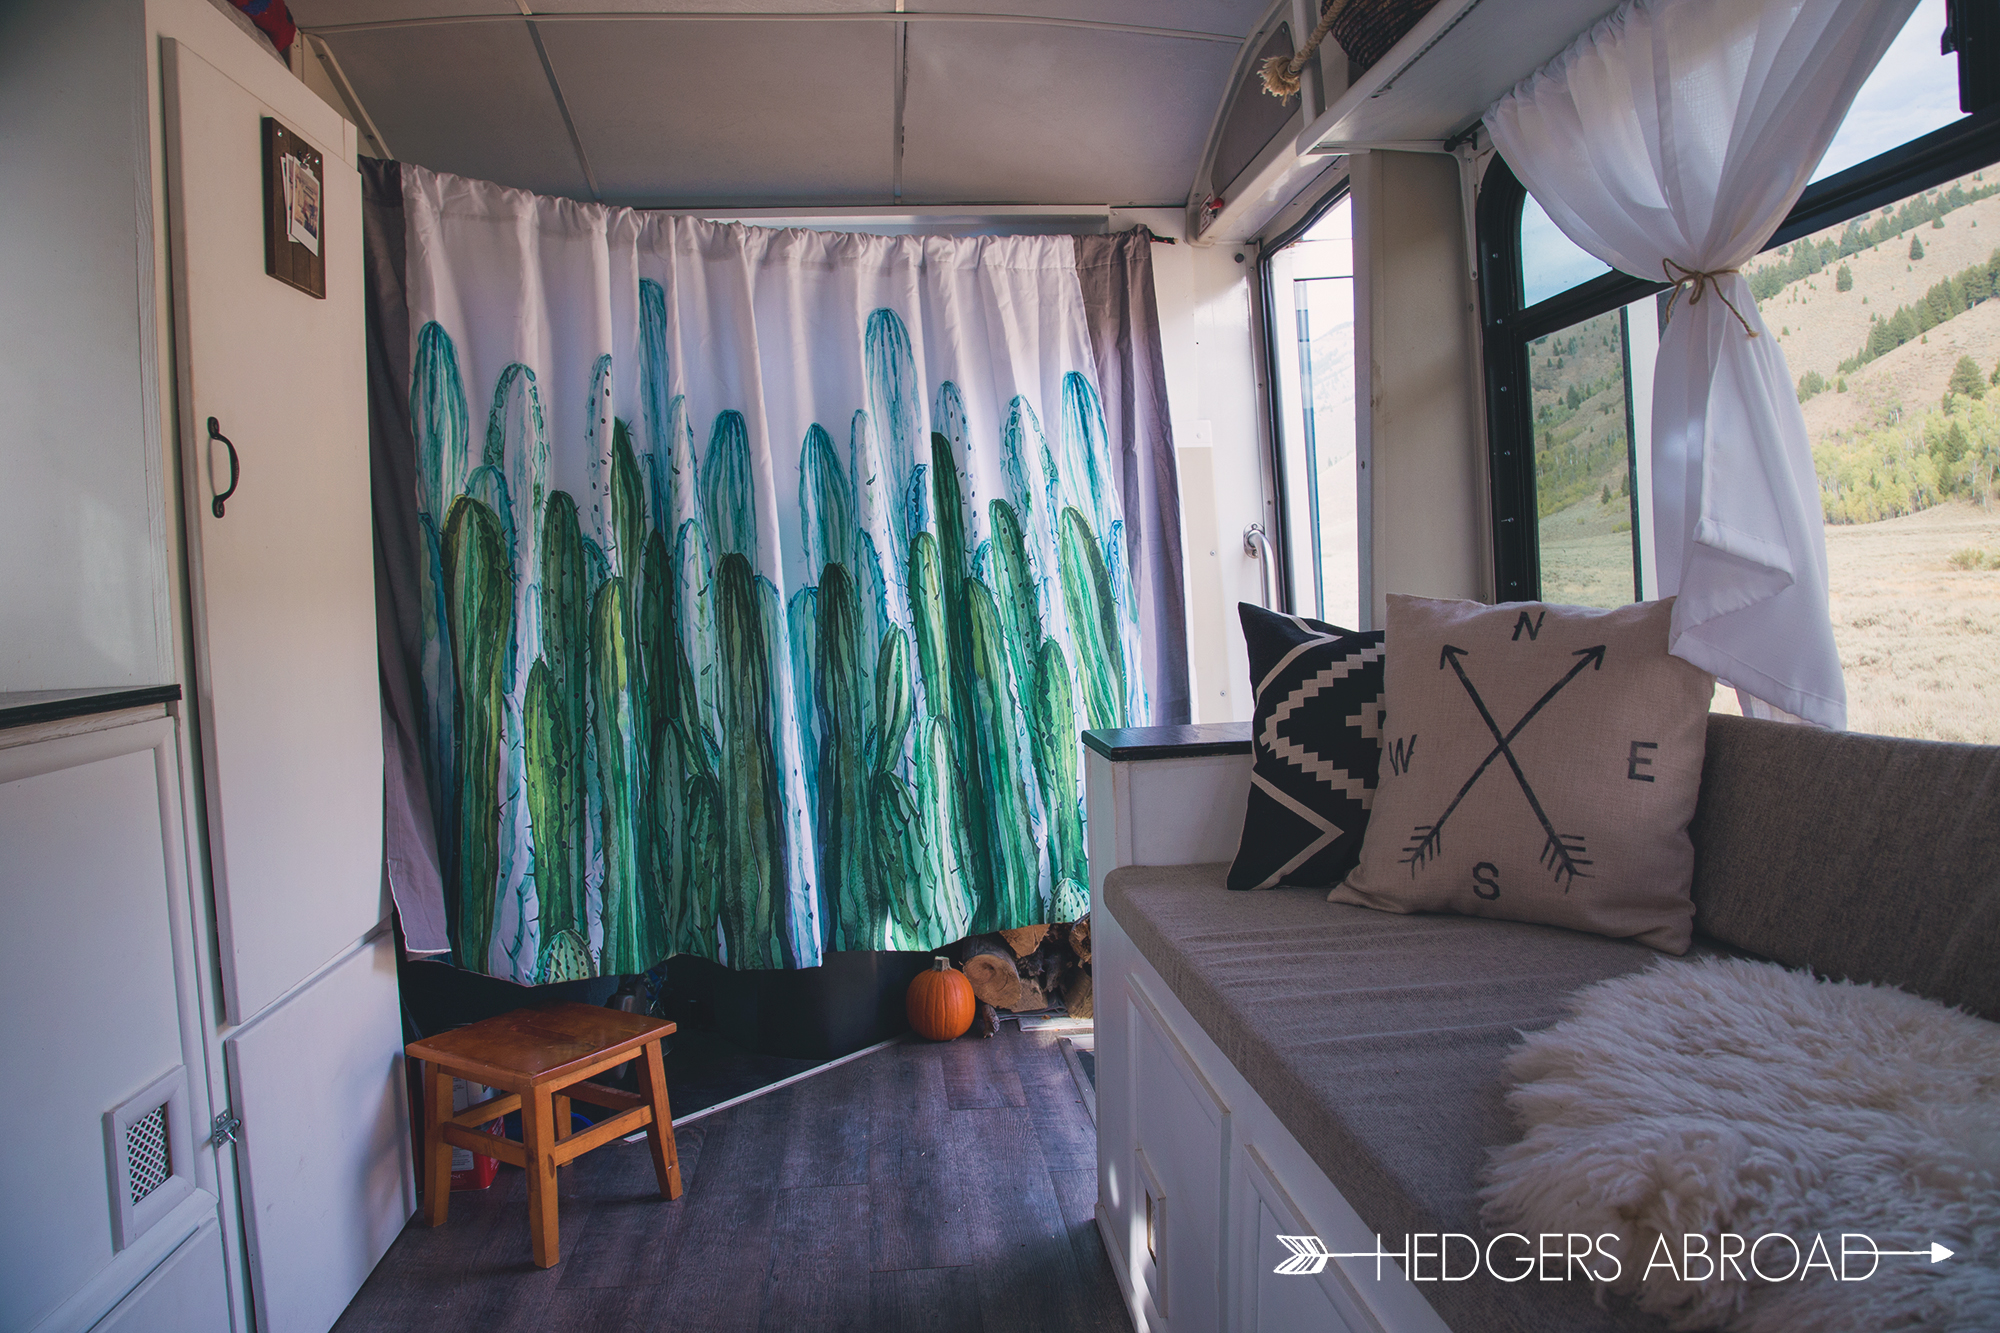
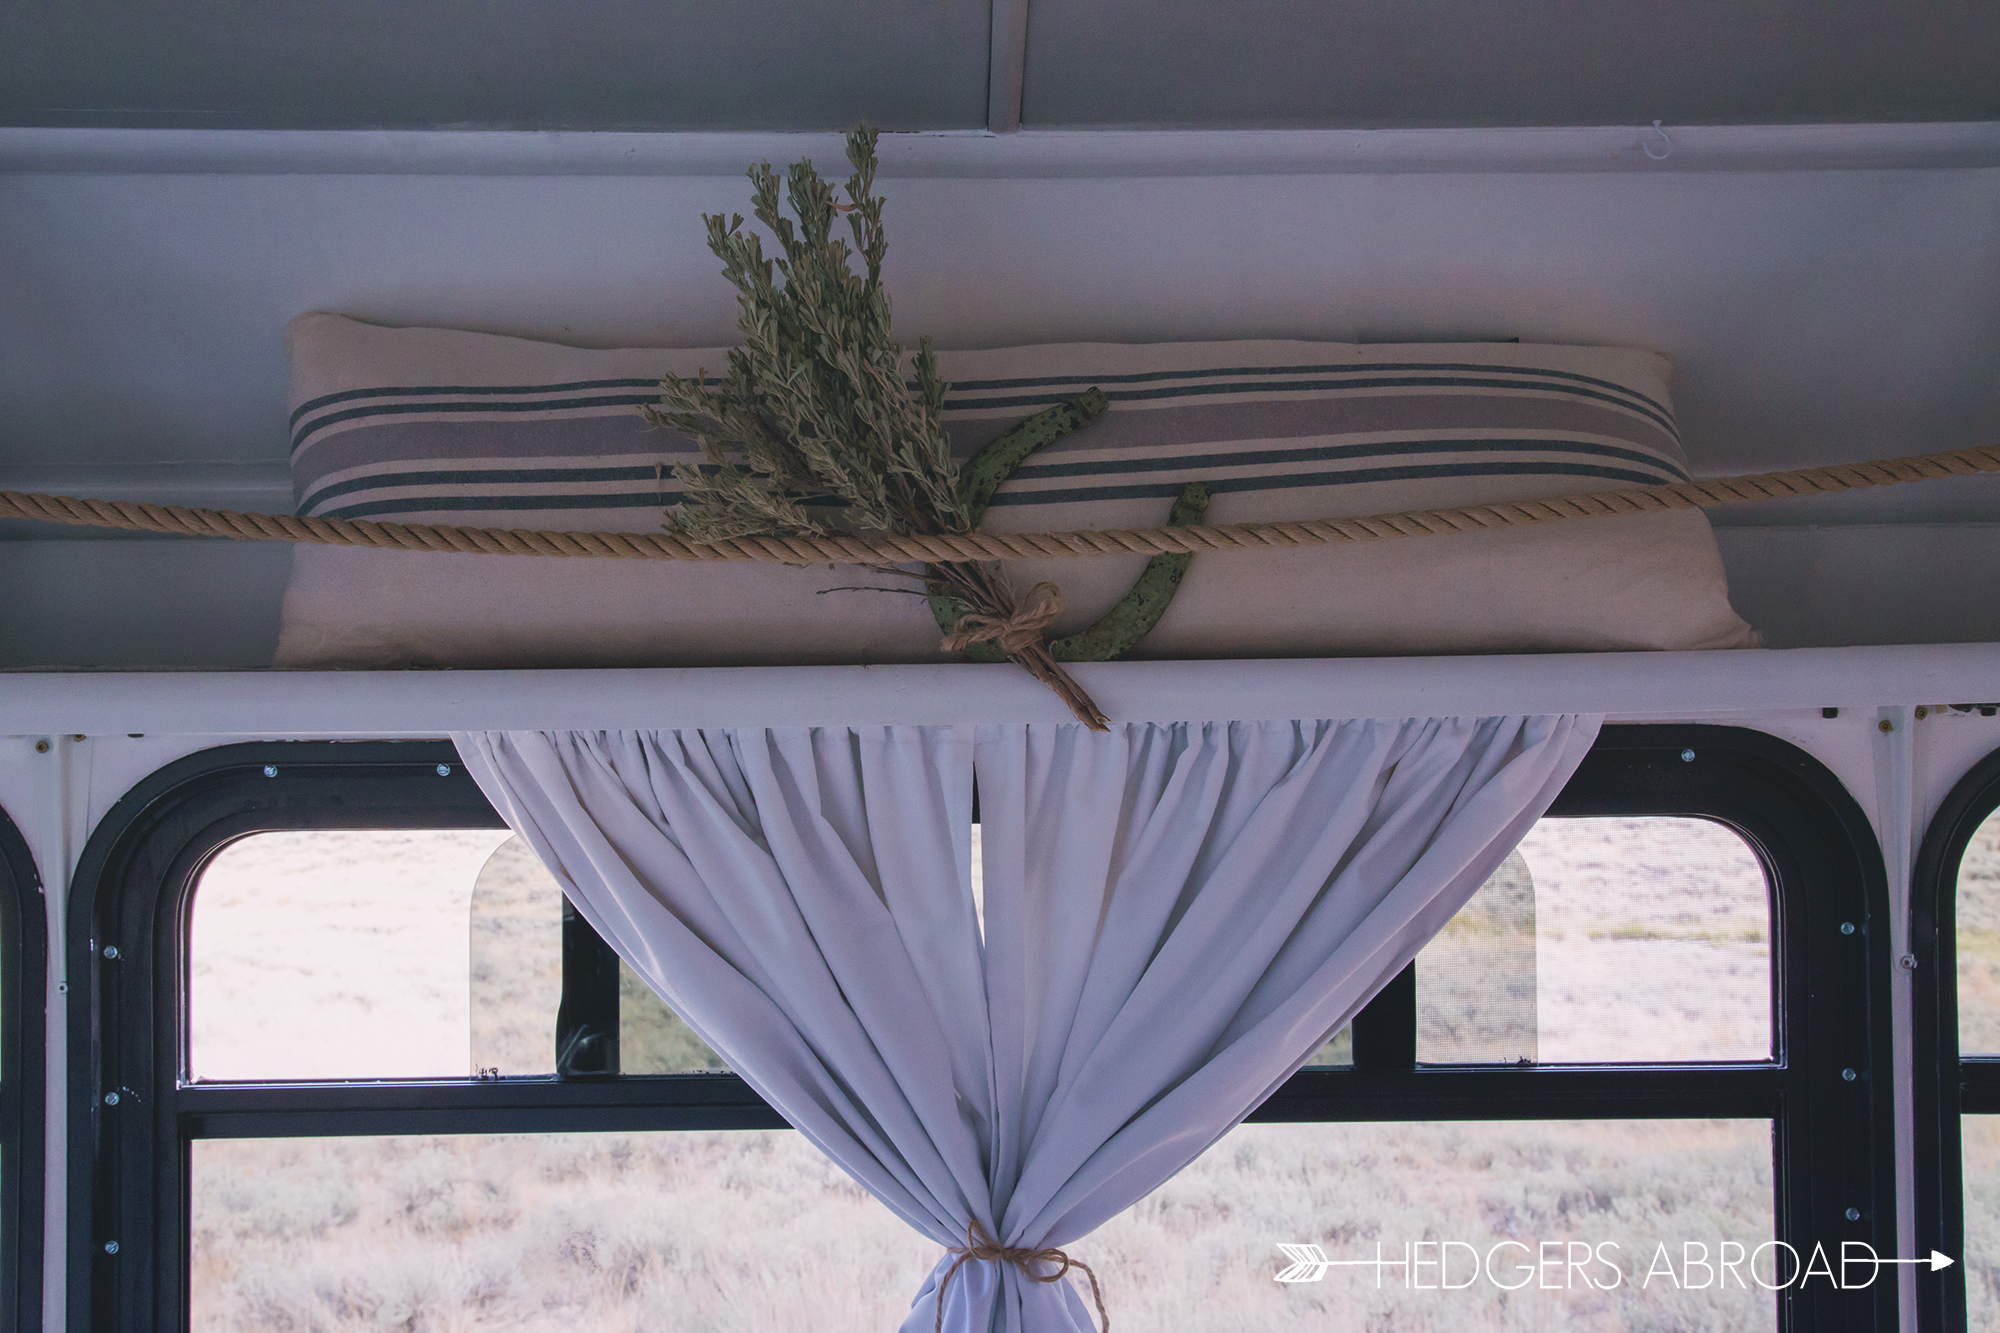
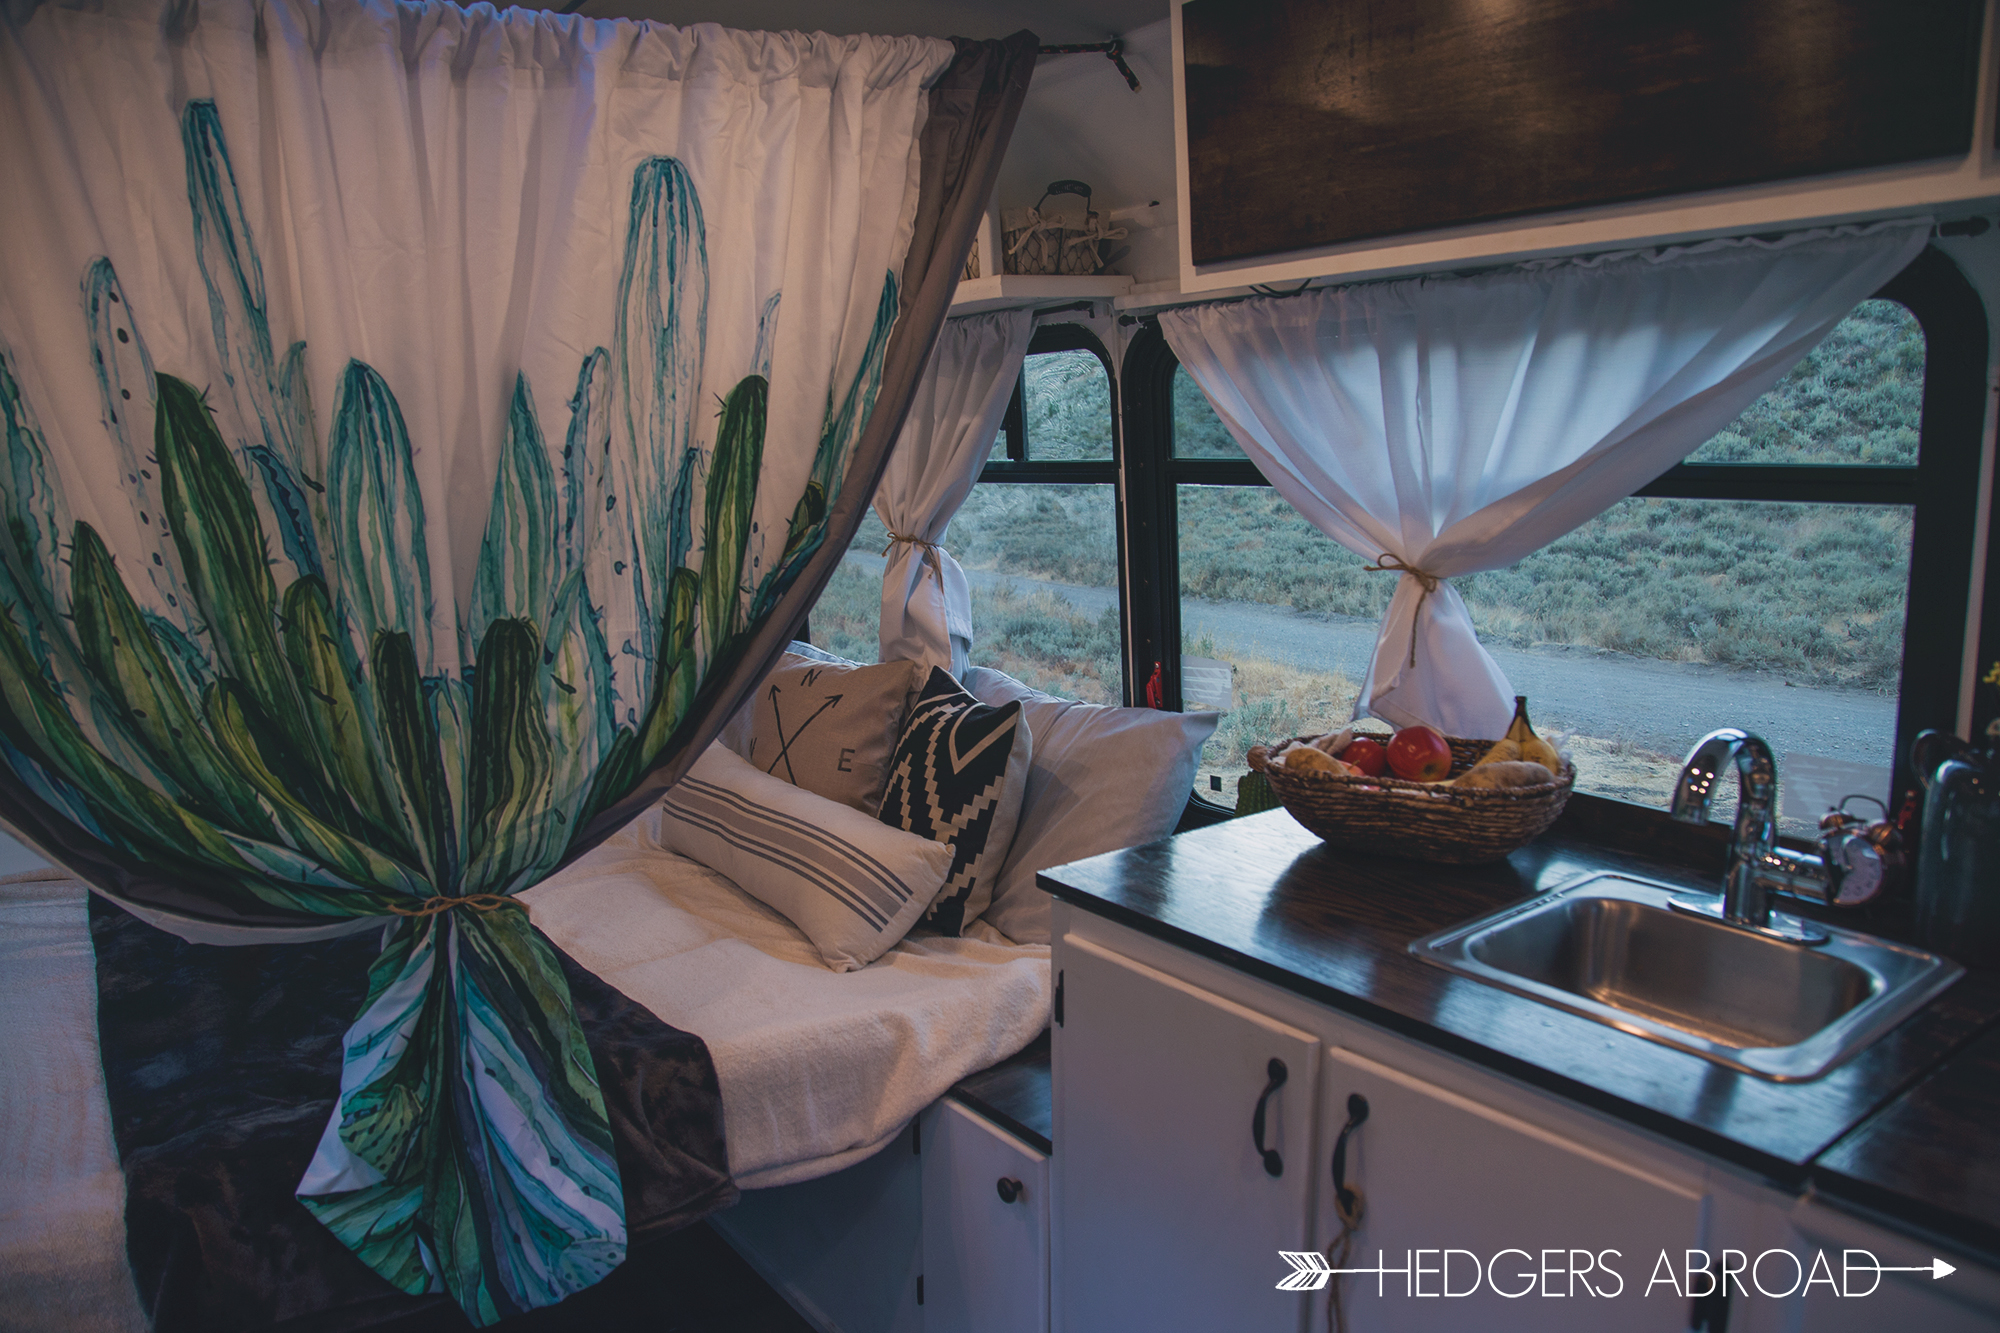
Living in a bus has a great many challenges that must be overcome with good, thoughtful design and privacy has always been a focus. Since Onward has massive windows all around, we’ve tried several options for covering the windows and we’ve settled on curtains and clips to seal up any gaps that might allow for peering eyes outside of the bus. The curtains surrounding our bed are extra heavy curtains so that less light penetrates at night, but all of our windows cover up pretty well for a small slice of privacy wherever we’re parked. We have long curtains that stretch from floor to ceiling that cover our door and cockpit. Stephanie made a new curtain from a simple cactus tapestry and converted an old Oklahoma state flag into a curtain for our large back window. Most of these curtains are strung with paracord and attached to the wall using cup-hooks. Curtains and cup-hooks, that’s our solution to most bus problems.

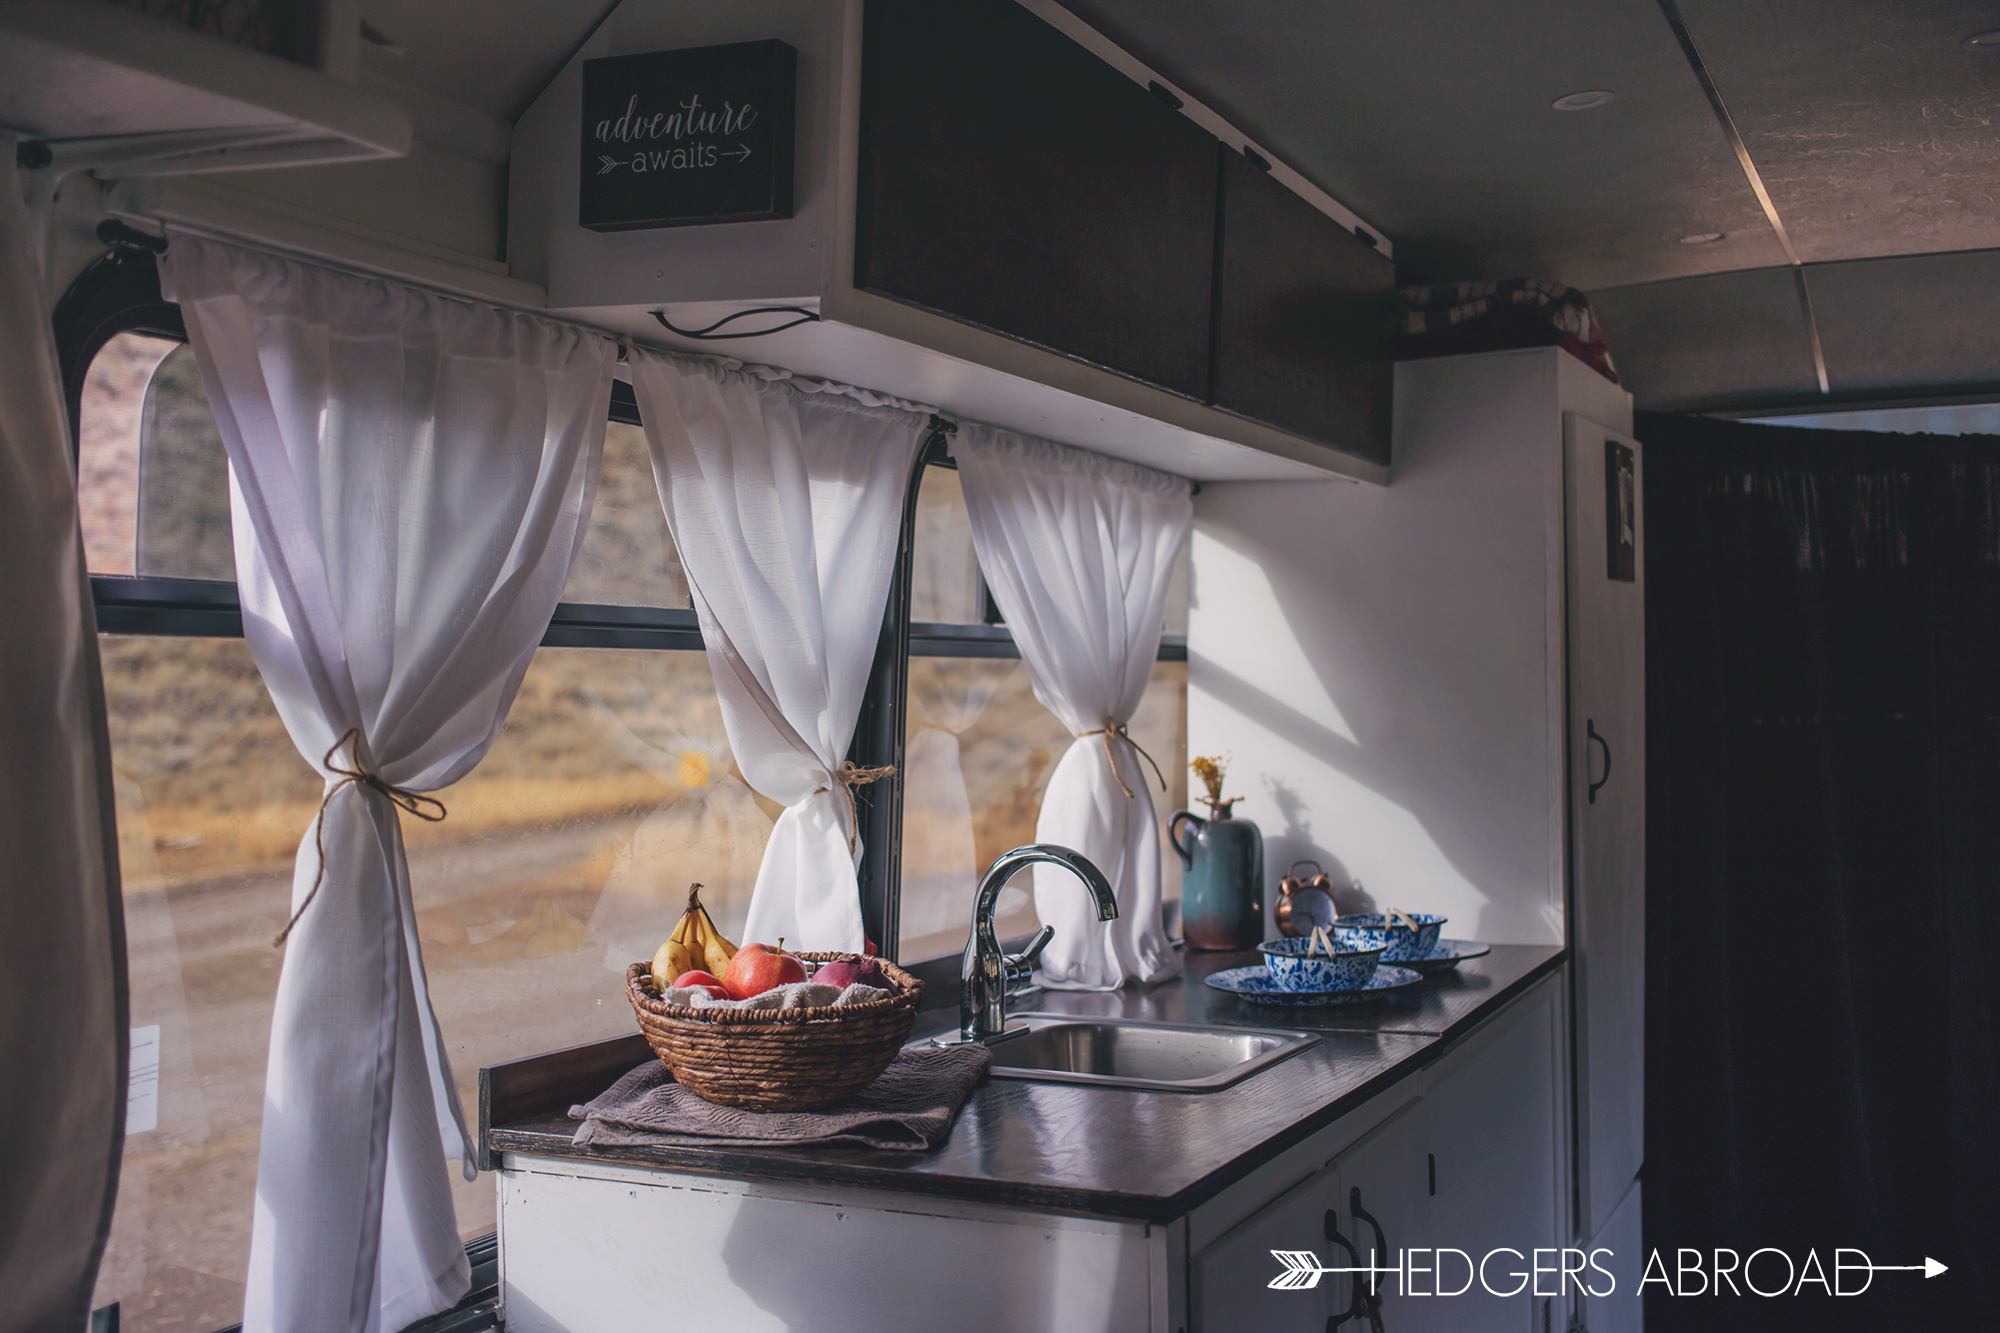
The kitchen is an area that was designed to be strategically simple. We wanted a space that could adapt to different configurations as we needed them and keep our area uncluttered. With around 5ft of counter space, we have a well-lit and spacious space for preparing food, night or day. This counter doubles as a standing map table whenever the table just isn’t enough.


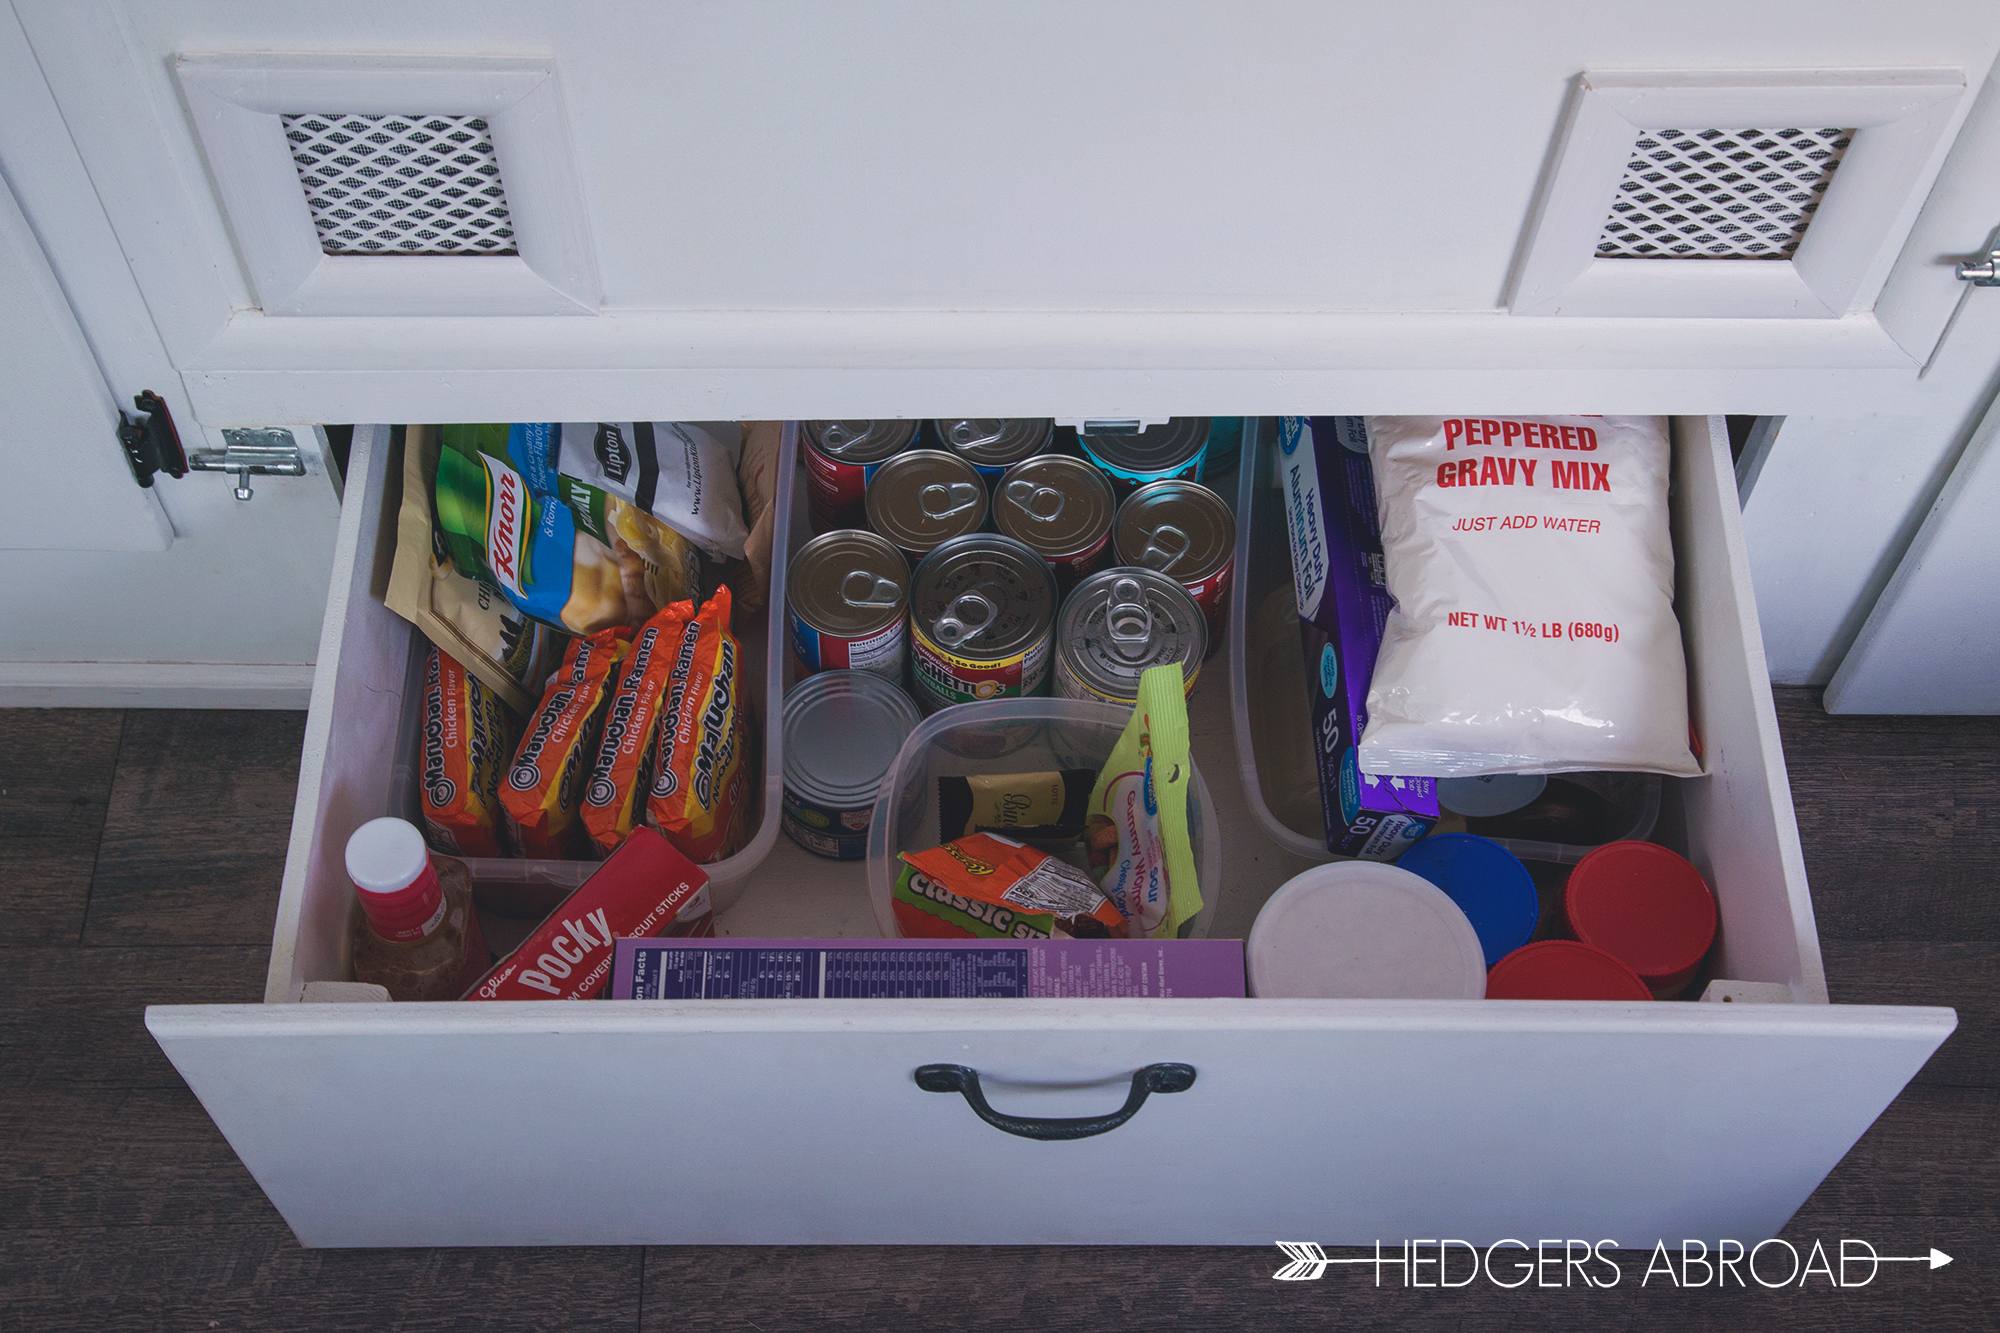
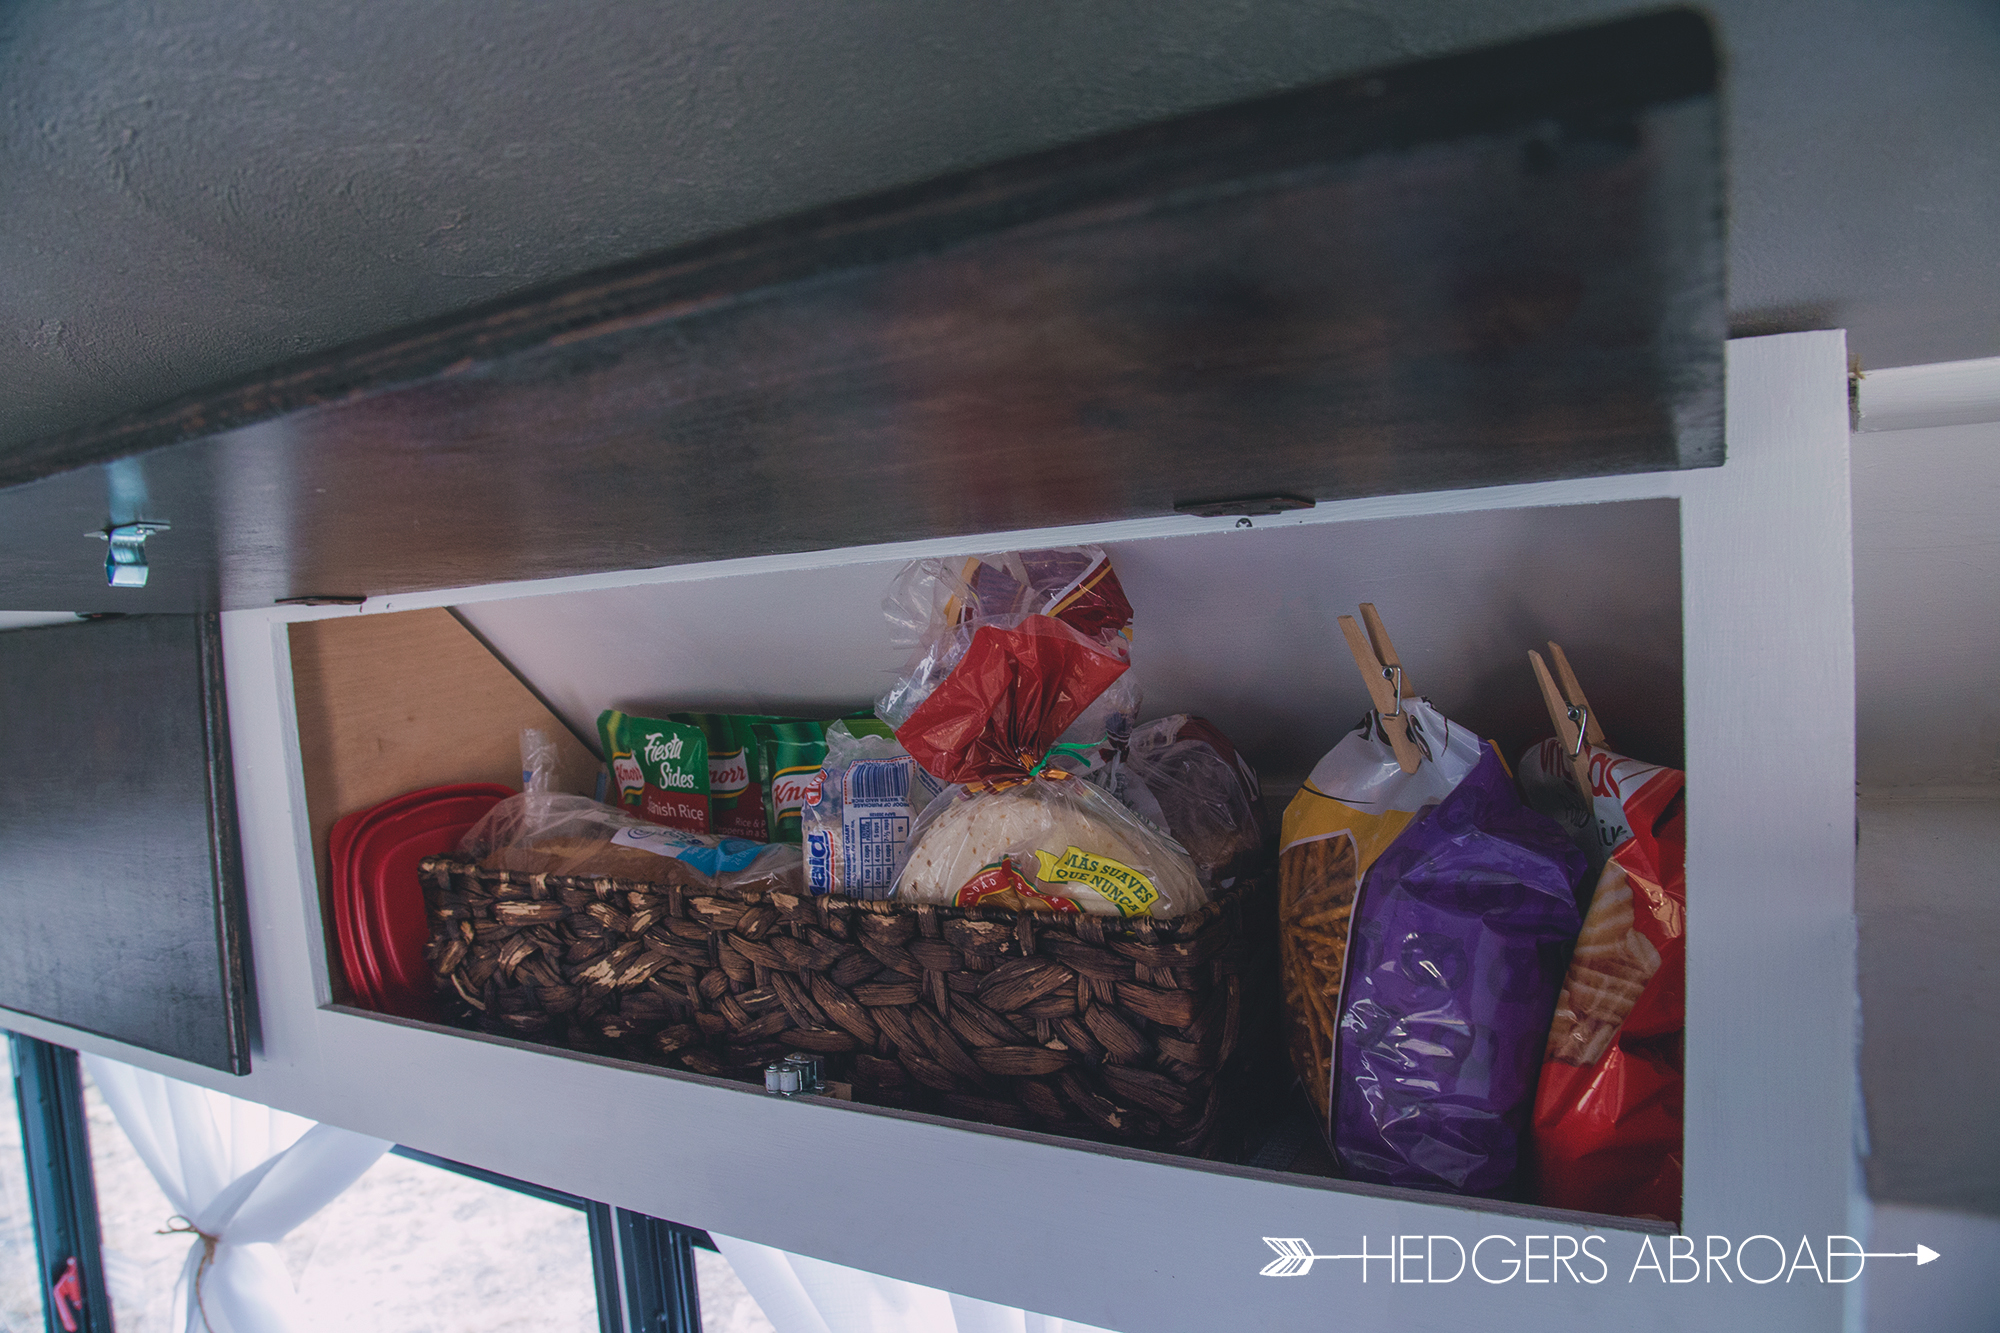
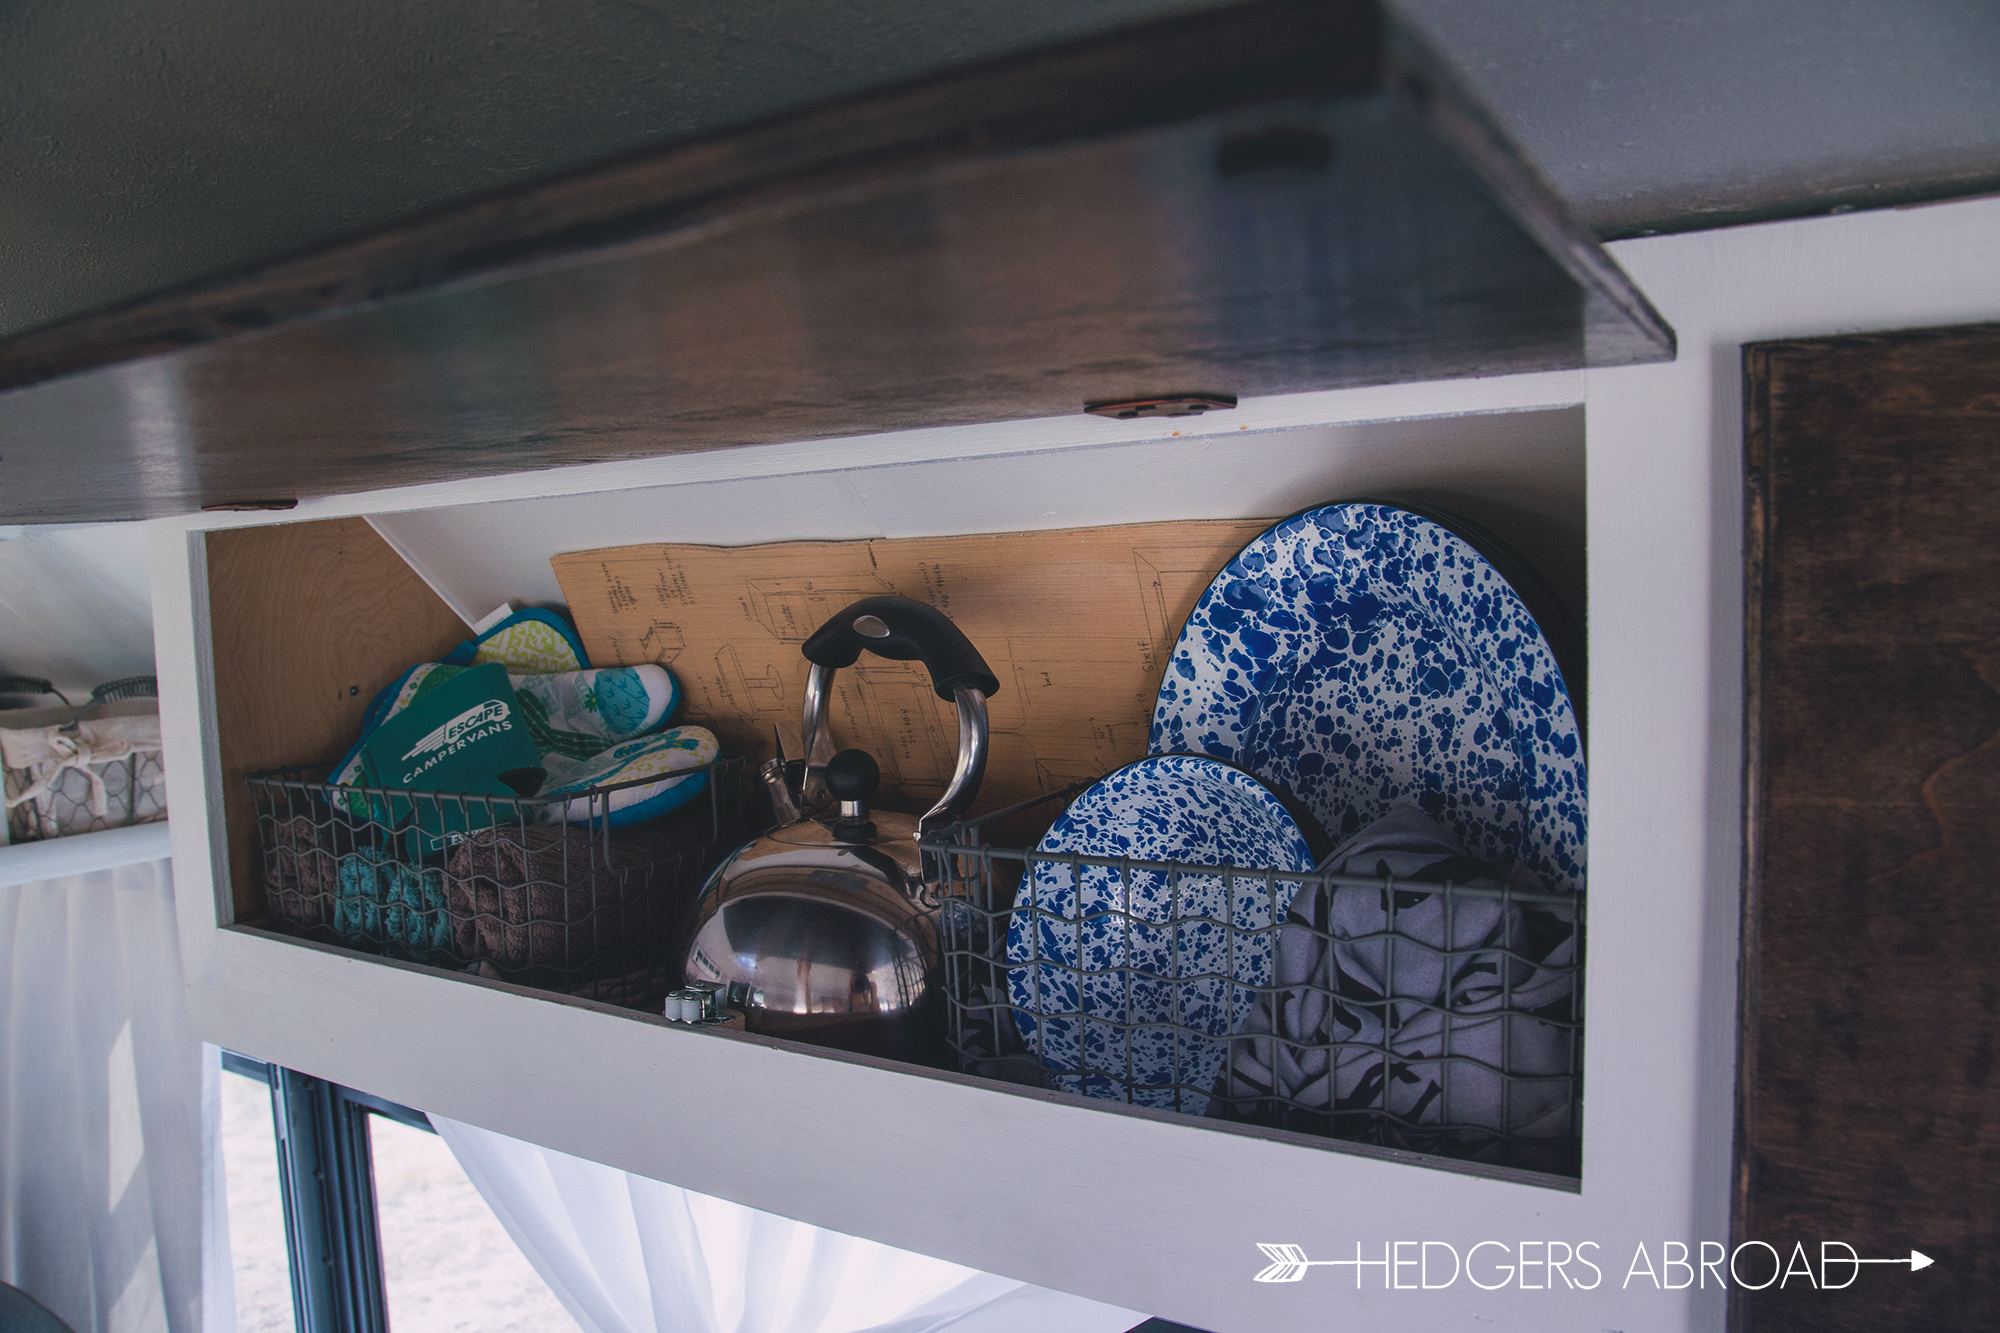
Above and below the counter, we have storage for food, dishes, and everything else that goes into both preparing coffee in the mornings to preparing dinner each evening. Although these cabinets may seem crowded compared to cupboards in a traditional home, we have everything we need in a highly consolidated system! For bonus points, we have figured out how to make 95% of these items ride silently while driving instead of the clatter that we used to have.

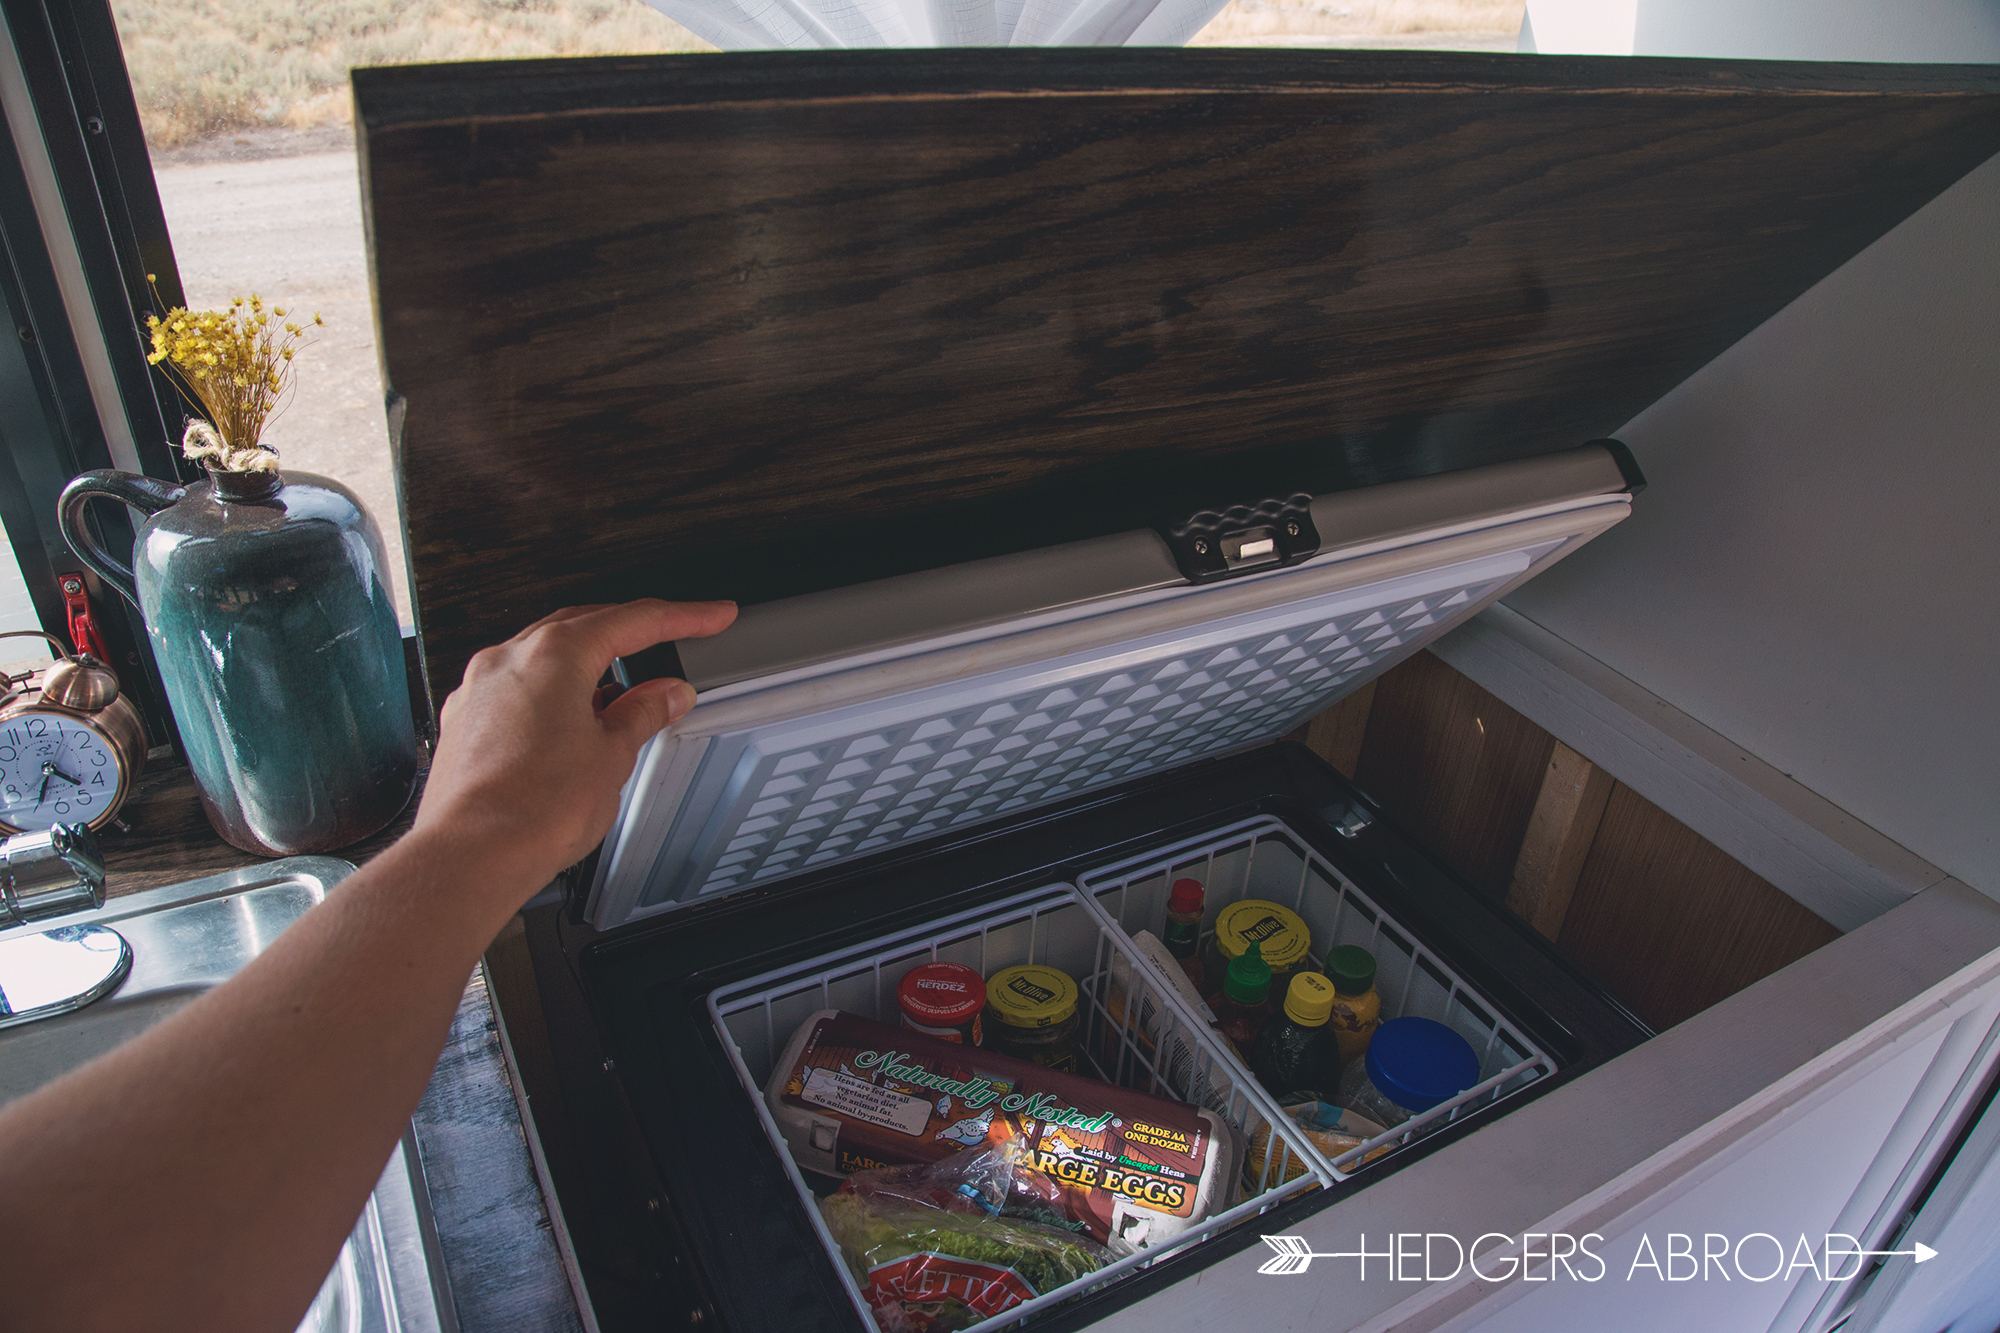
Underneath our large kitchen counter we have a chest-style freezer/fridge that efficiently keep our perishables at whichever temperature we desire. We debated buying a “dorm style” fridge, but read too many testimonials where the fridge constantly cycled and wore out house batteries prematurely. We’ve been very happy with our fridge and highly recommend it to anyone looking for food solutions while on the road. Playing Tetris in this thing can sometimes be a repetitive challenge, but we always find the way to fit all of our veggies, meats, dairy, and hot sauce collection. This thing is a champion and has been an efficient and quiet option for avoiding bags of ice.

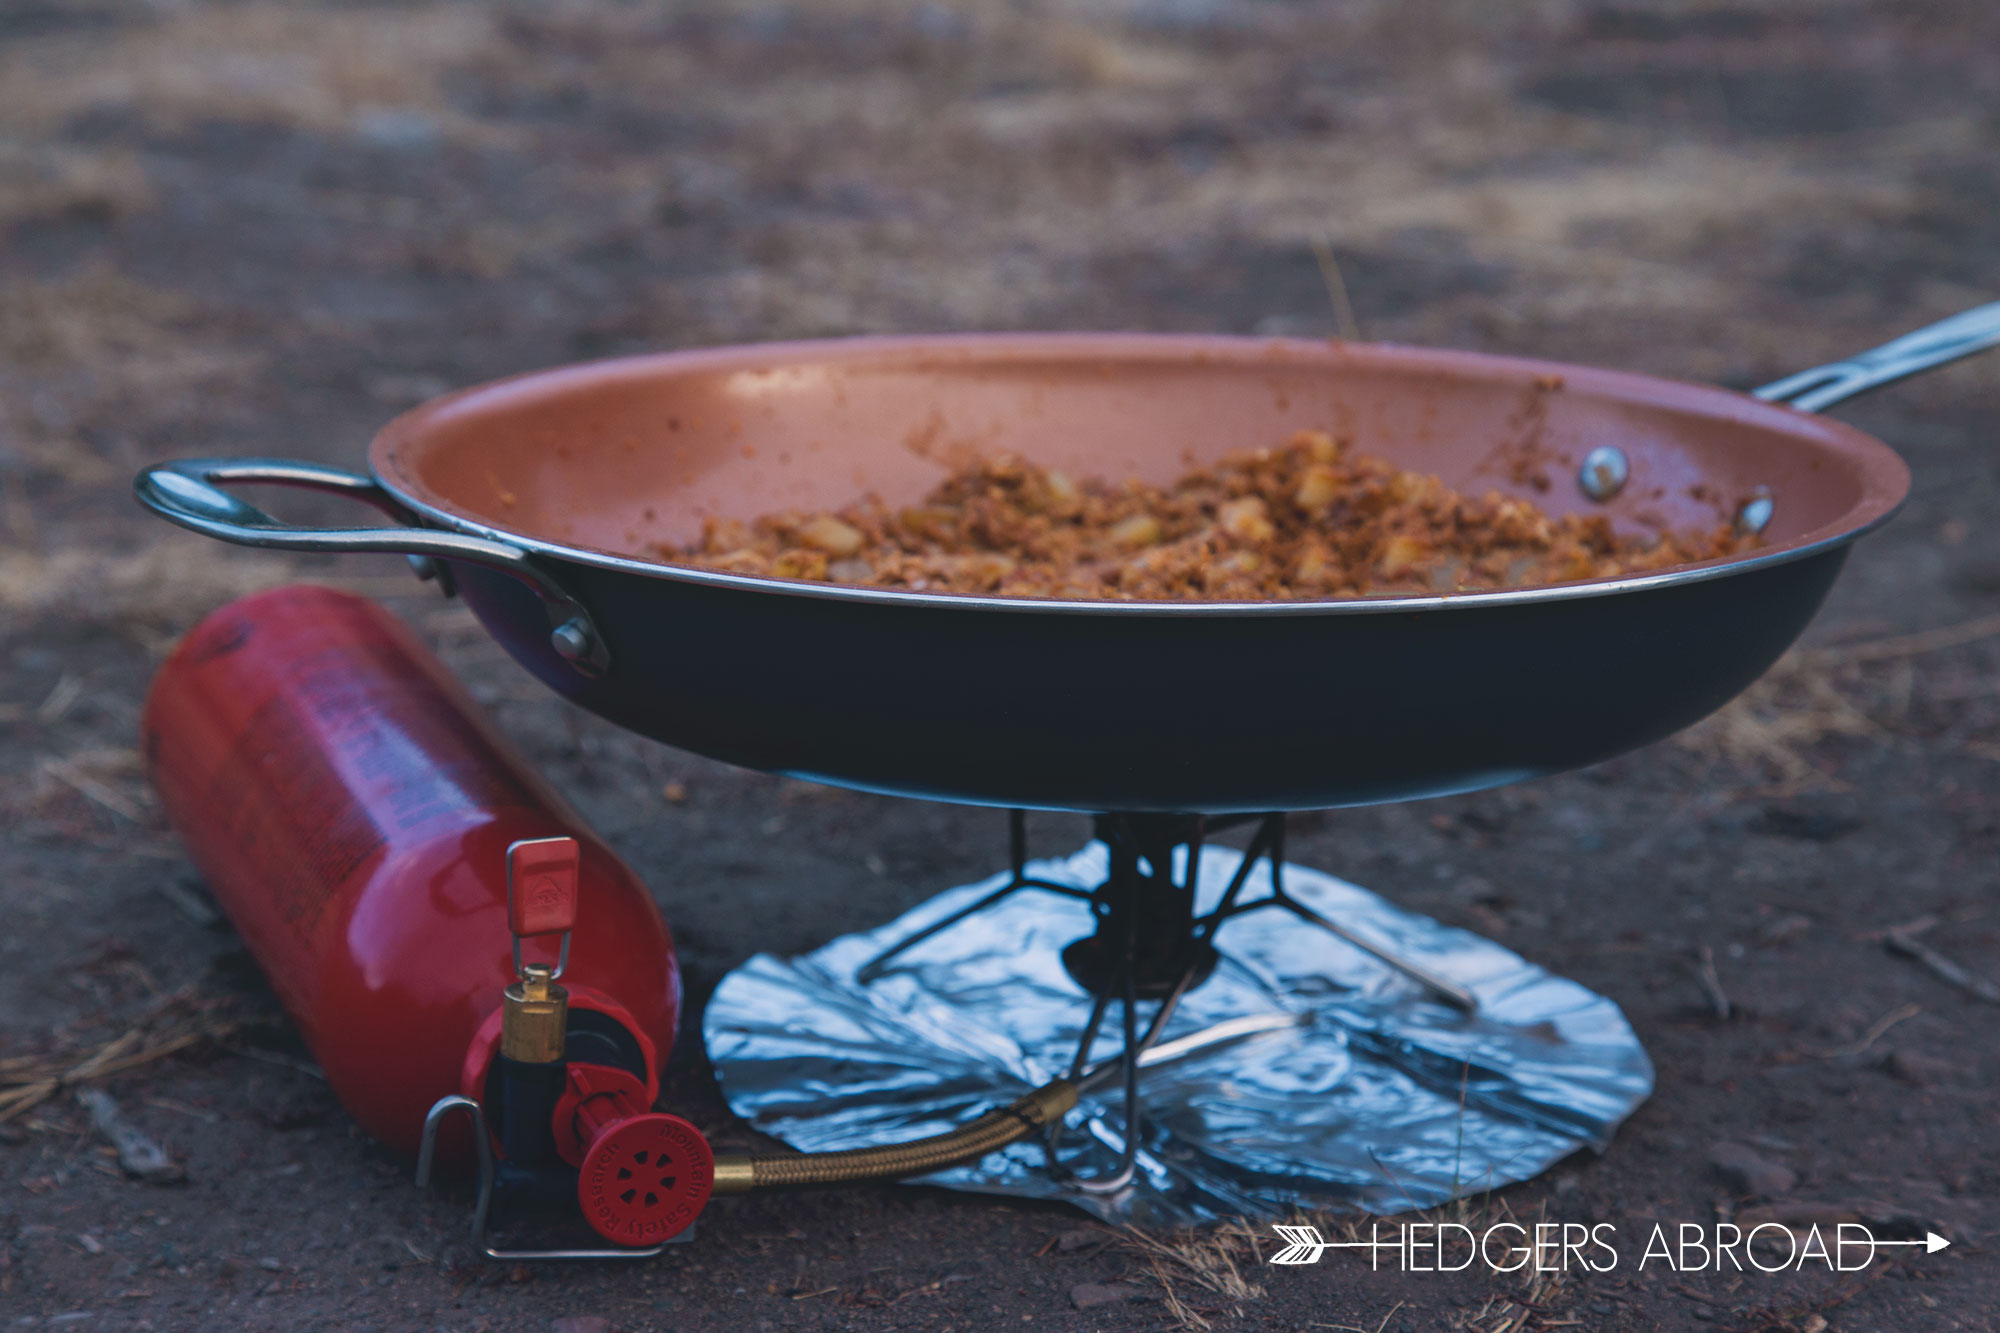
Our first voyage aboard Onward included a single burner, induction cooktop. We’d wanted to cook without a flame and cut down on our usage of fuel canisters, but the thing drained our batteries faster than we could have imagined. Instead of adding more amp hours to our electrical system, I found my old camping and backpacking stoves and added them to Onward’s kitchen. We could have installed a more substantial gas range with several adjustable burners, but using these small burners has its own mastery and ritual that I very much enjoy. As an added benefit to using pre-existing equipment, these stoves are meant to be used outdoors, so I am constantly forced out into nature and the elements.

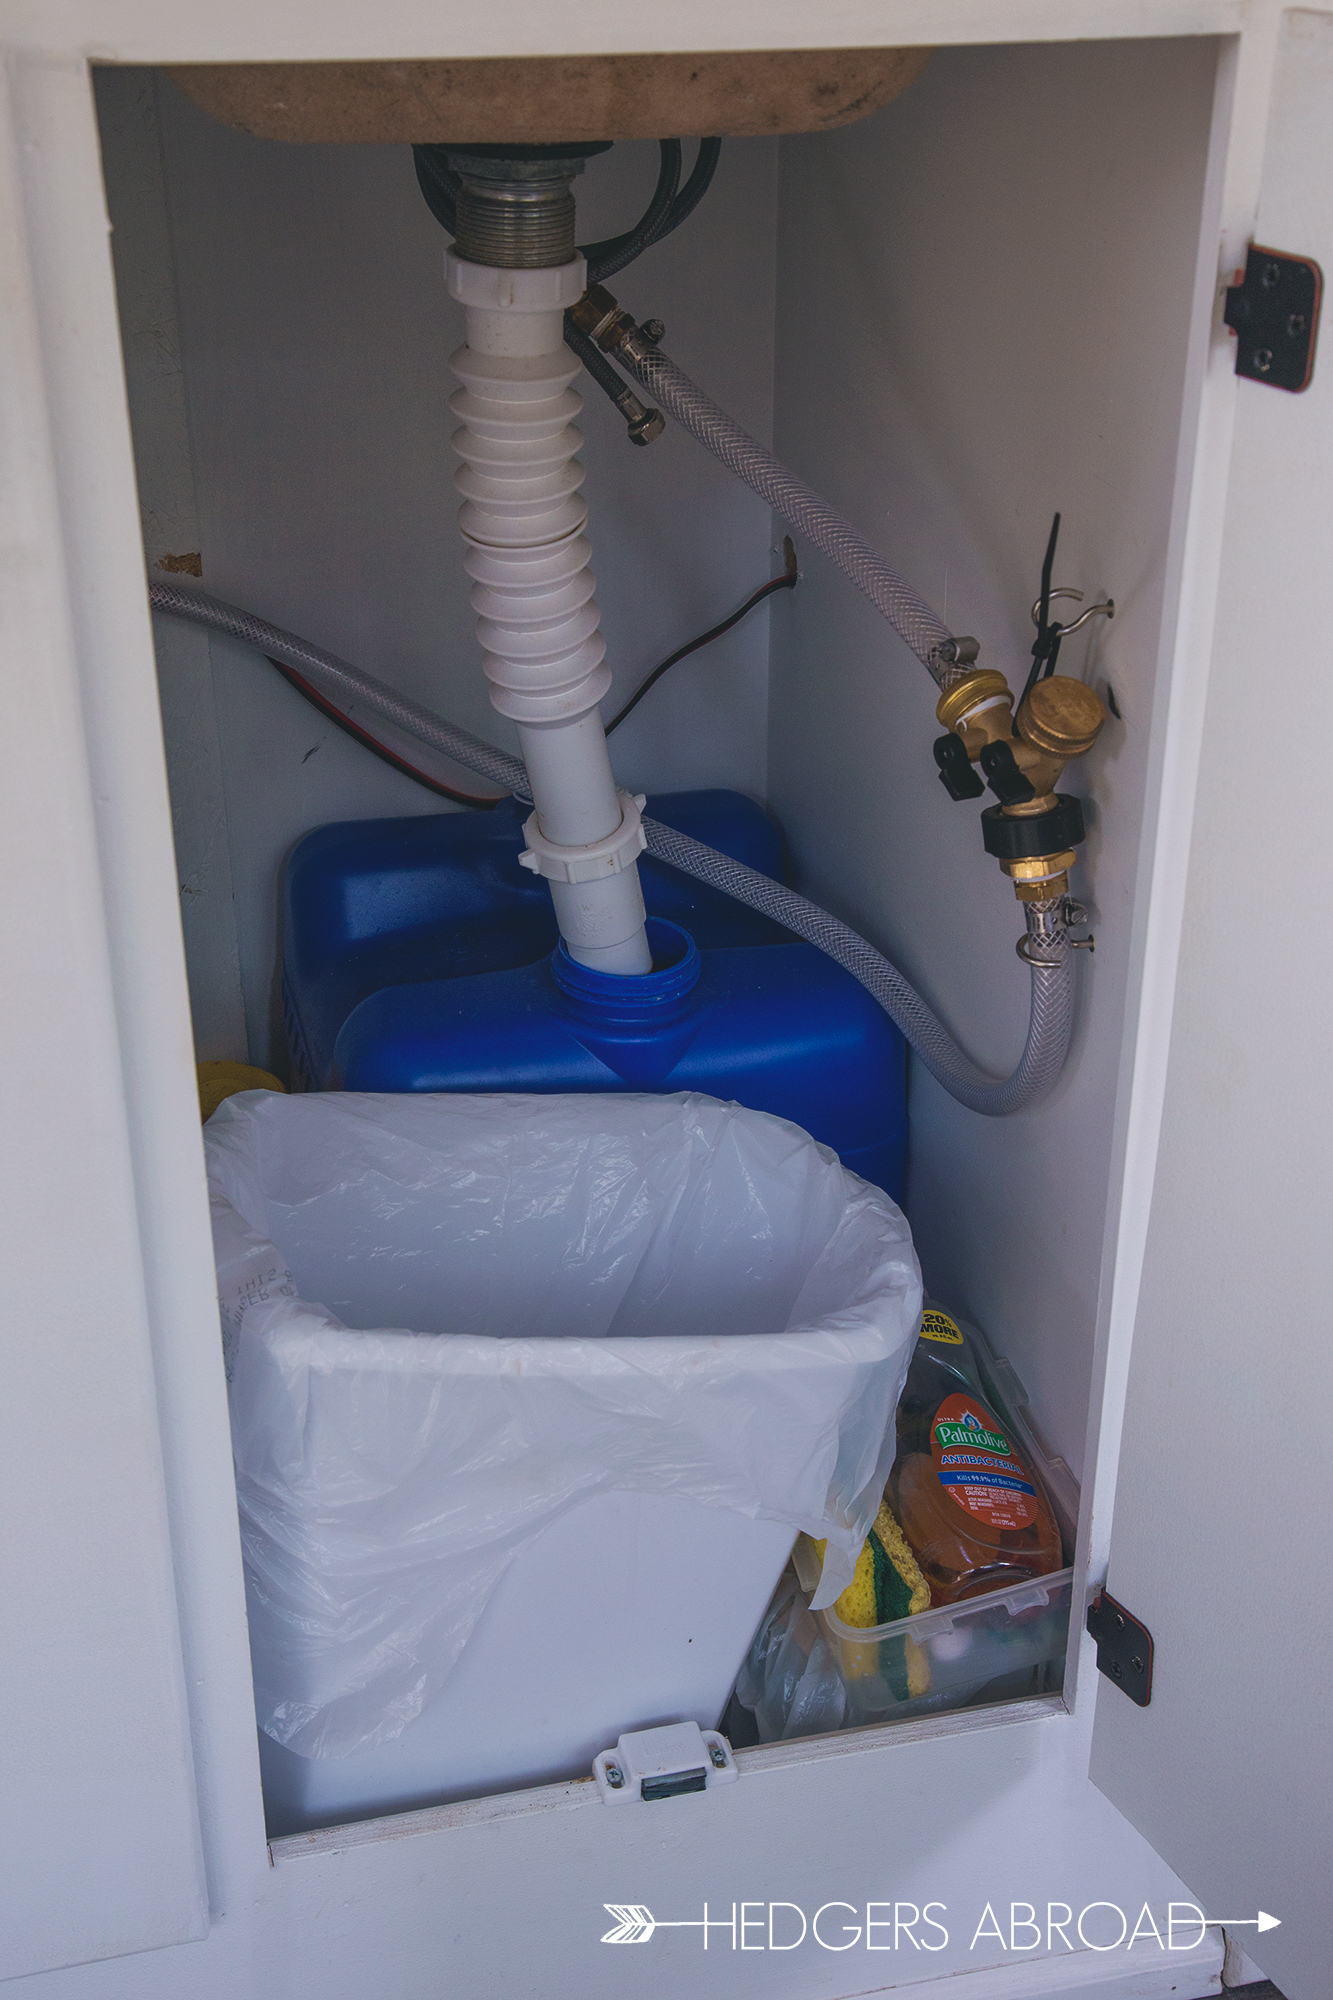
With all of the water we carry, we need a place to keep our drain water. Some people dump their gray water out on the ground, but we’ve chosen to keep ours contained so that we can be better stewards of the environment. Having a grey water containment tank adds dumping to our list of processes, but it’s been a decent system that’s so simple we couldn’t be happier.


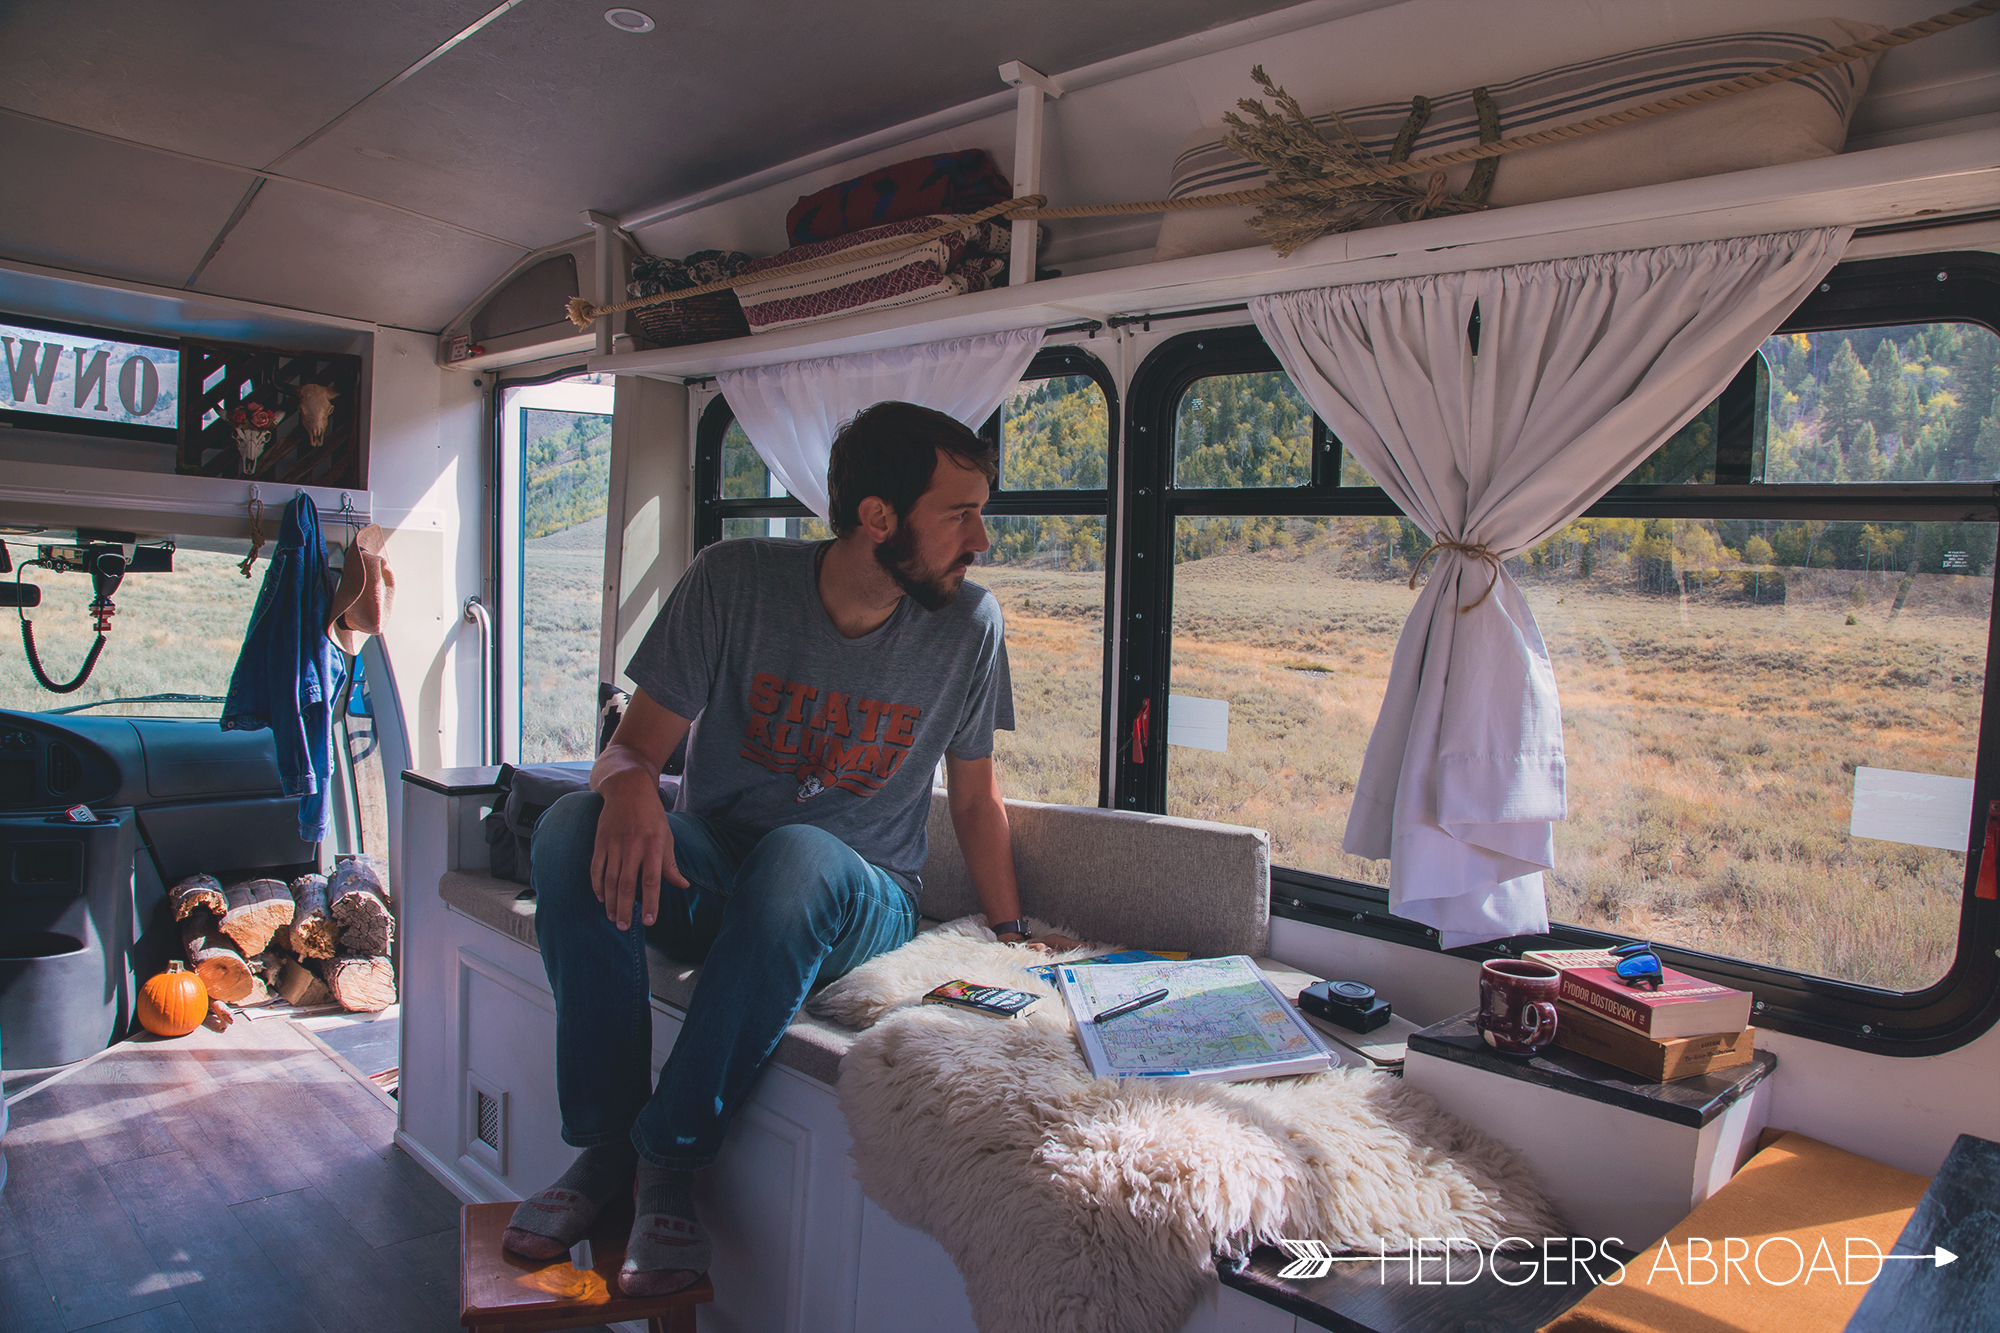
Typical three seat couches are super long, about seven feet. We didn’t have that much space to spare in our bus, but we managed to squeeze in a six-foot long by two foot deep sofa instead! We wanted a longer sofa for two reasons. One, Ryan is an extra long guy and he wanted a spot to stretch out while working from the road. This sofa is his main spot and most days you can find him here planning trips, drinking coffee, or catching up on some work. Two, the sofa also doubles as a storage bench by using a hinged lid on top. We can cram a lot of stuff into this space, which, you can never have too much storage on a camper!

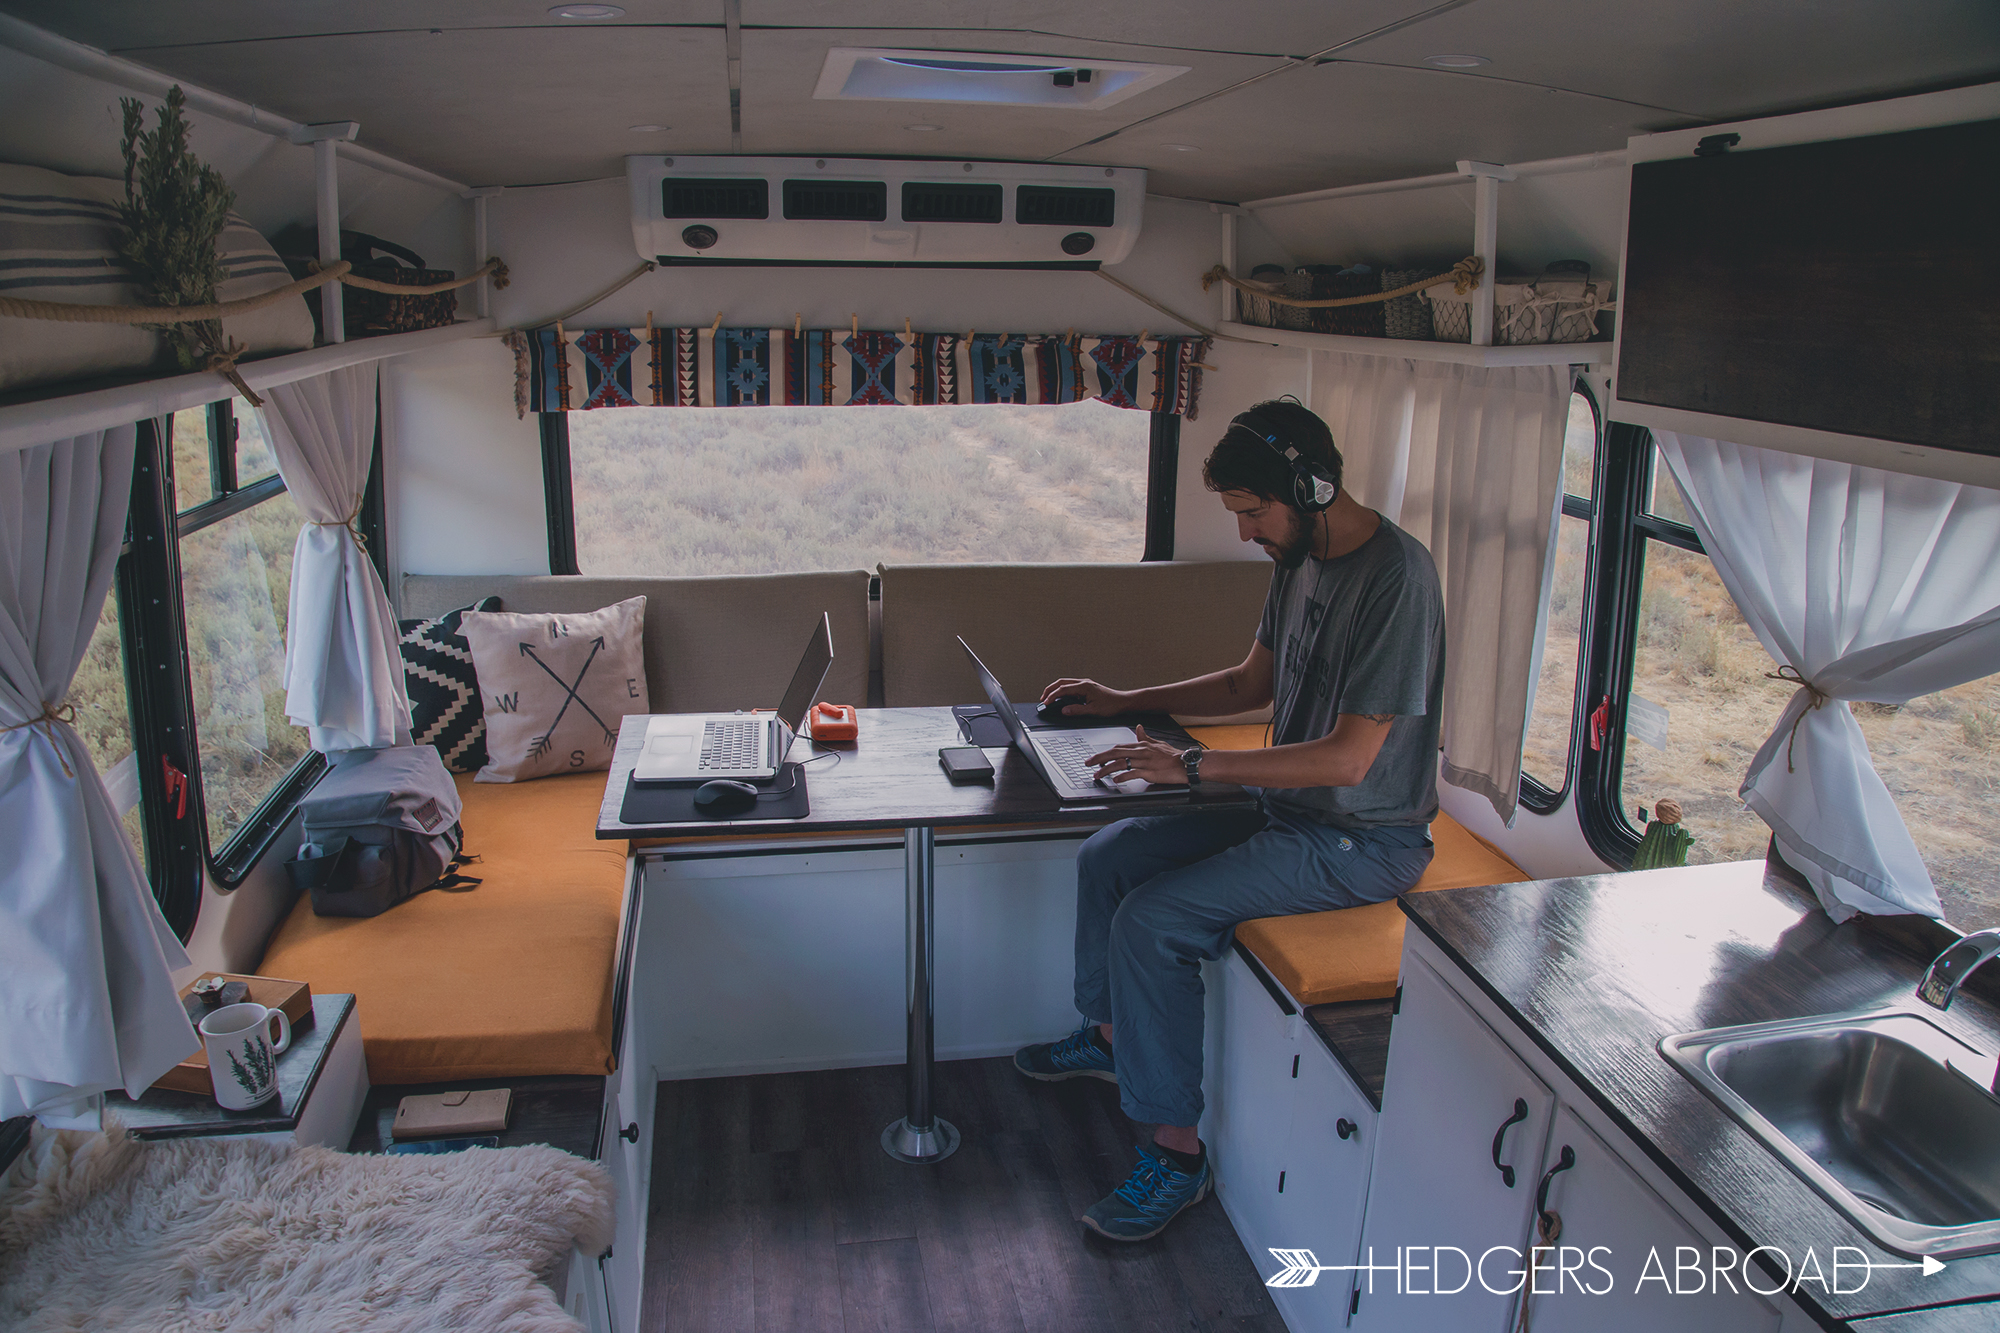
The u-shaped bench dining at the back of the bus is large enough to sit four adults comfortably. This means that when it’s just the two of us, we have plenty of space to spread out and work. I (Stephanie) made the cushions with 2” thick foam, which works nicely for us as we are used to harder beds after living in Korea where most of your sleeping is done on the floor or on beds that are simply box springs. If you are DIYing your own camper, consider adding thicker foam if a soft bed is your thing. Foam can get pretty expensive, but one cheap option for adding more padding is to look into egg crate foam toppers!
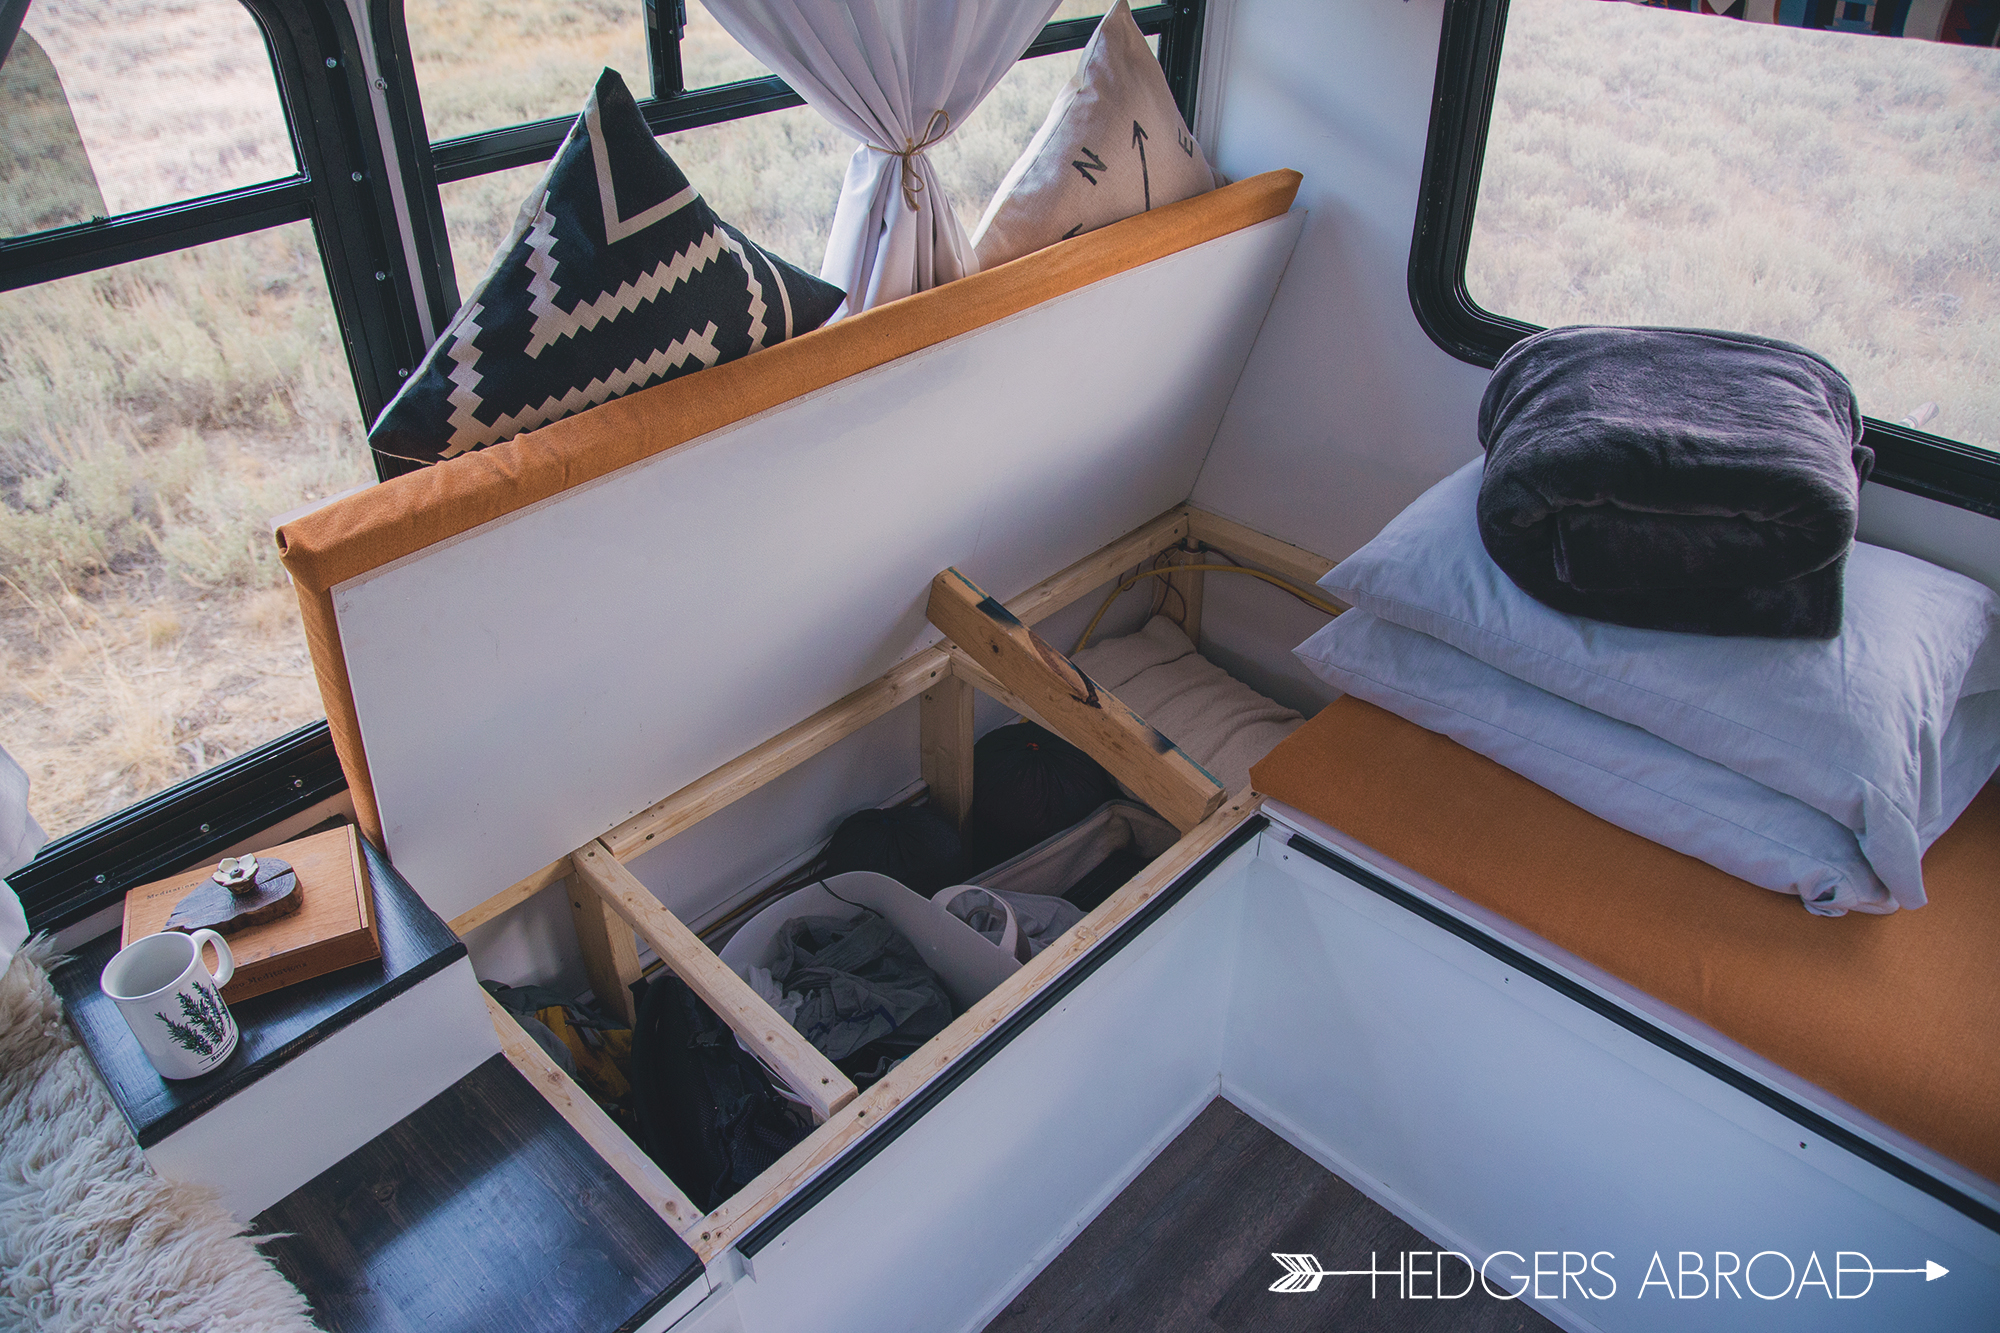
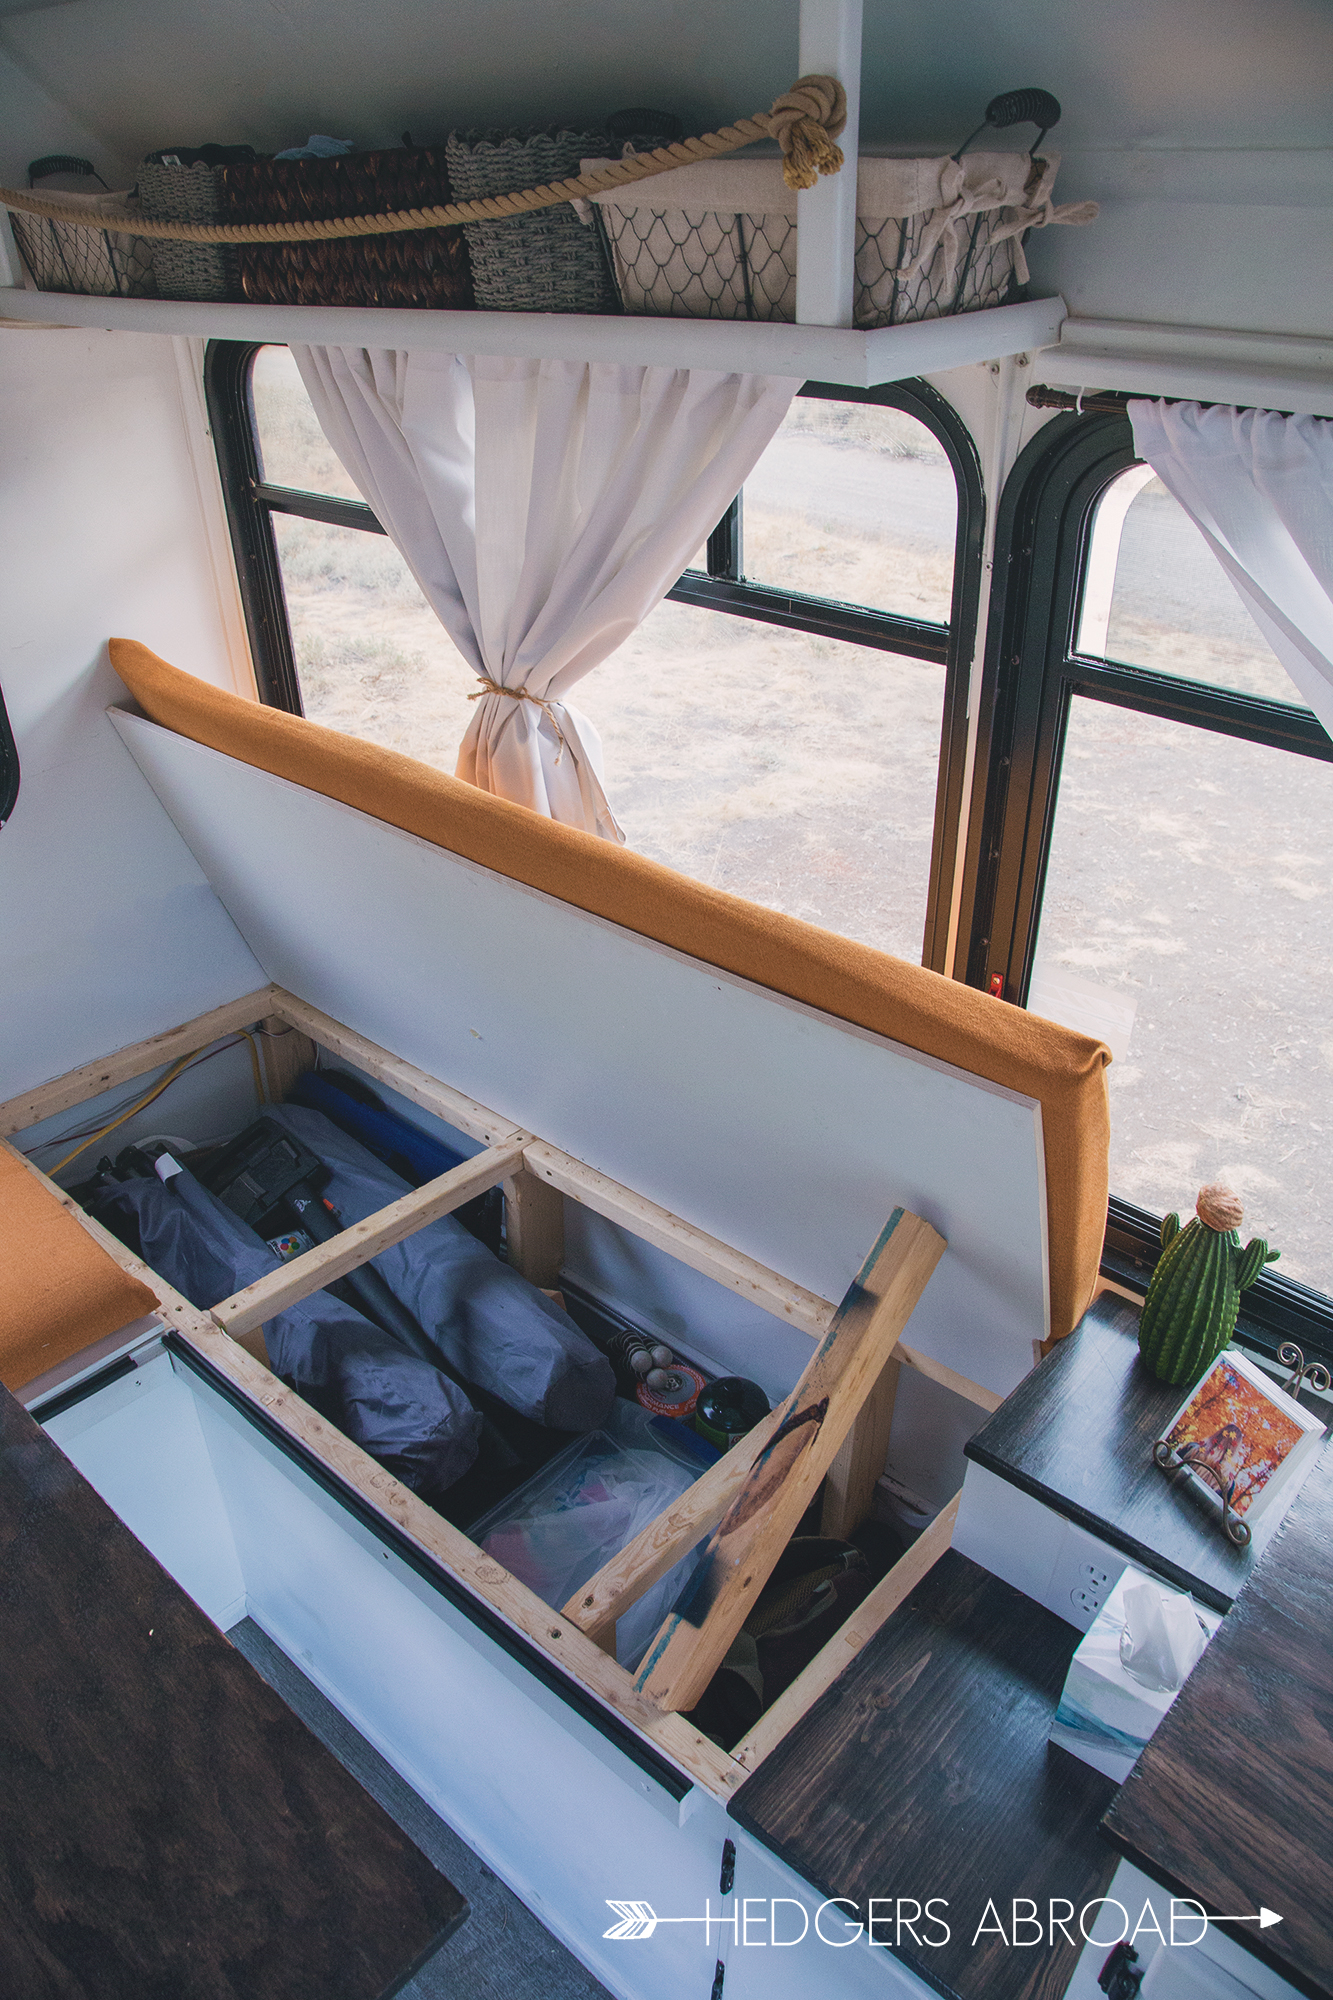
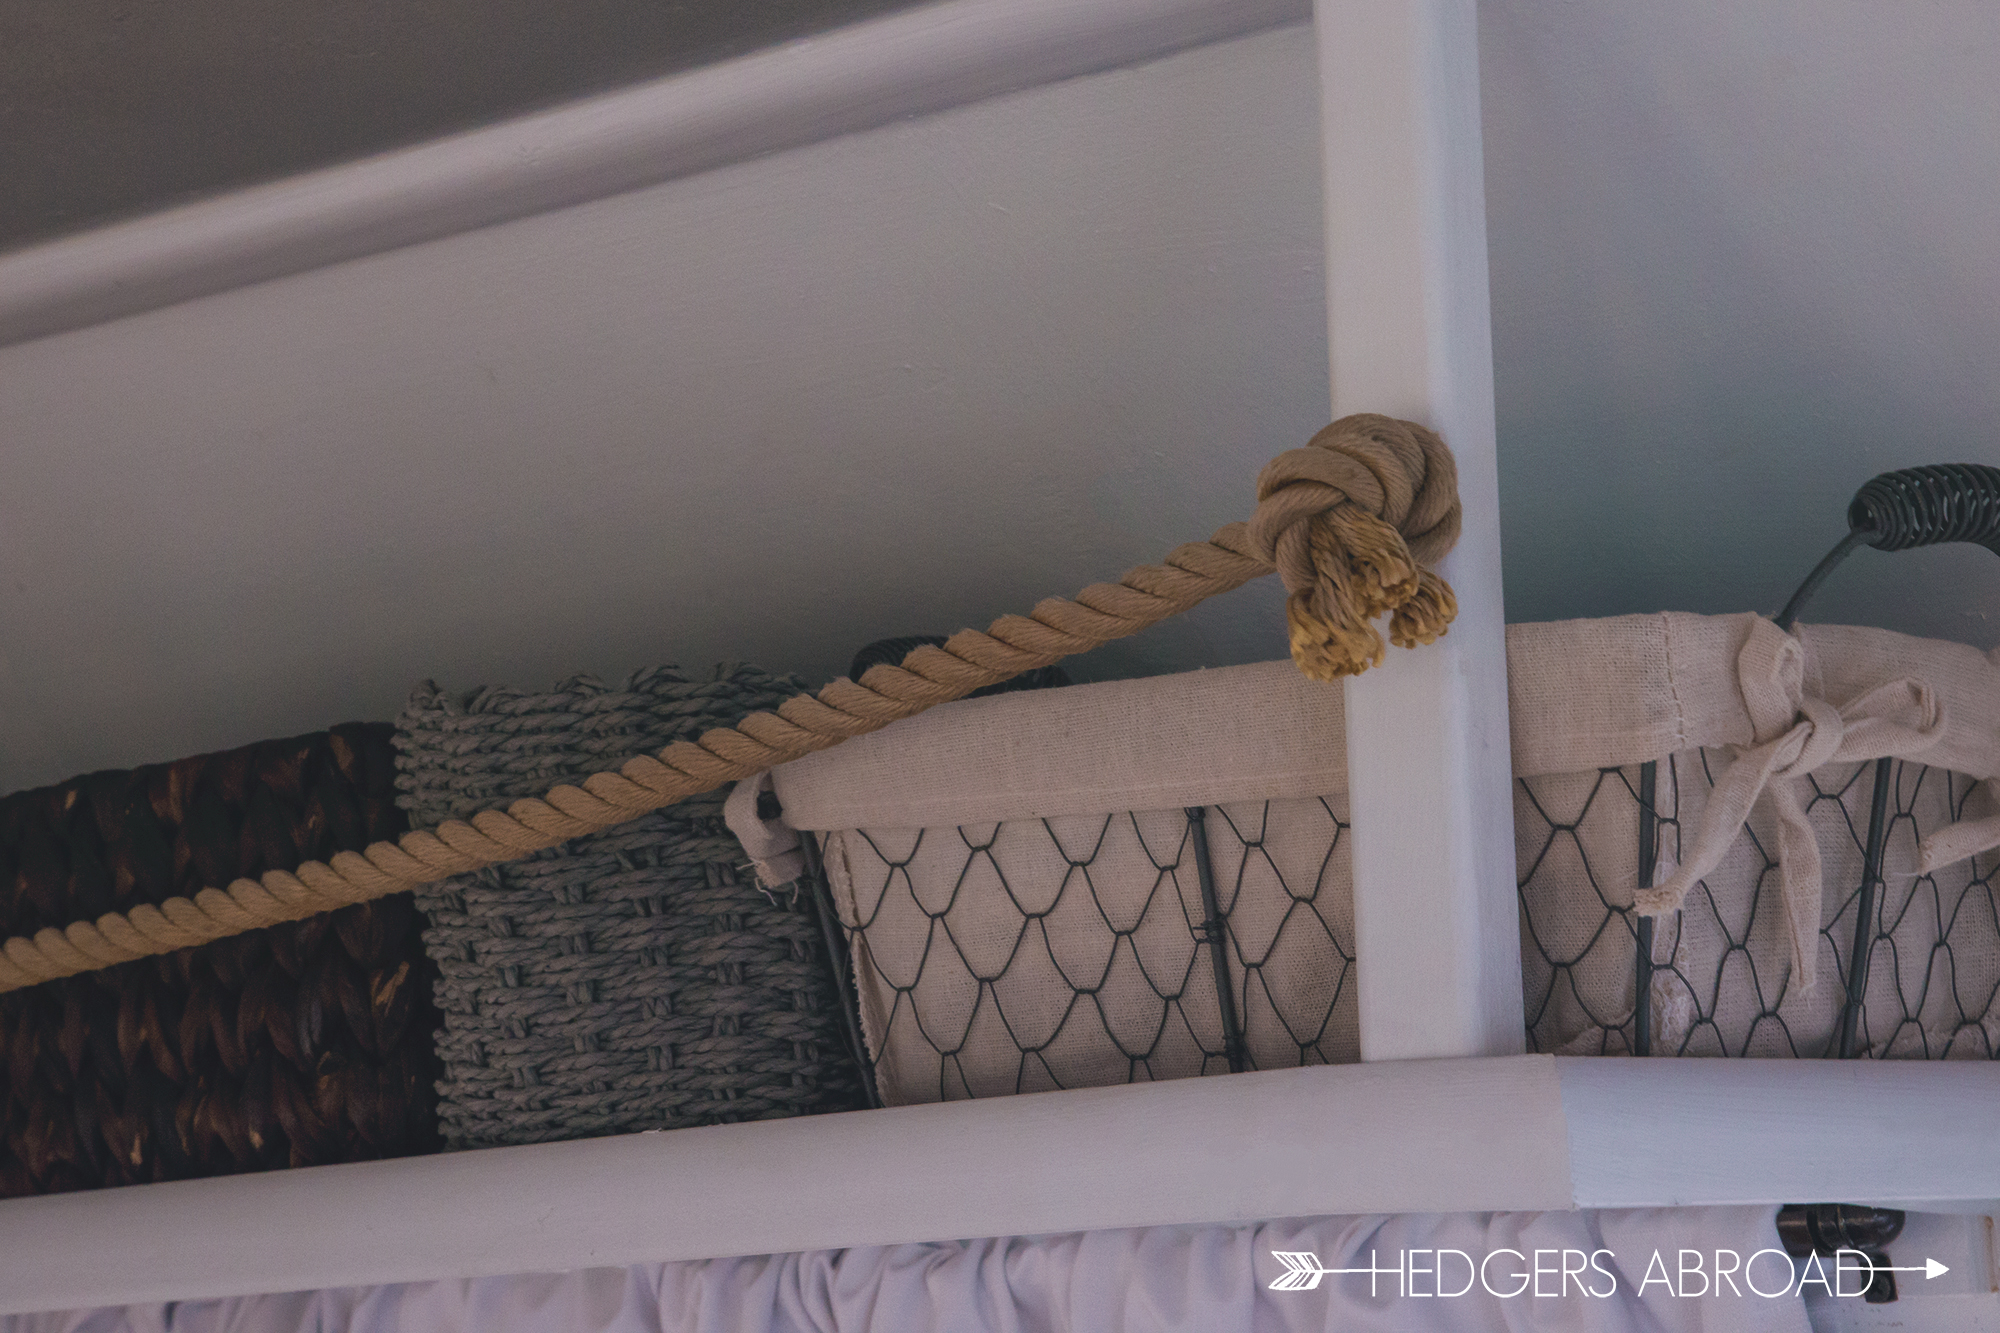
The dining benches also have hinged lids, and with dimensions of 58”x 24”x 21” for the two side seats, there’s plenty of room for bedding, winter clothes, shoes, and loads of extra camping gear. The back seat measures at 44.5”x 24”x 21” and it contains our water tank. Other storage in the back included our overhead shelving which we modified to add vertical supports and retaining rope to prevent any items up top from taking a tumble while riding down the road.


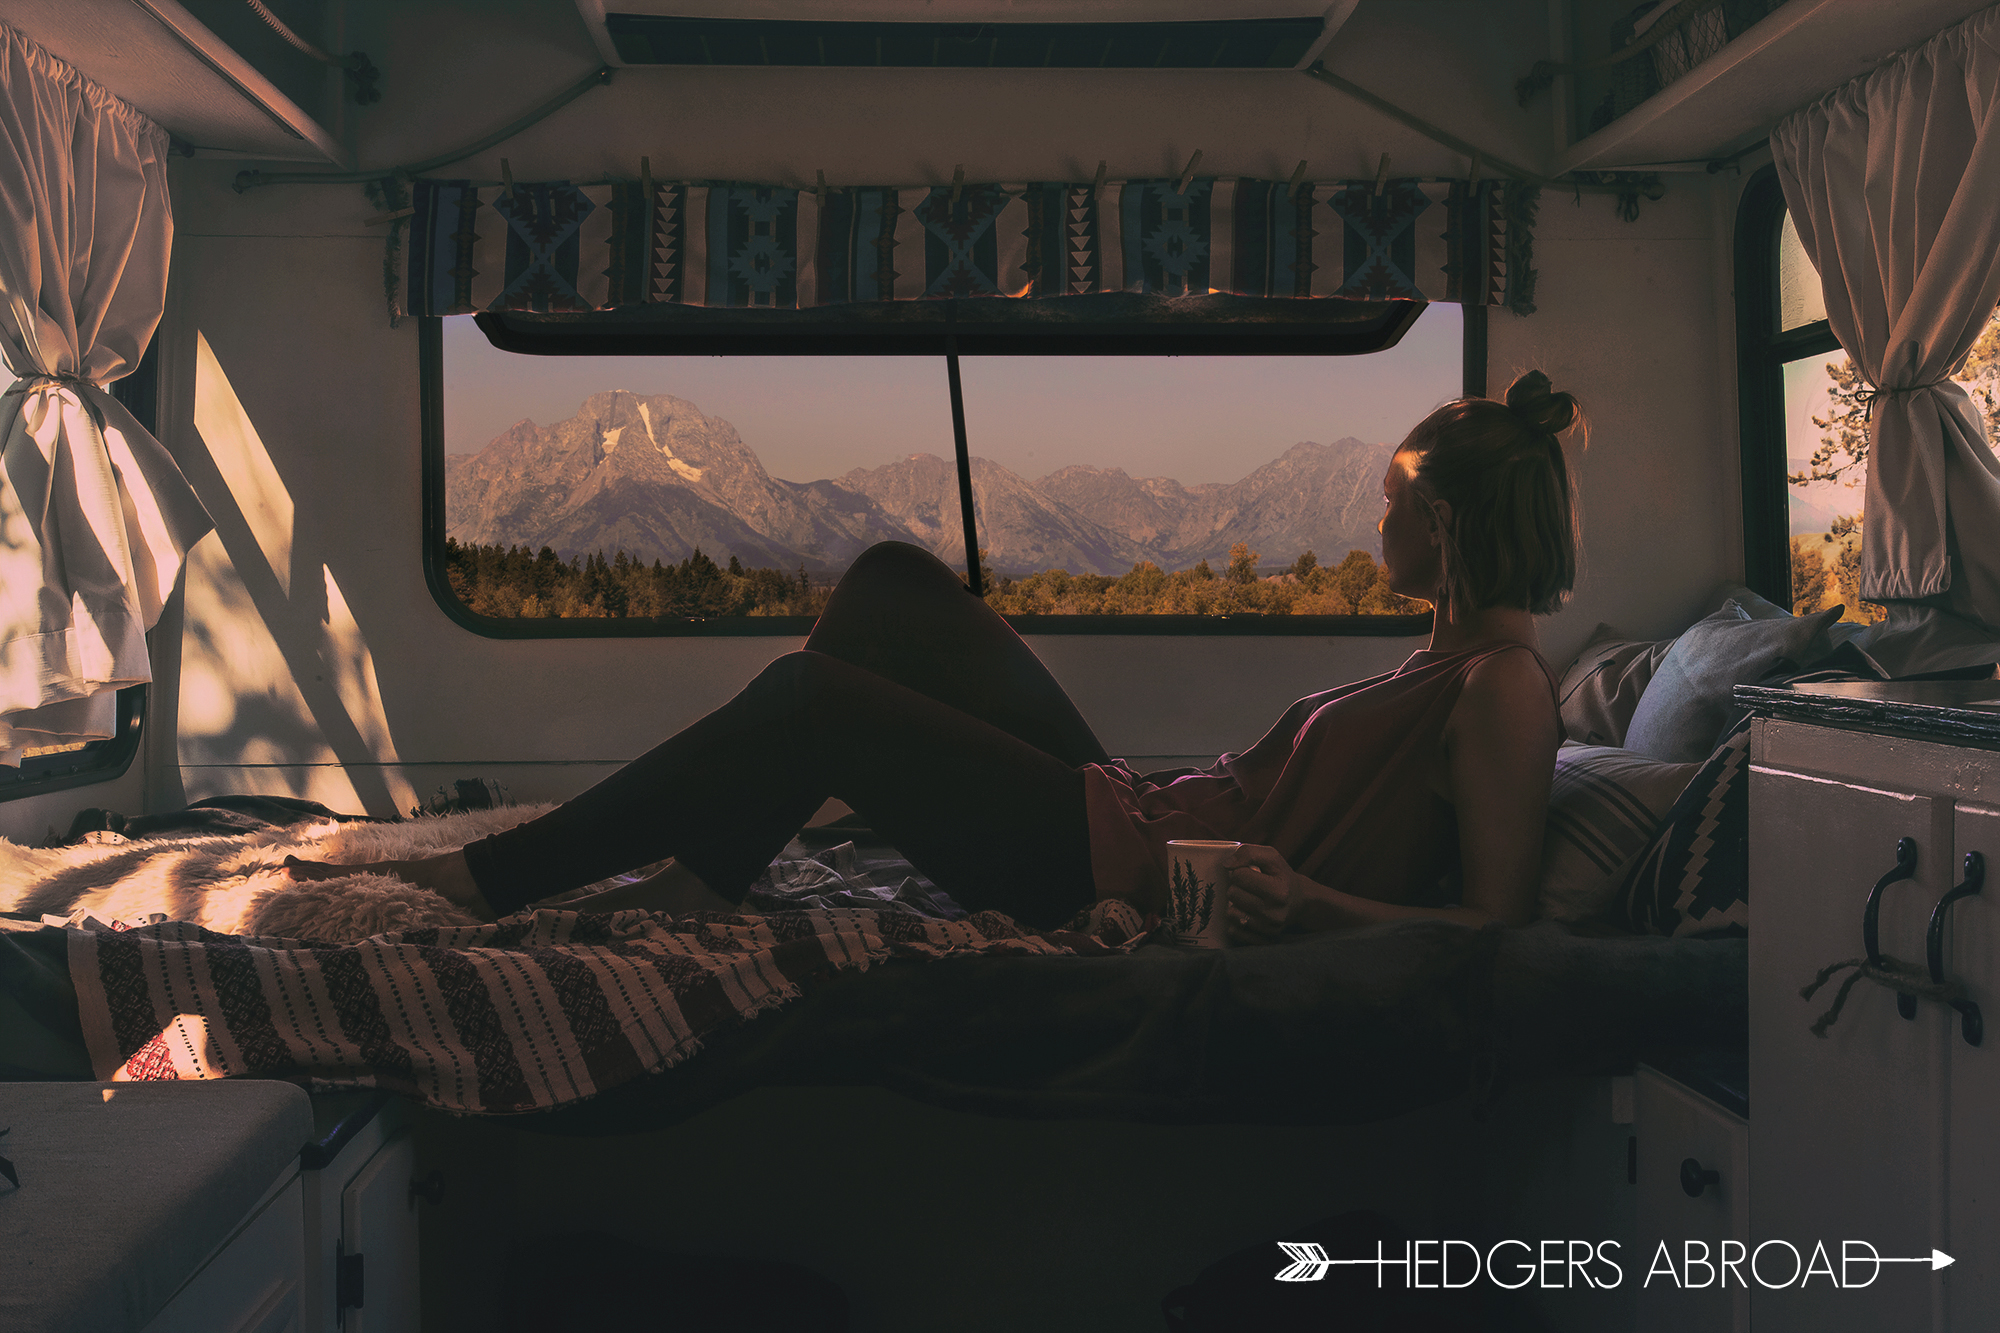
Everyone’s favorite question to ask, “where’s the bed?”… We don’t sleep curled up on the benches or floor, if that’s what you were imagining. The pole on the table is removable, the tabletop can then drop down onto cleats mounted to the sides of the benches. We added rubber seals along the tops of the cleats to prevent any rubbing noises. The back cushions on the couch then cover the table, voilà! You have a full, larger than queen sized, bed! We use queen sized fitted sheets which pull the cushions together a bit and hold them in place. For warmth, we have two sleeping quilts, which are rated for ten-degree (Fahrenheit) weather. They do a great job keeping us plenty toasty!

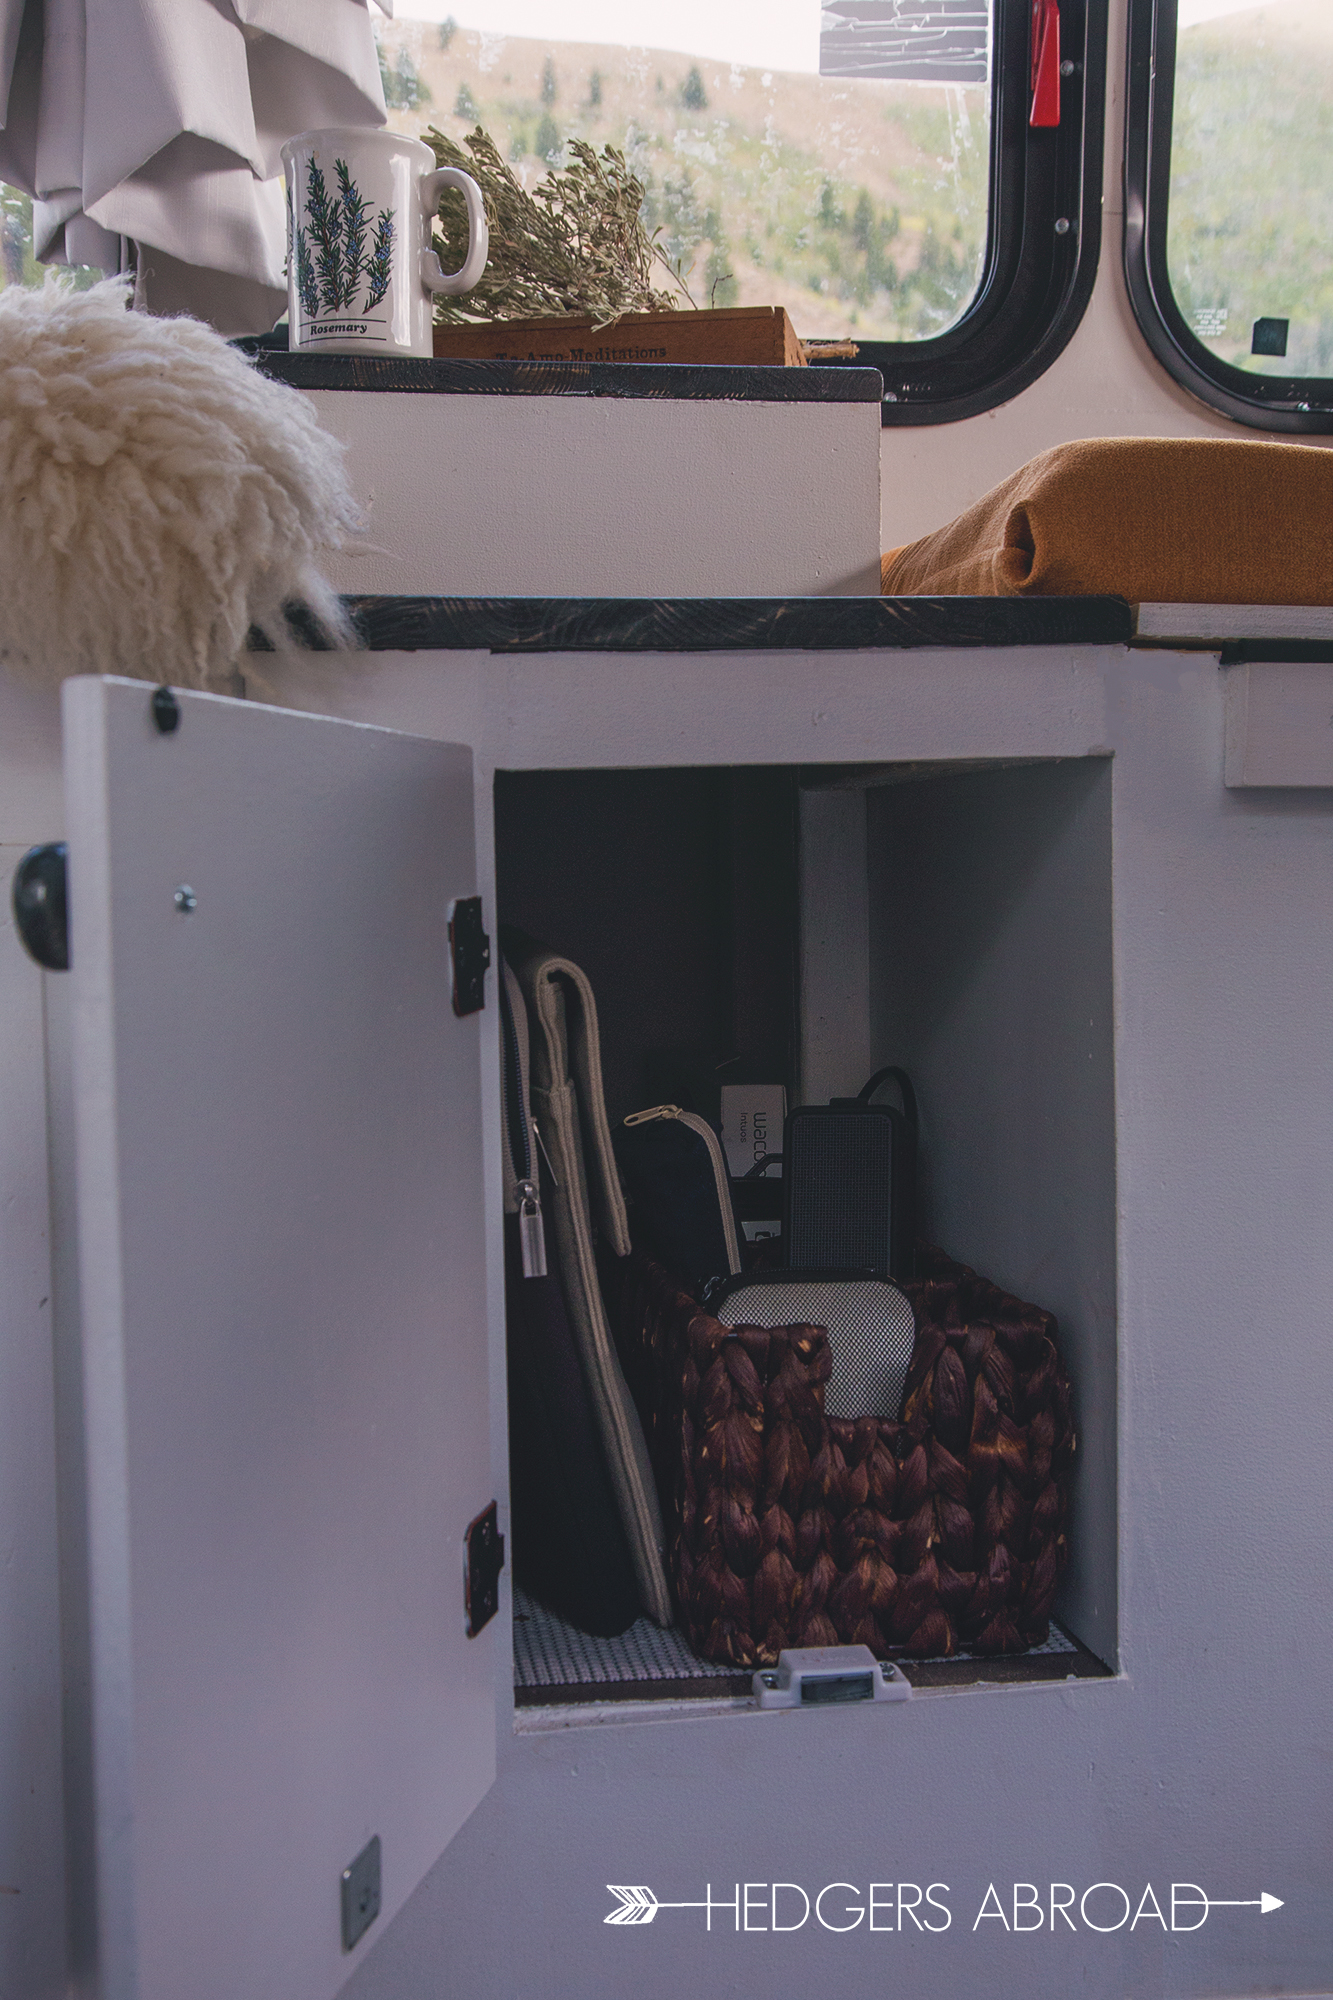
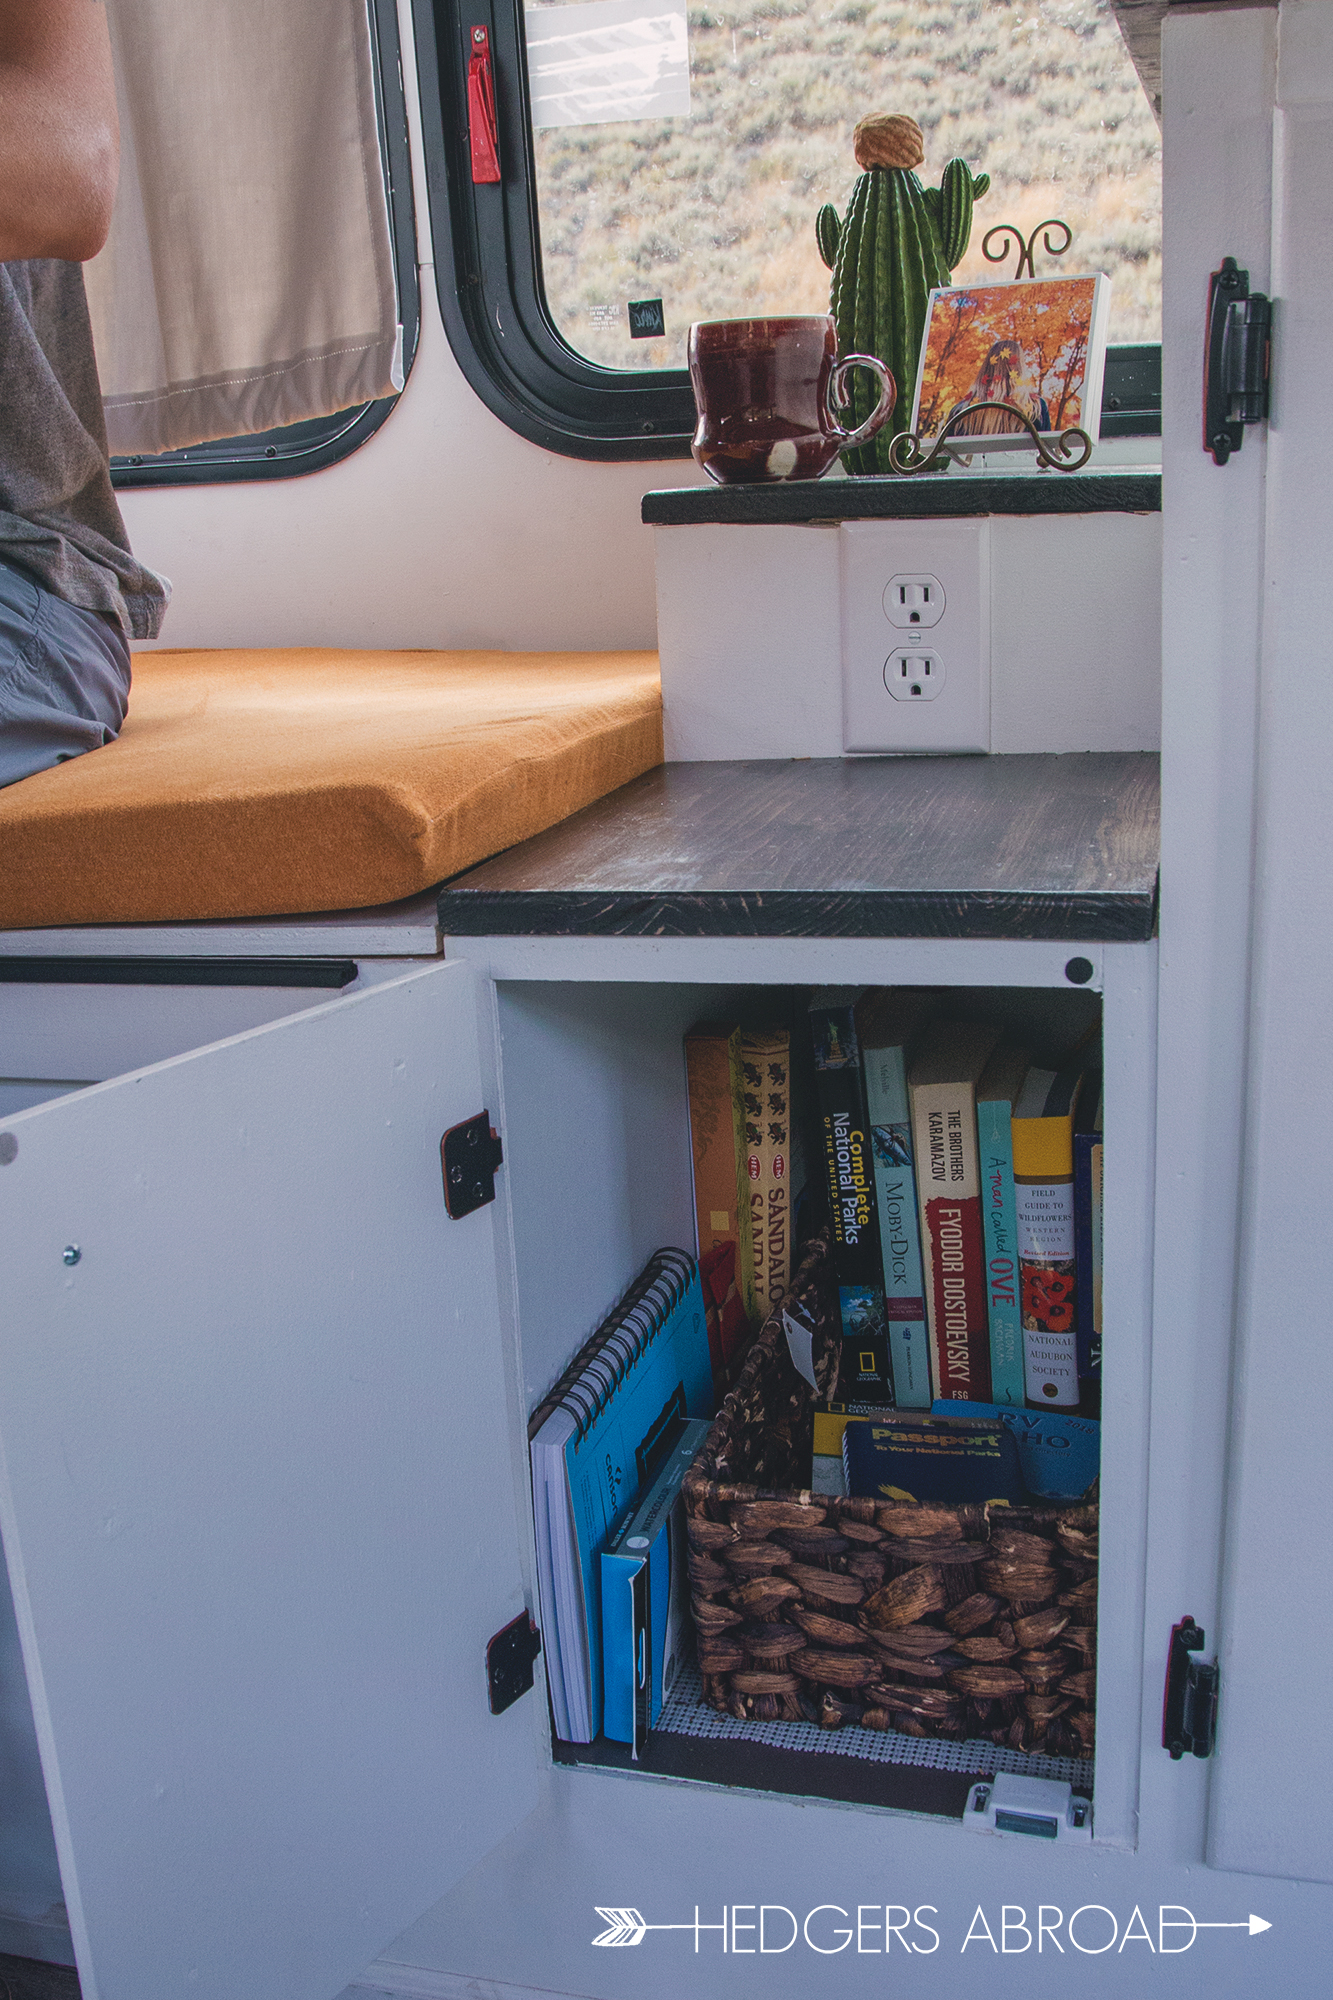
Sitting atop our rear wheels are two “night stands” we’ve affectionately dubbed “Frankenstein” and “Elvira.” The first cabinet we built, Frankenstein, was a bit of a disaster. It’s construction was a simple case of “too many cooks in the kitchen” and its design suffered greatly. Though Frank might be ugly behind the curtains, note the visible 2x2s inside, he serves his function pretty well and no one can see how wonky he is unless they investigate thoroughly. Lessons learned, we had a much easier time building Elvira and she is the polished, well-designed and executed sister. They face each other and do a pretty excellent job of hiding our electronics and growing library of books, maps, and notebooks.


When traveling through so many different climates, it is important to have clothes for any kind of weather you may encounter. We decided a full closet dedicated to storing our attire was necessary. We have hanging space for mostly coats and a couple of dressier items (just in case!). We opted to use a basic closet organizer for our t-shirts, pants, and underwear and it has been pretty useful.


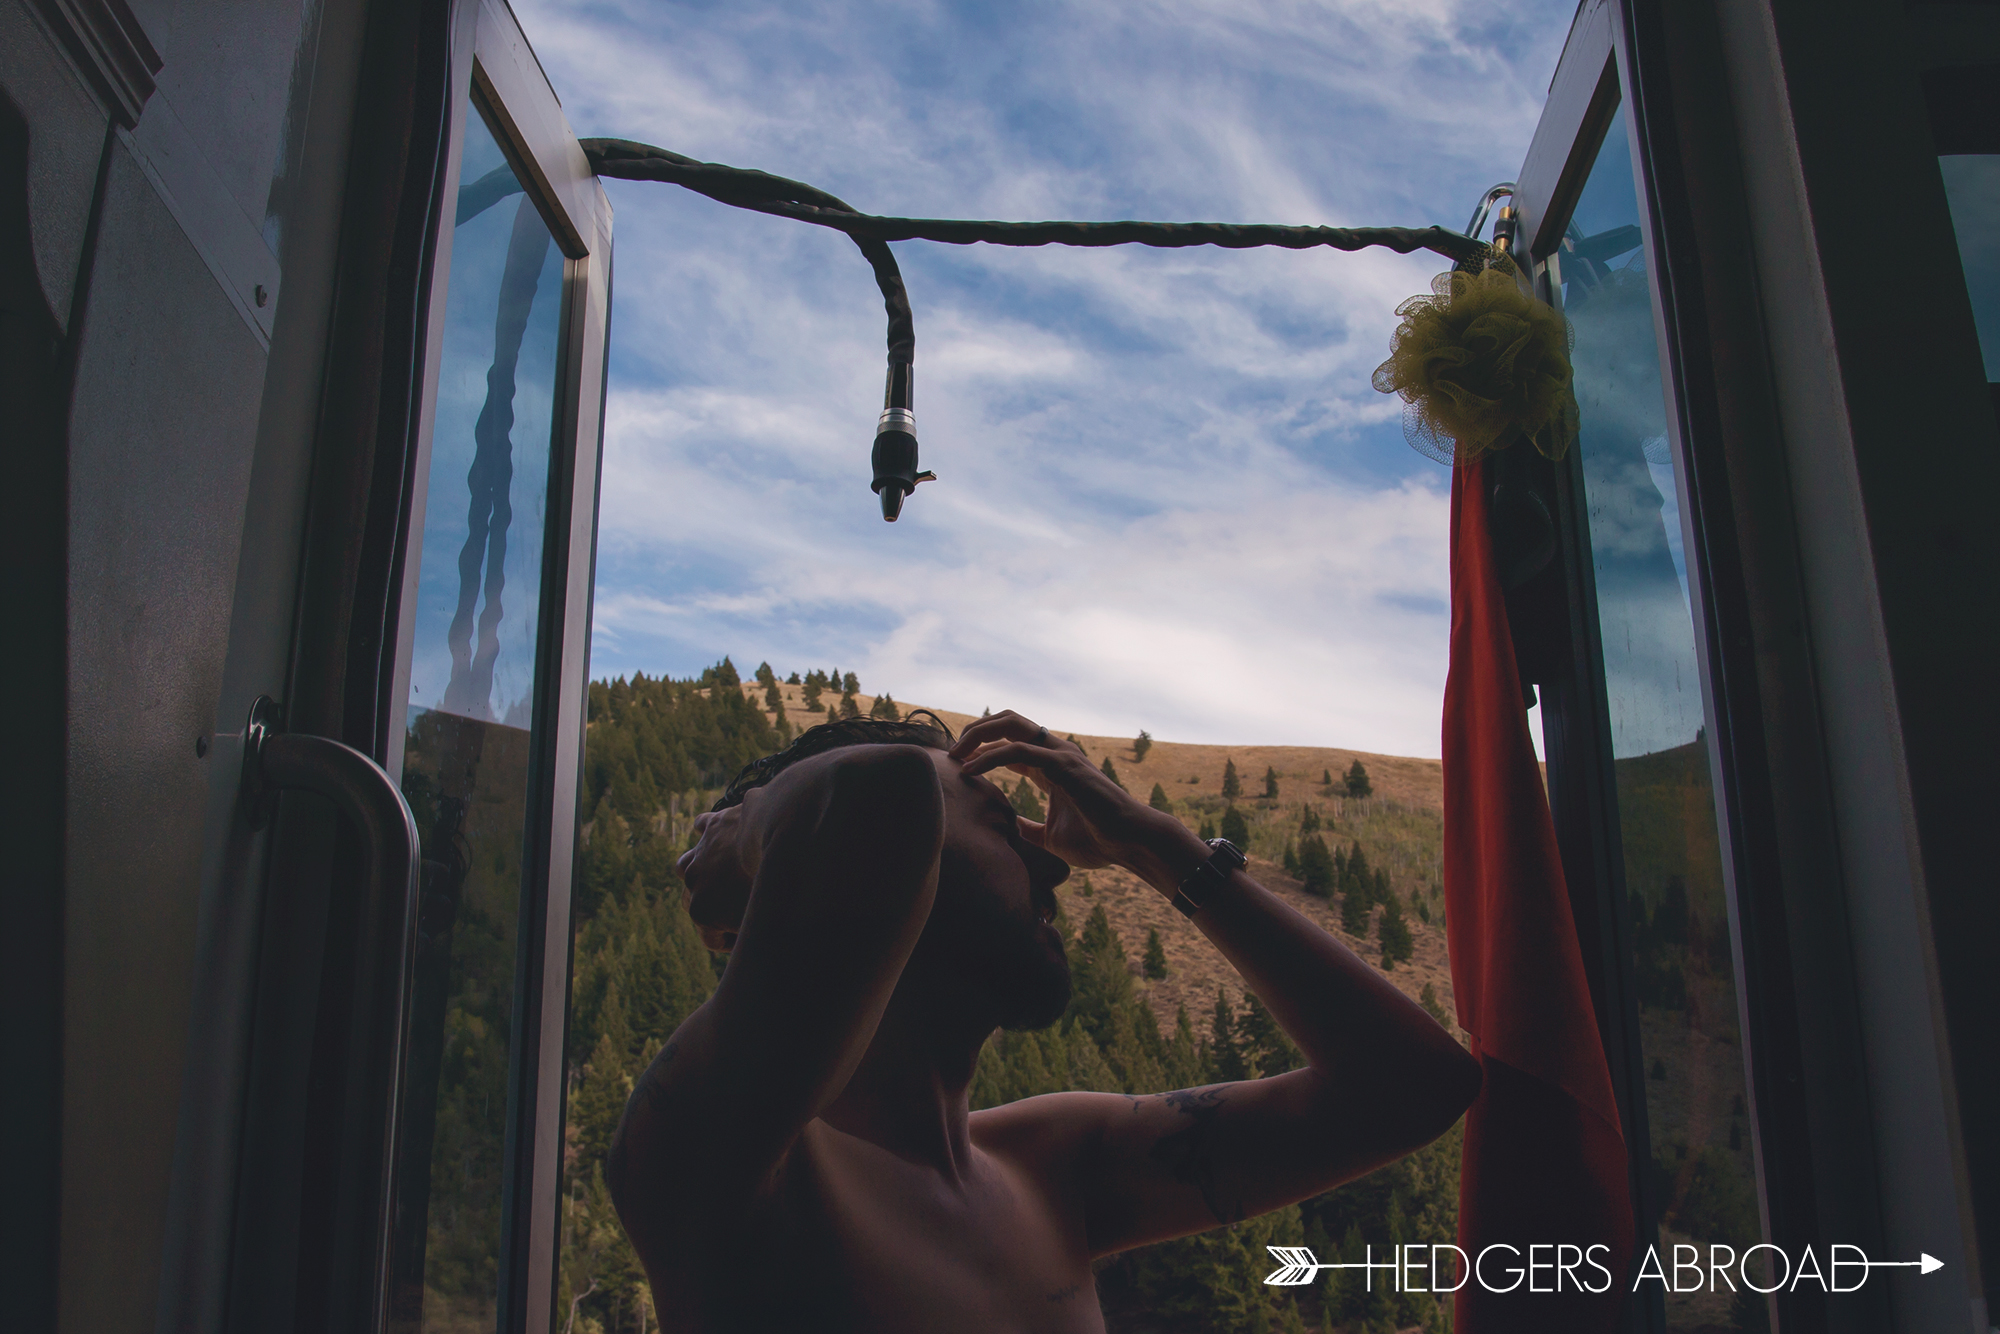
After a 5-week shakedown cruise in the American desert, we knew that we wanted to add a shower to our bus. Loads of #vanlife people have really nice, heated, shower solutions, but we wanted something simple and efficient that wouldn’t tax our batteries or take up extra space. As a solution, I simply added a y-valve under our sink which allows us to attach a garden hose with a nozzle to the line and run the hose out of any window, door, or vent we choose for an outdoor shower. A major drawback to this design is that the water is typically pretty cold. Cold water coming out of our 33-gallon tank is a pretty effective incentive to shorten the shower and use less water. If you want a shower while on our bus, you’re going to have to embrace nature and soap up outside.

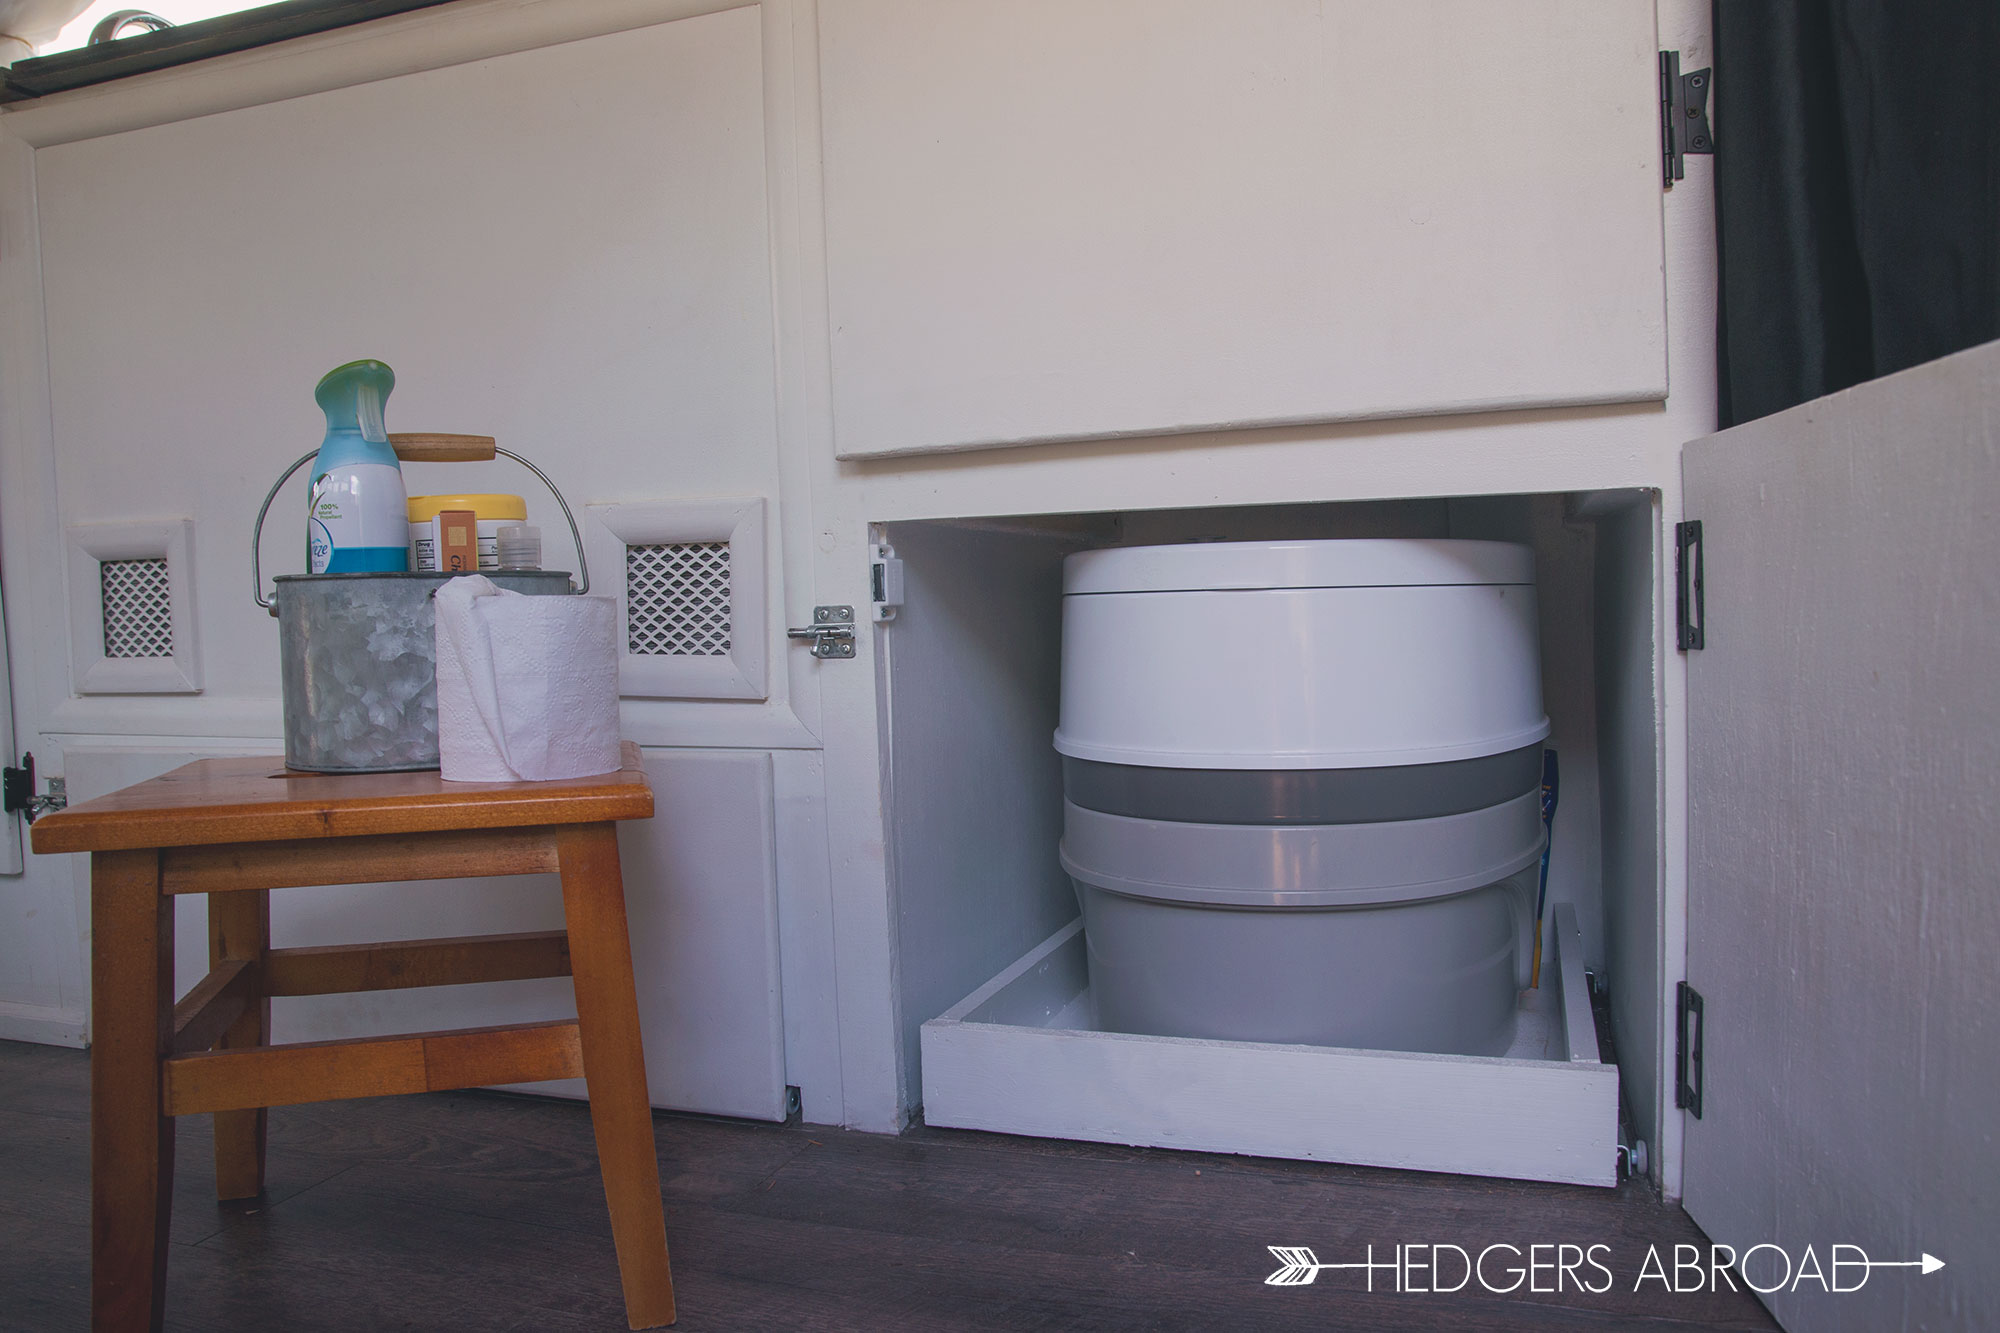
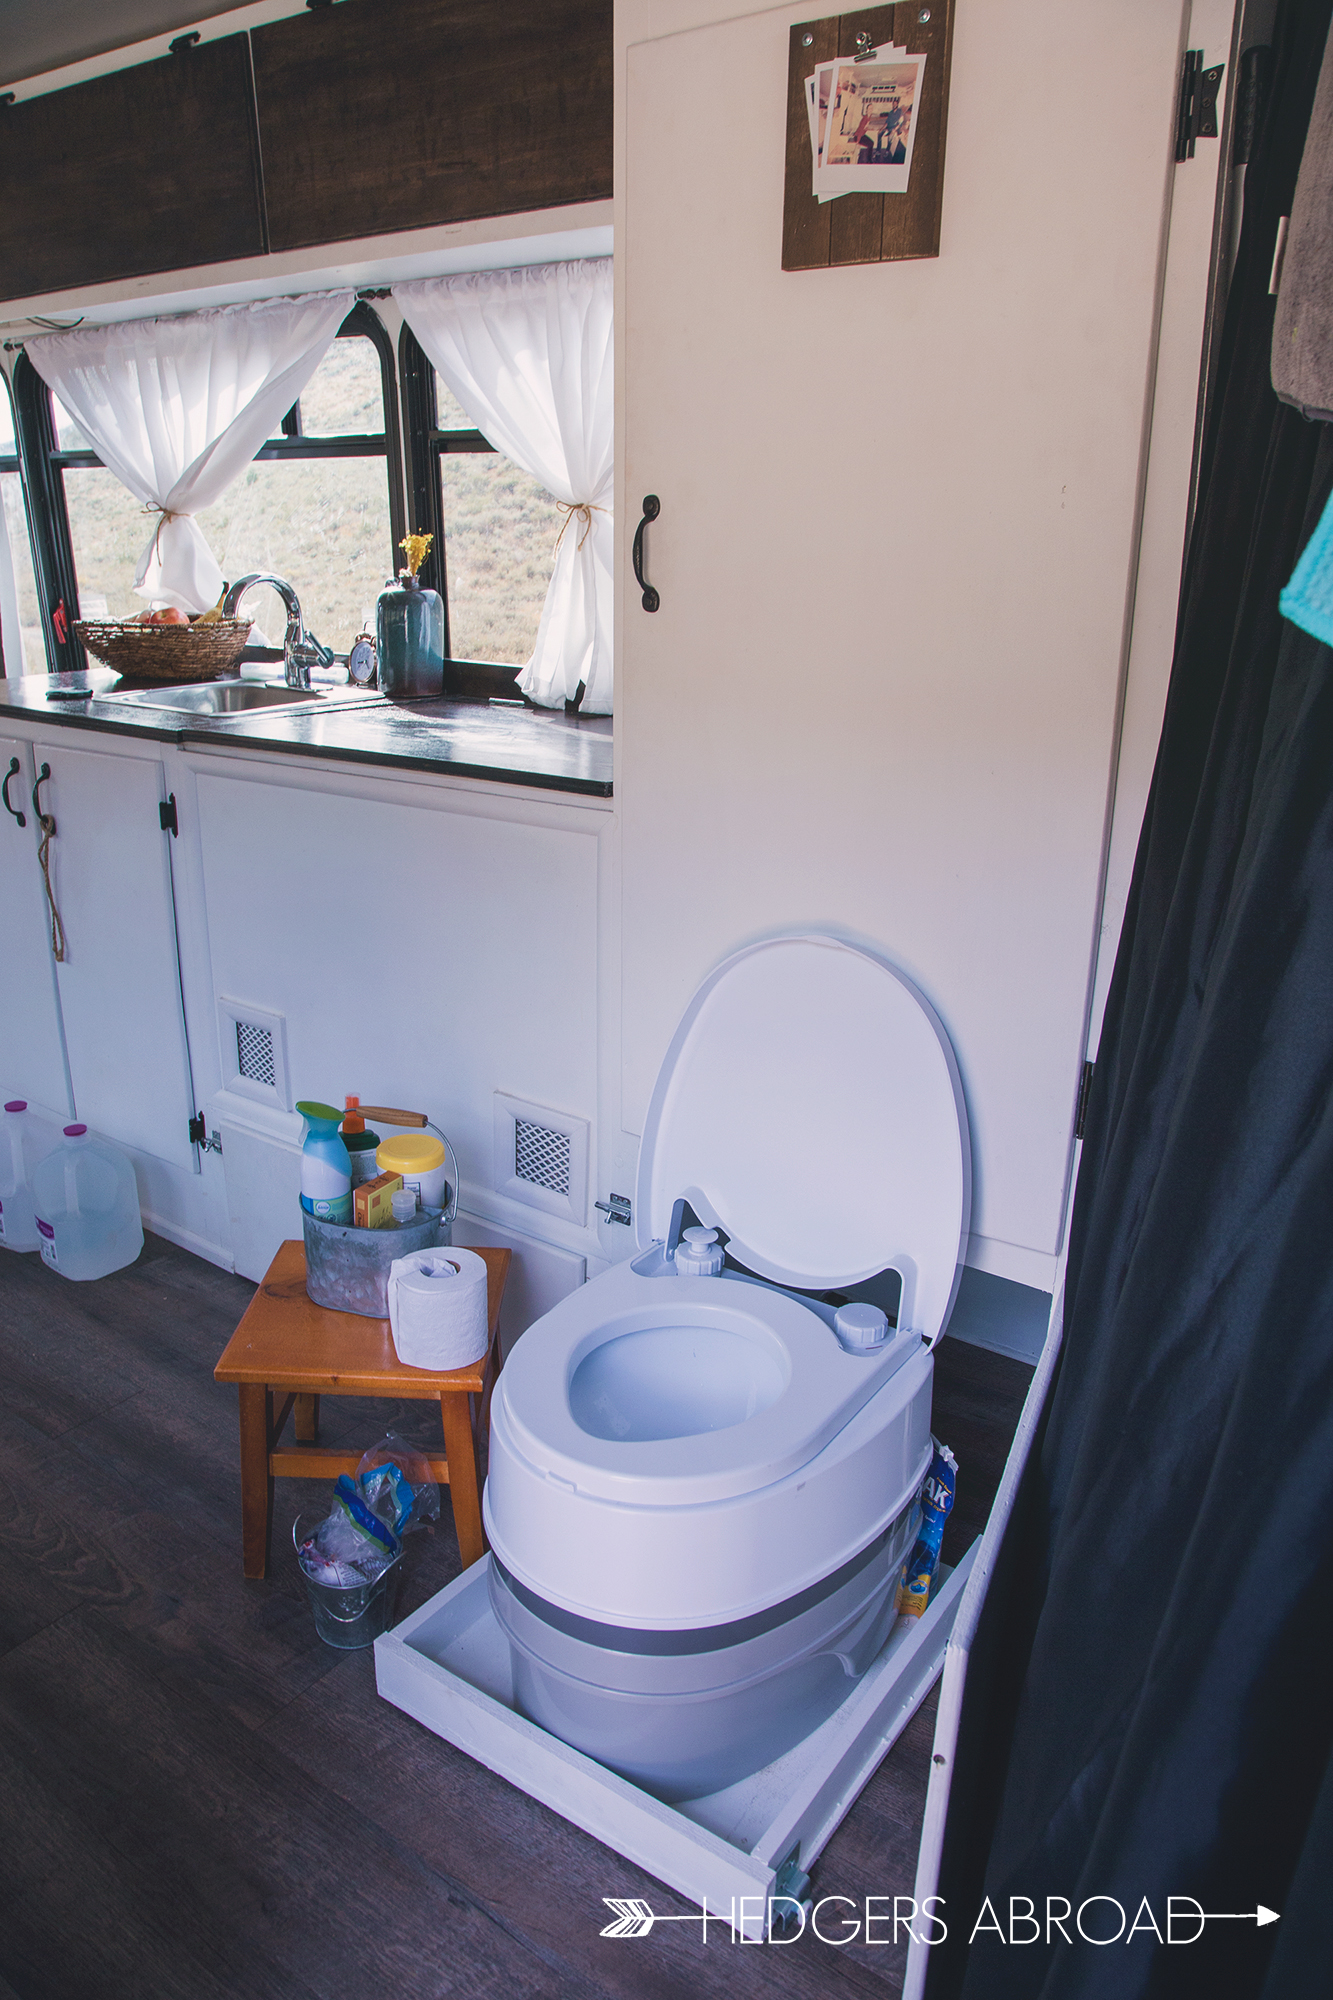
This one was a no-brainer. After a bit of research, I found out that almost everyone alive today poops. Since we planned to be off-grid fairly often, our camp toilet was decidedly a requirement unless digging 6-inch holes was to become a hobby of ours. Sure, we go #2 outside whenever possible, but our camper toilet is a lifesaver when Taco Night doesn’t sit well and there’s no time to search for a private area to dig little holes.

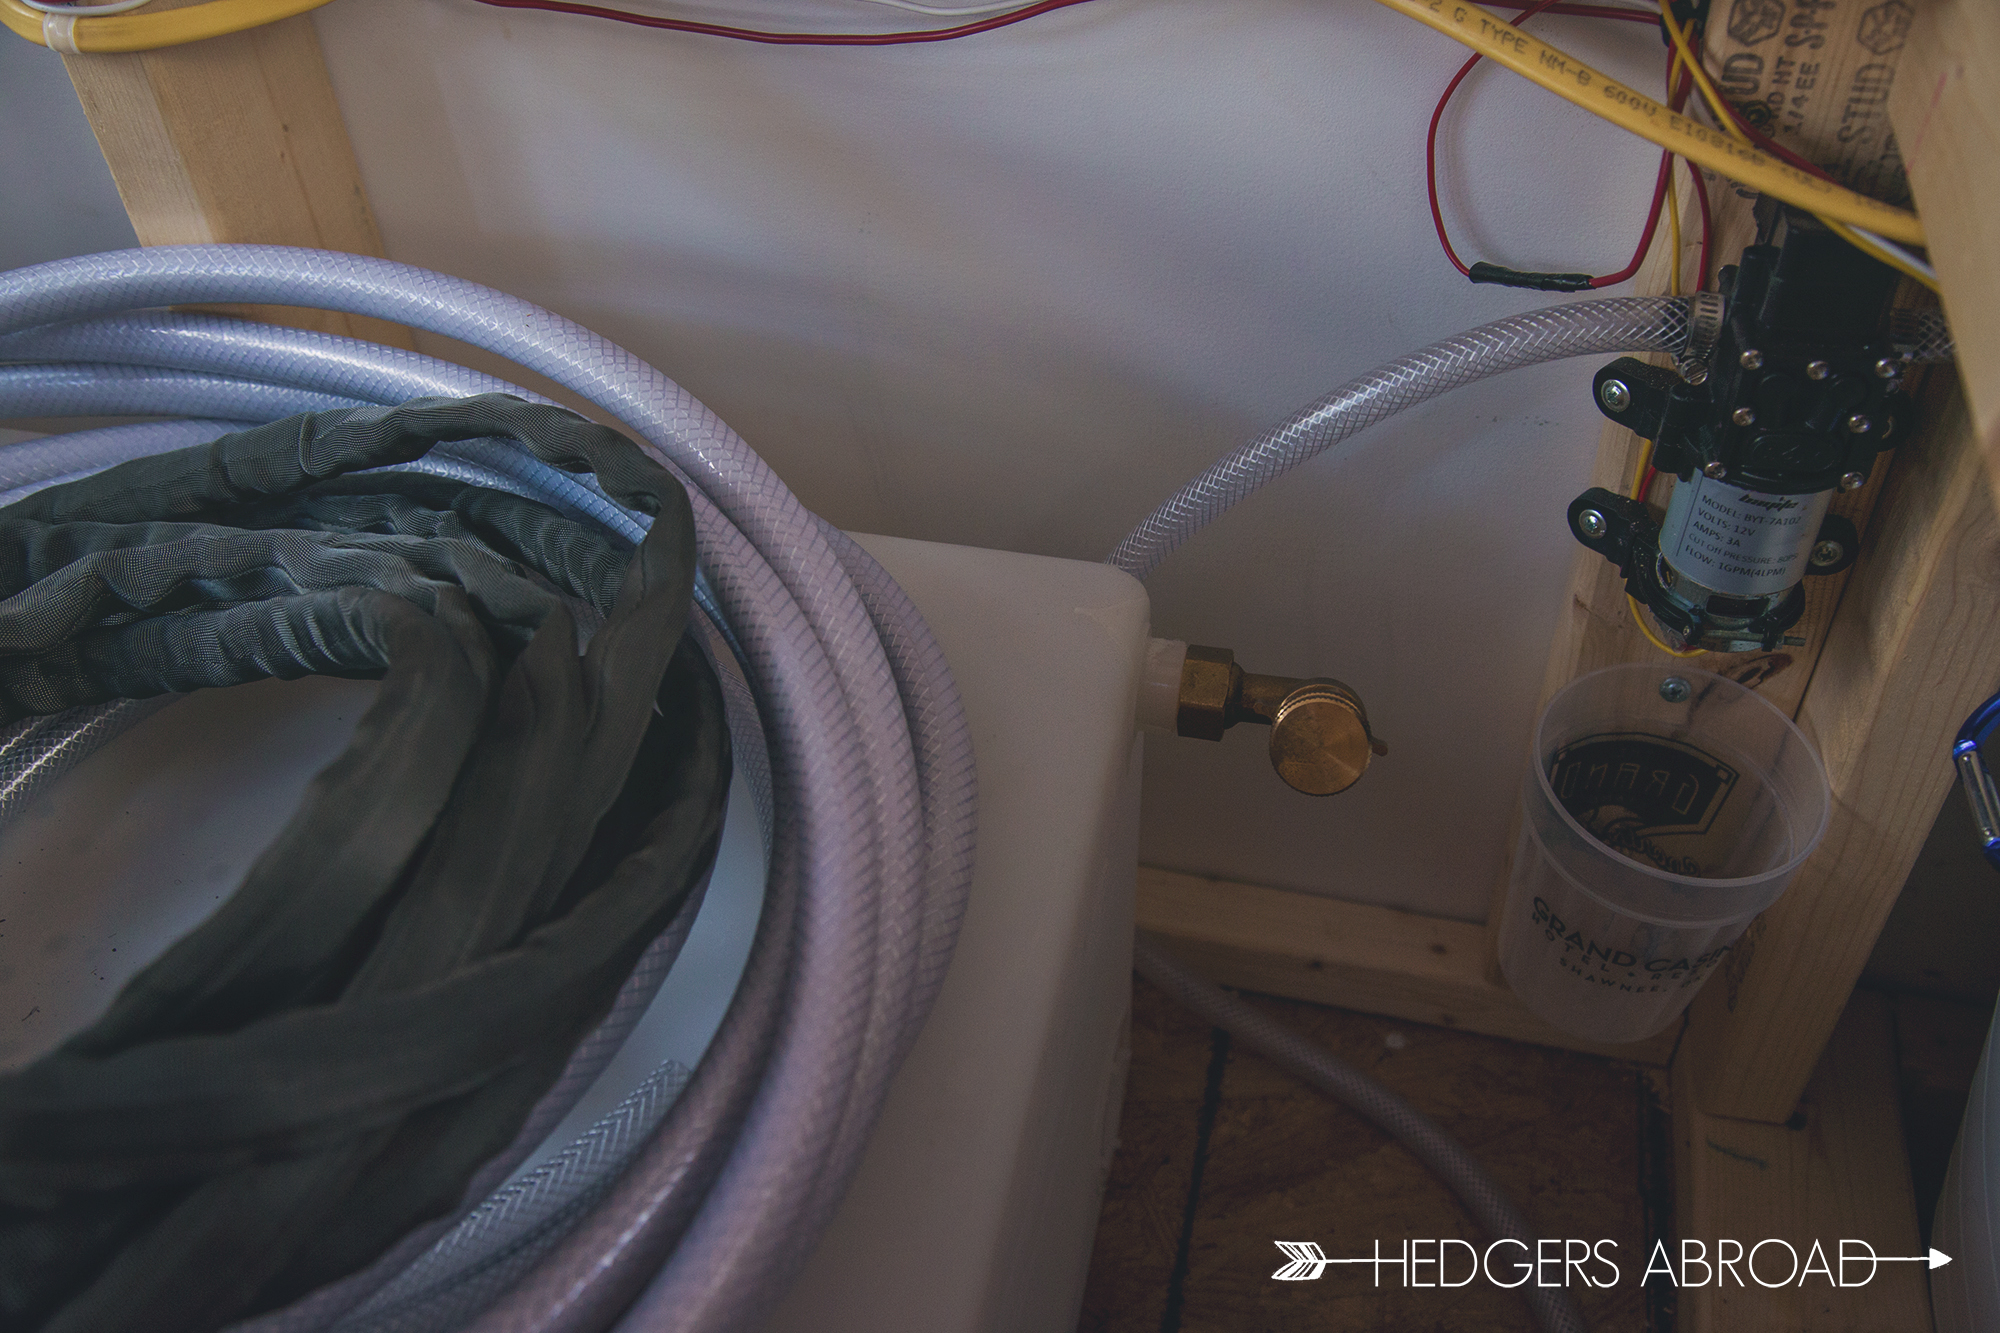
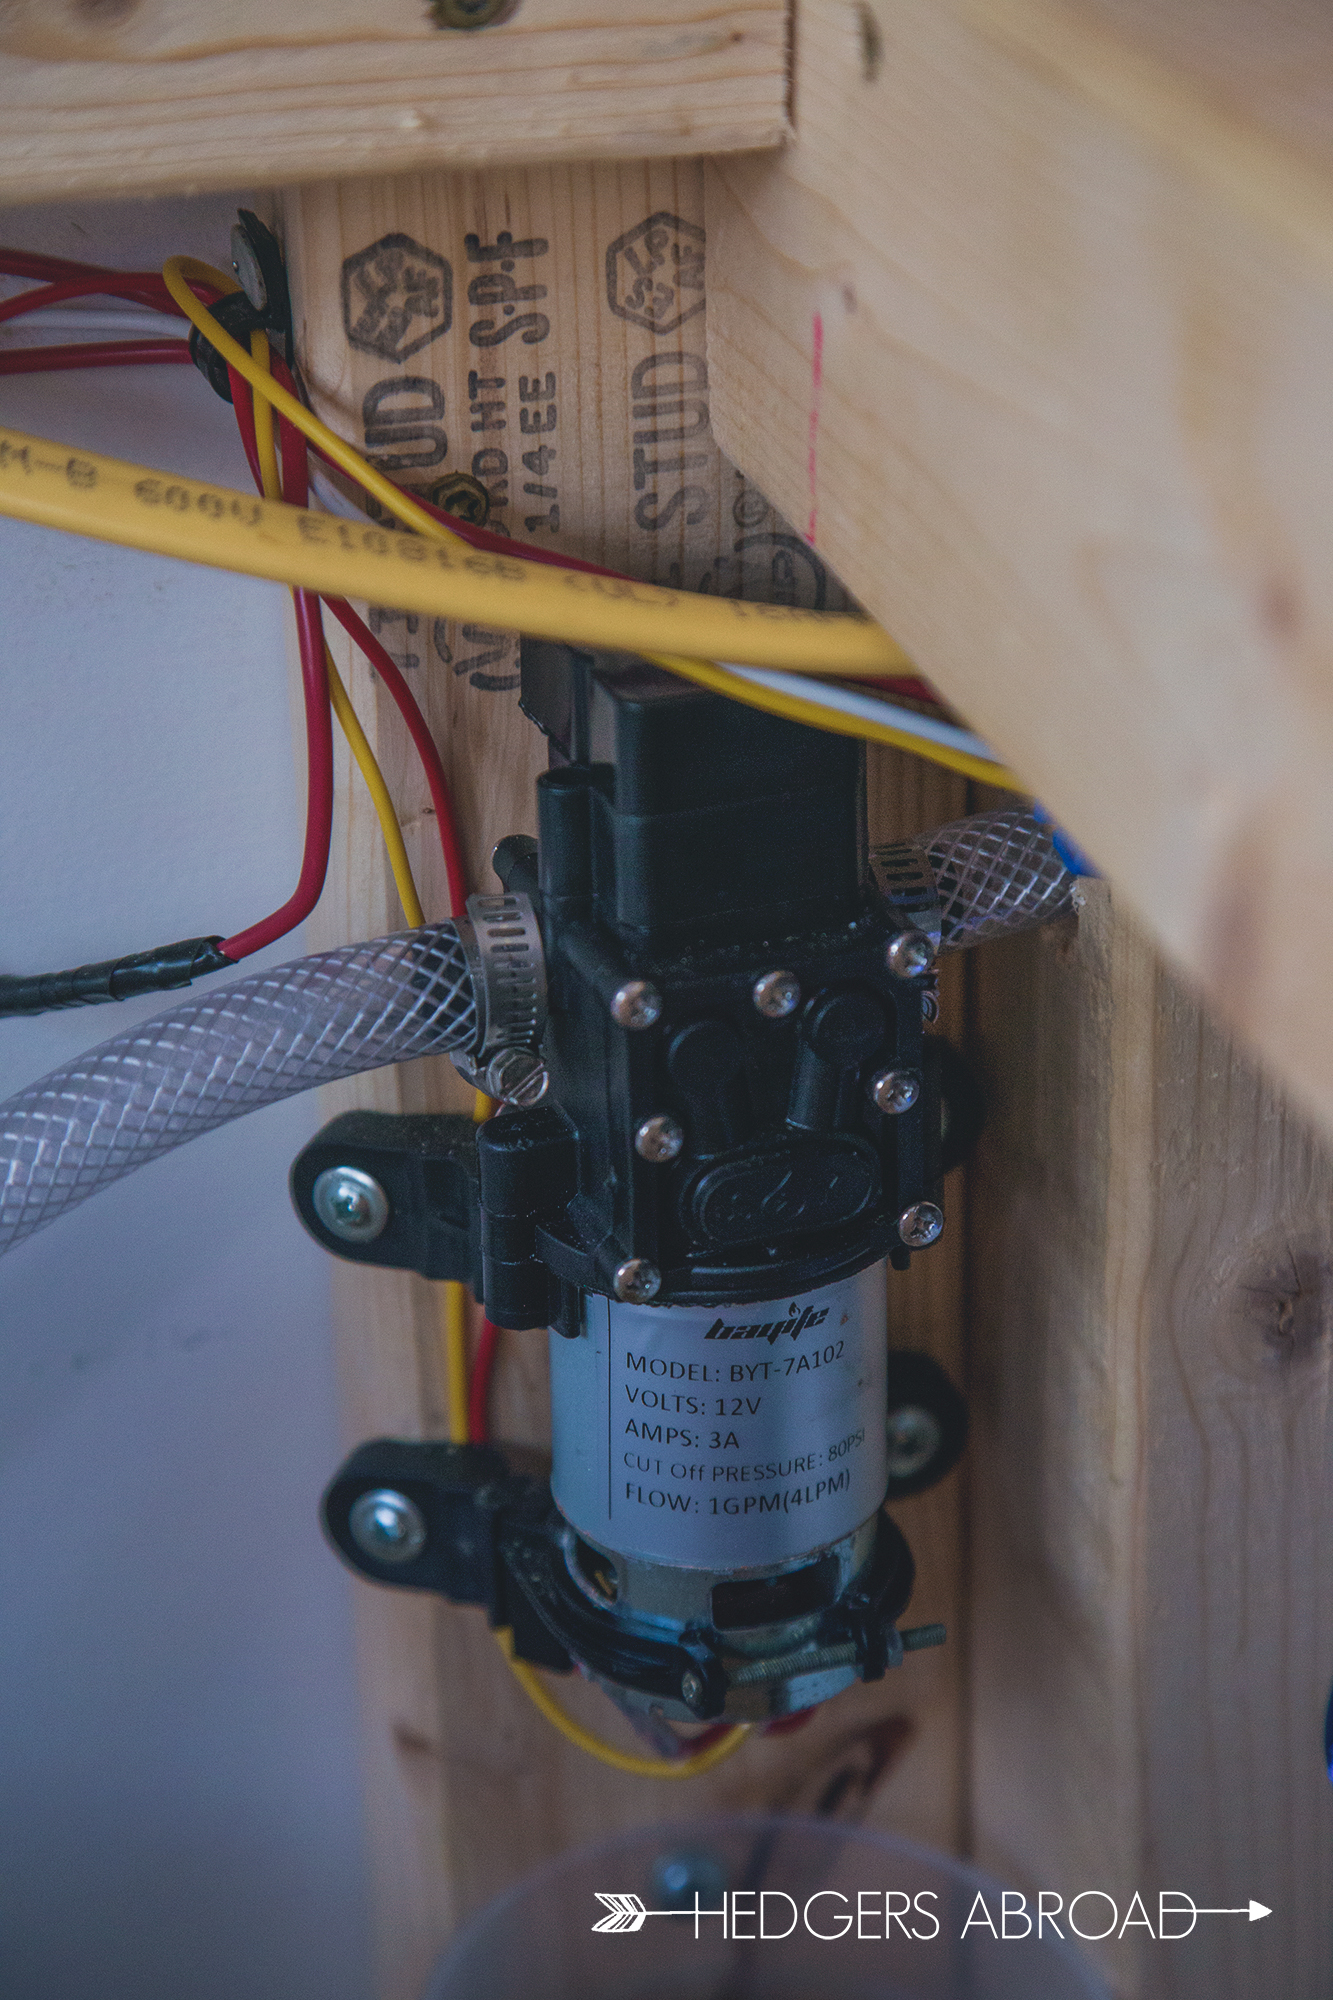
What is a sink and shower without some water to push through it? For our build we needed a basic water pump and we’ve been fighting it ever since. Overall, we’ve been happy with this little pump and our water tank, but I have to readjust it once or twice a month. With 33 gallons of fresh water, we can go quite a while between water fill ups. Showers, cooking, and dishes put this little pump to regular use but, for the noise factor, I wish I’d mounted it differently to reduce the sound of the pump when it’s running. Obviously, this little dude runs off of our house batteries, and is wired into our switch panel by the entryway.


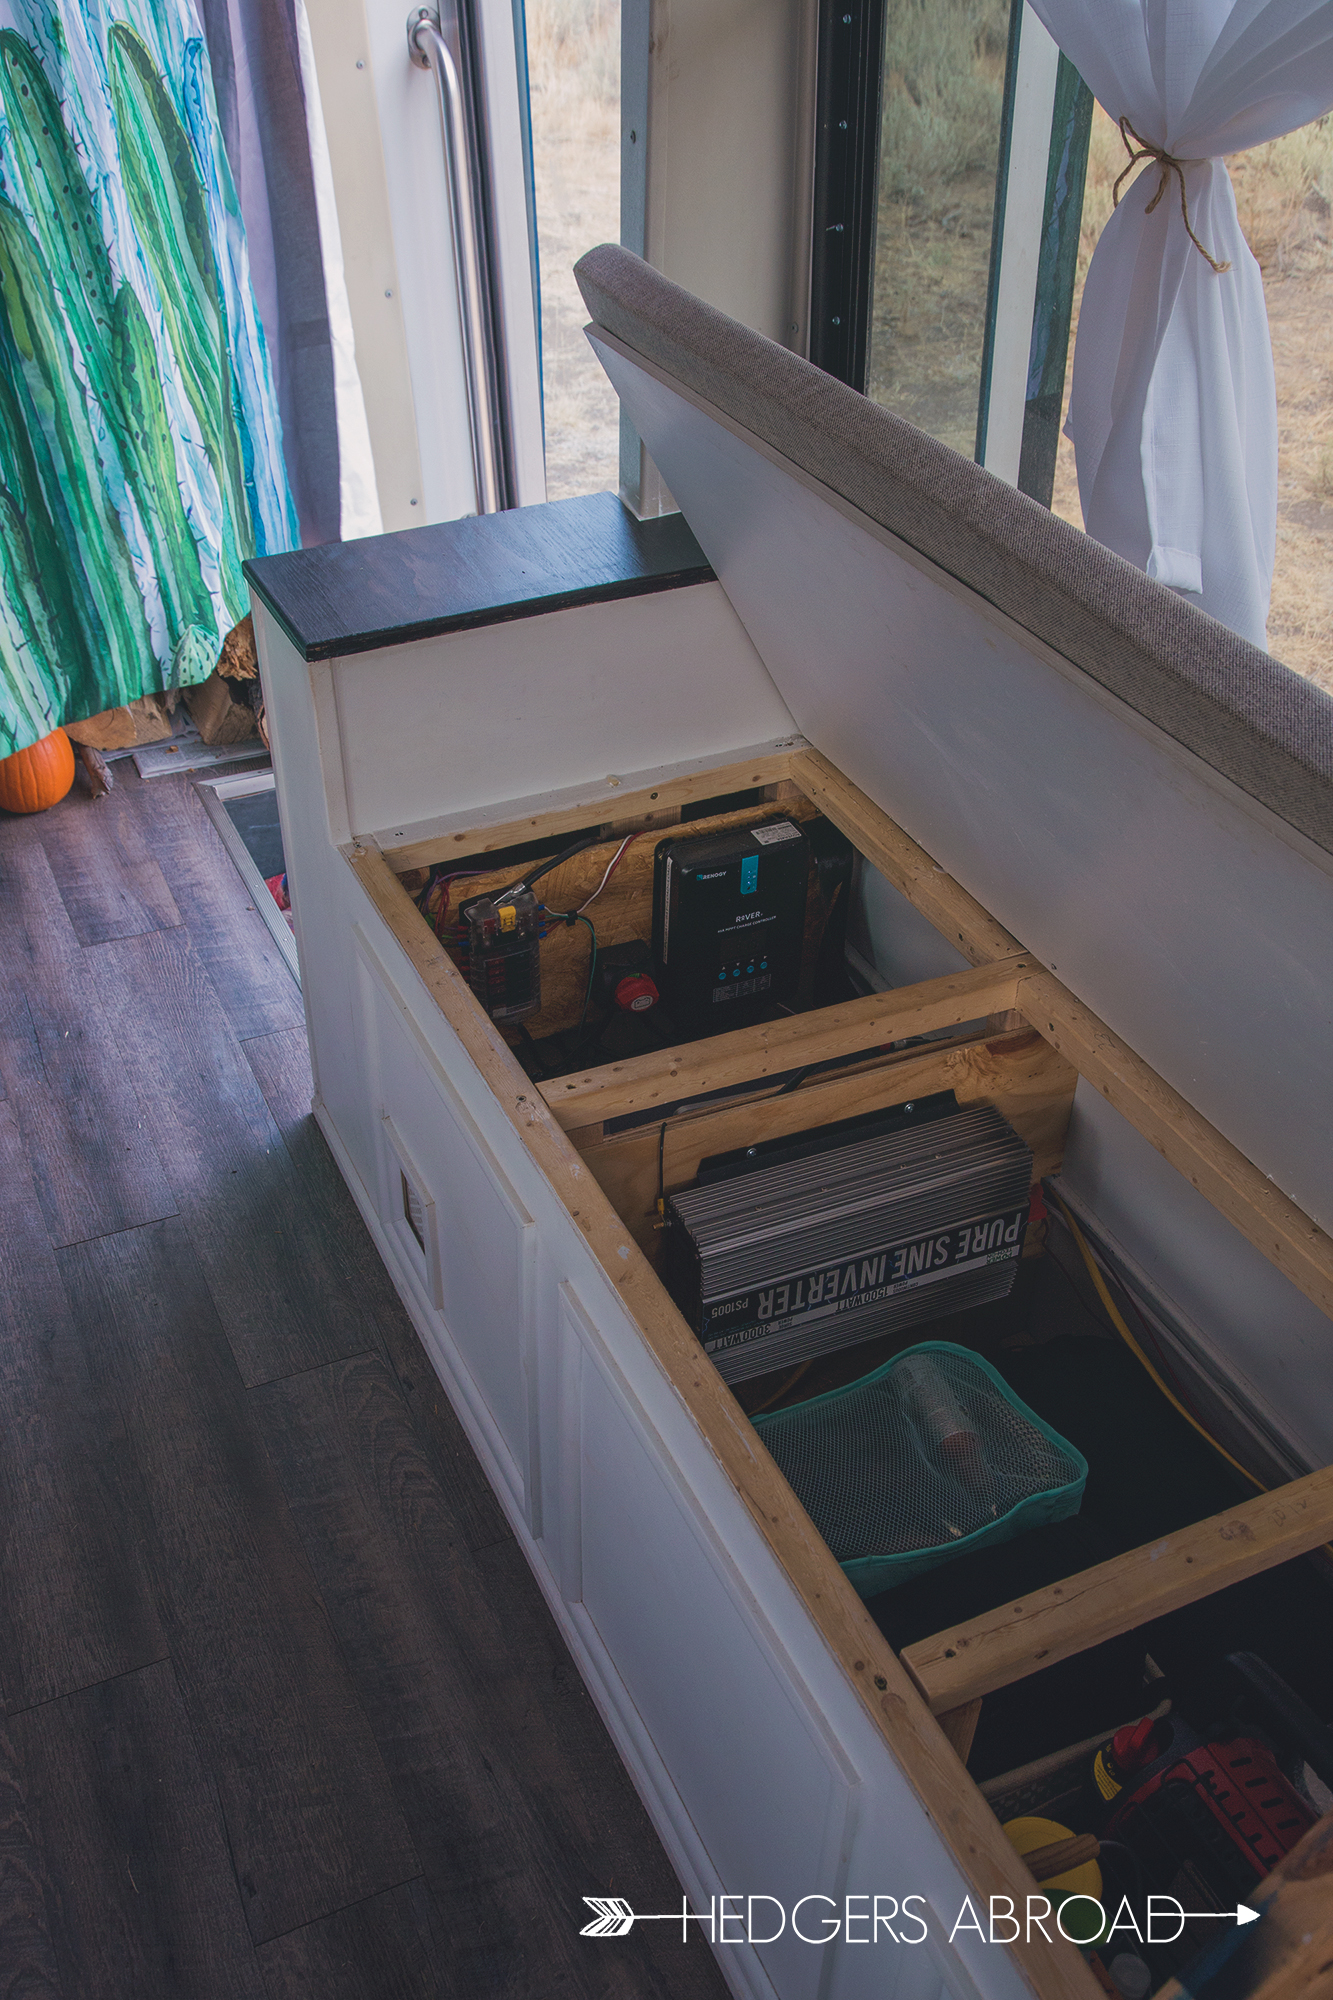
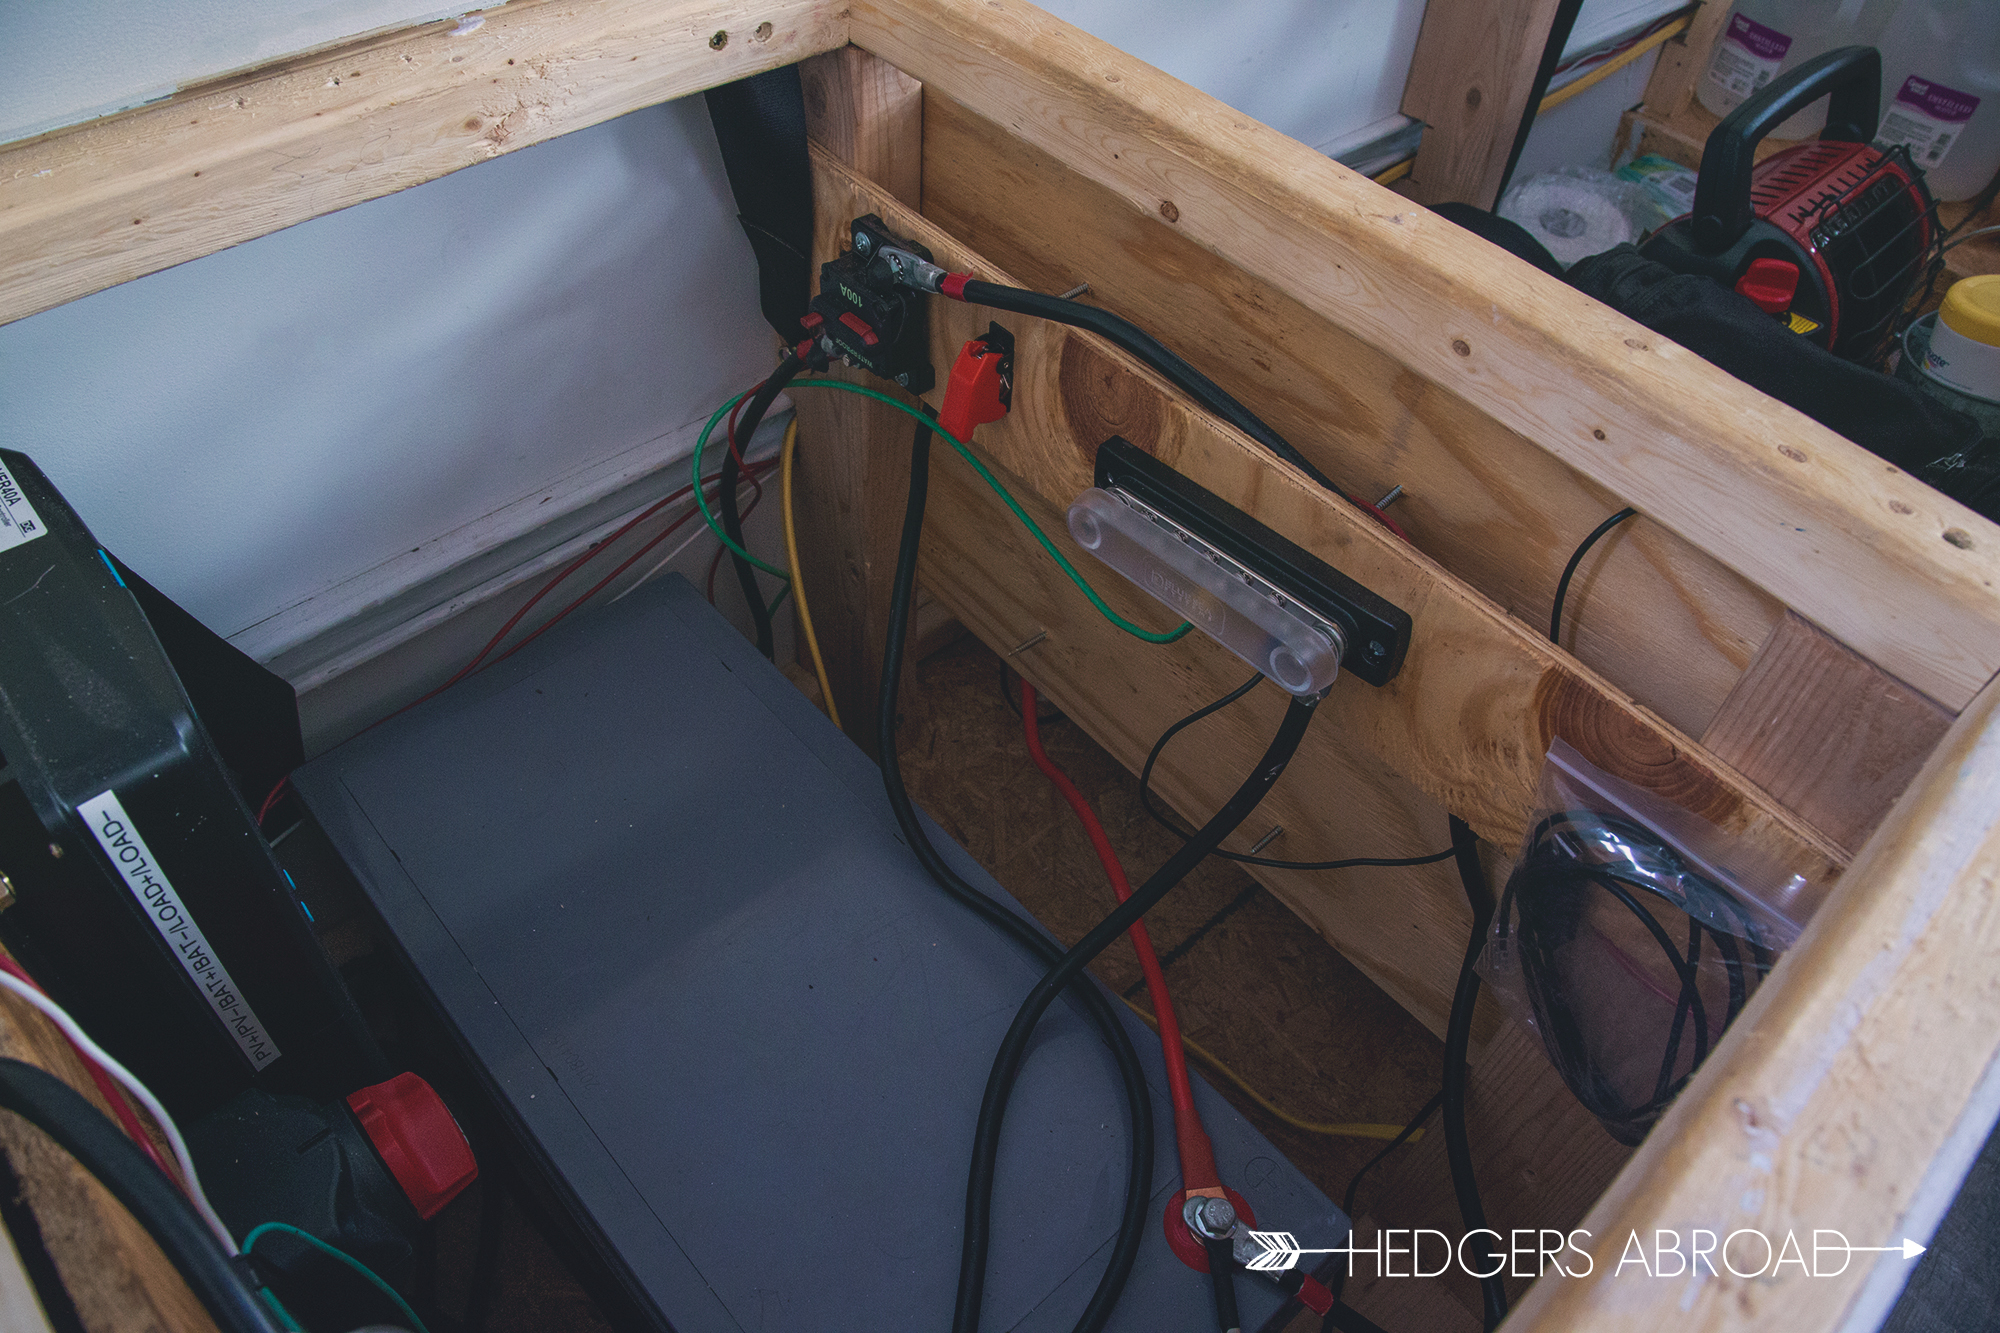
This section almost deserves its own blog post because of how much time/energy went into getting it all configured. So put it simply, we’ve got two solar panels on the roof that push juice to our house battery. Our charge controller maximizes the panels’ efficiency and monitors the battery to ensure that we don’t over-tax it and cause damage. We have a fuse panel that safeguards all of the different systems behind a master “kill-switch” that cuts power to everything. For charging, we needed wall outlets, so we installed an inverter that is also very efficient and has a control panel with the rest of our switches.
Since preparedness is largely build on a foundation of redundancies, charging our battery is also possible through a battery isolator that can be used to divert the engine’s alternator charge to the house battery. I’ve also designed this system to allow us to “jump” our bus’s main batteries using our house battery and solar panels. Apart from that, there isn’t a lot to talk about without getting too technical and boring. Stephanie has nodded blankly with an empty expression on her face hundreds of times while I talked about the electrical system, so I’m starting to think that people don’t care. Feel free to ask for more specifics, though, as I’d be happy to help anyone with their research and design of their own system.
TLDR: We have solar panels that charge a big battery so that our fridge, lights, water pump, and charging ports all work flawlessly wherever we decide to park.

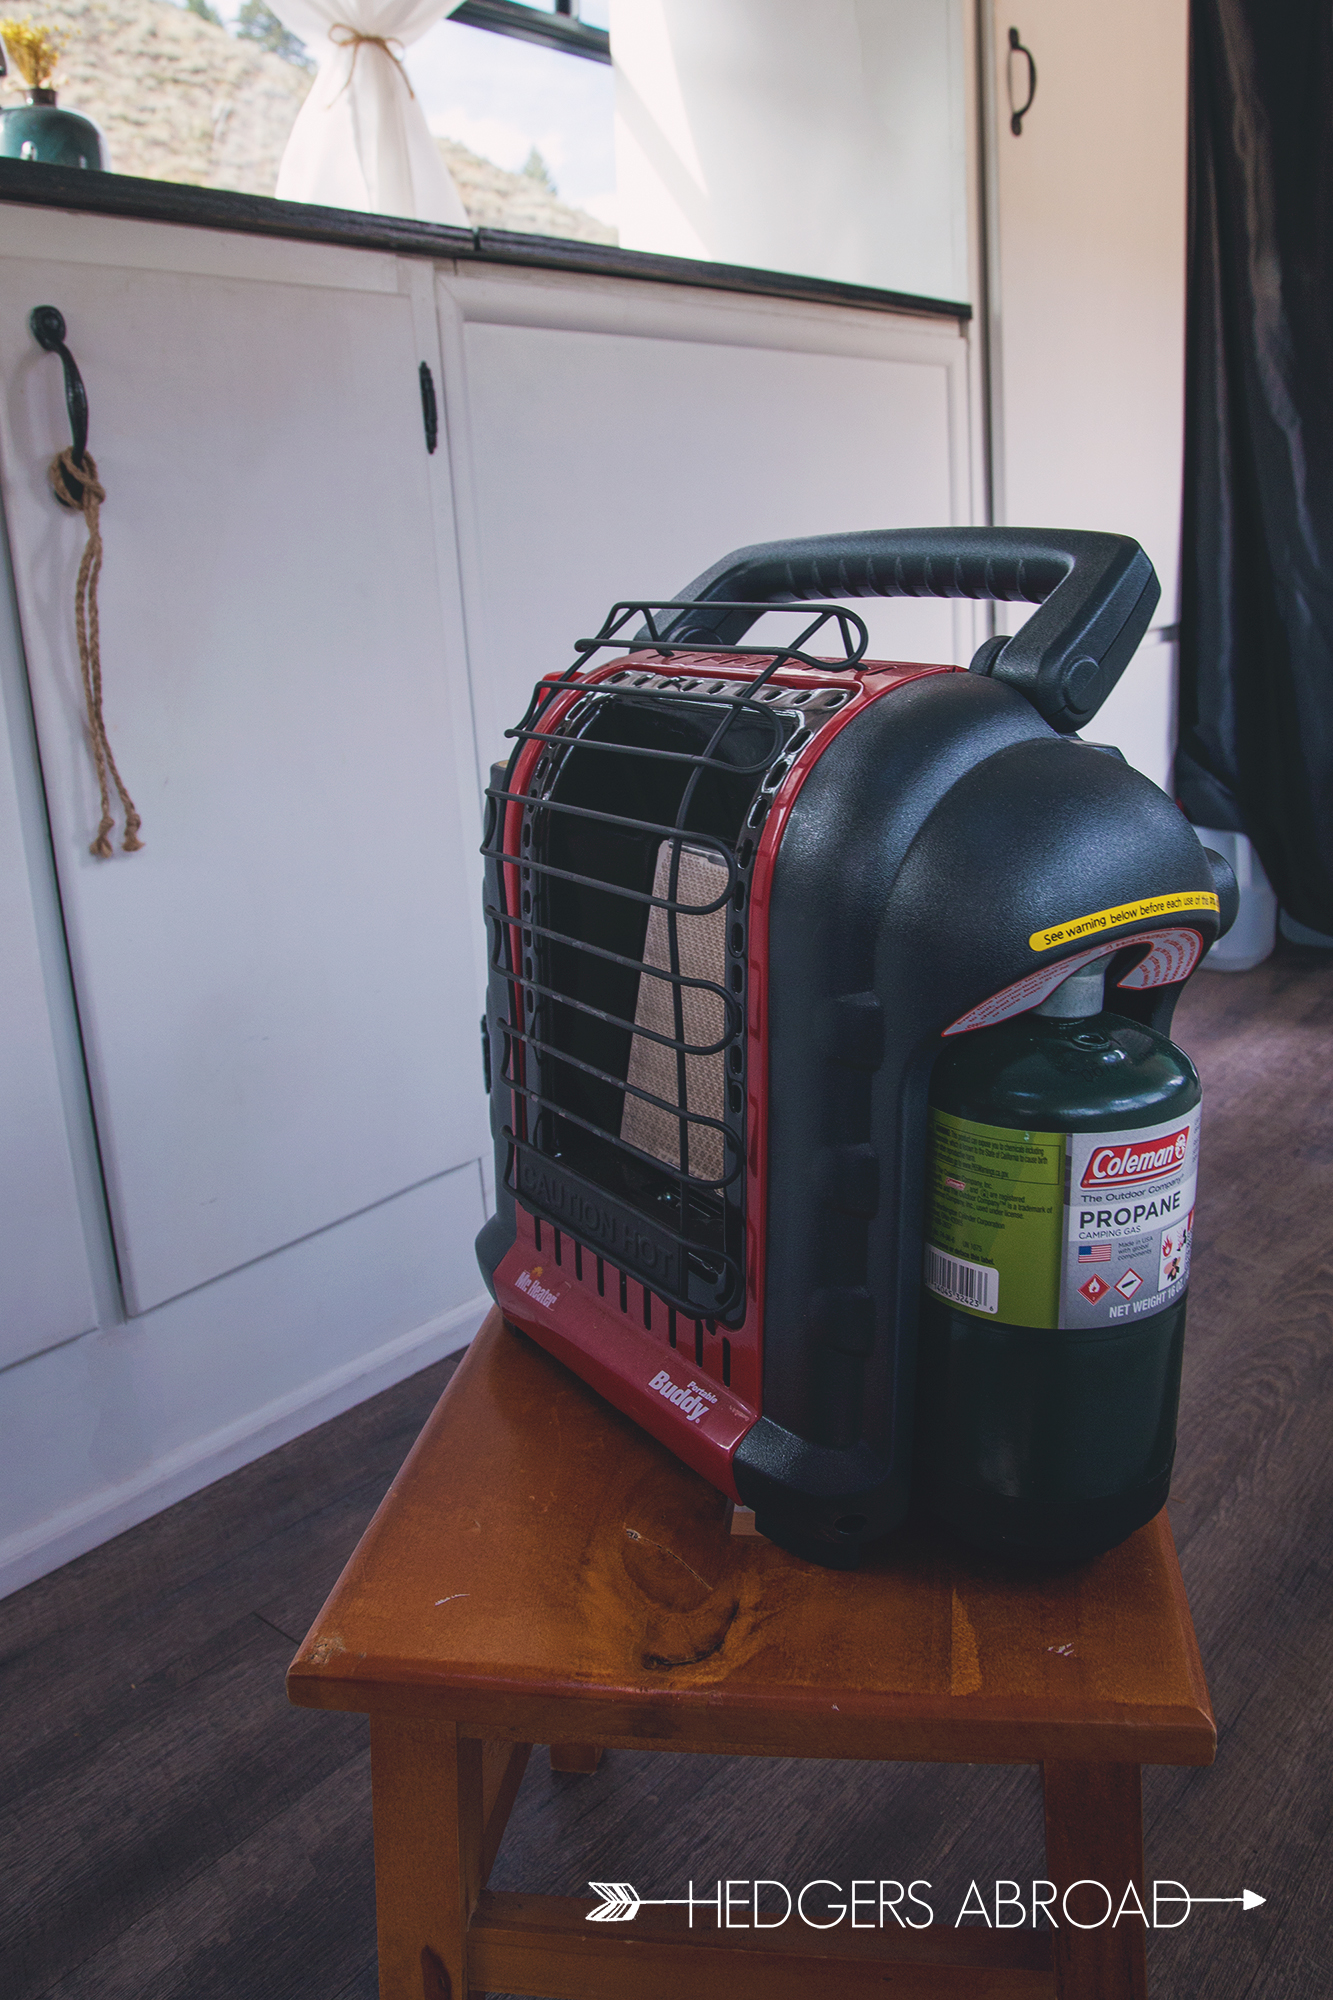
After a bit of suffering through intense summer heat in the desert without a/c, we decided to find a better solution for wintertime so we didn’t die on our bus from hypothermia. Enter Mr. Heater Buddy, a space heater run off of propane. We bought this model, as it is safe to use indoors. It has an oxygen depletion sensor and accidental tip-over safety shut off which makes it ideal for using on the bus. It can heat a space of up to 225 square feet and will run for 3 hours on high, 6 hours on low. In the frigid mountain mornings, this little guy has been a lifesaver!


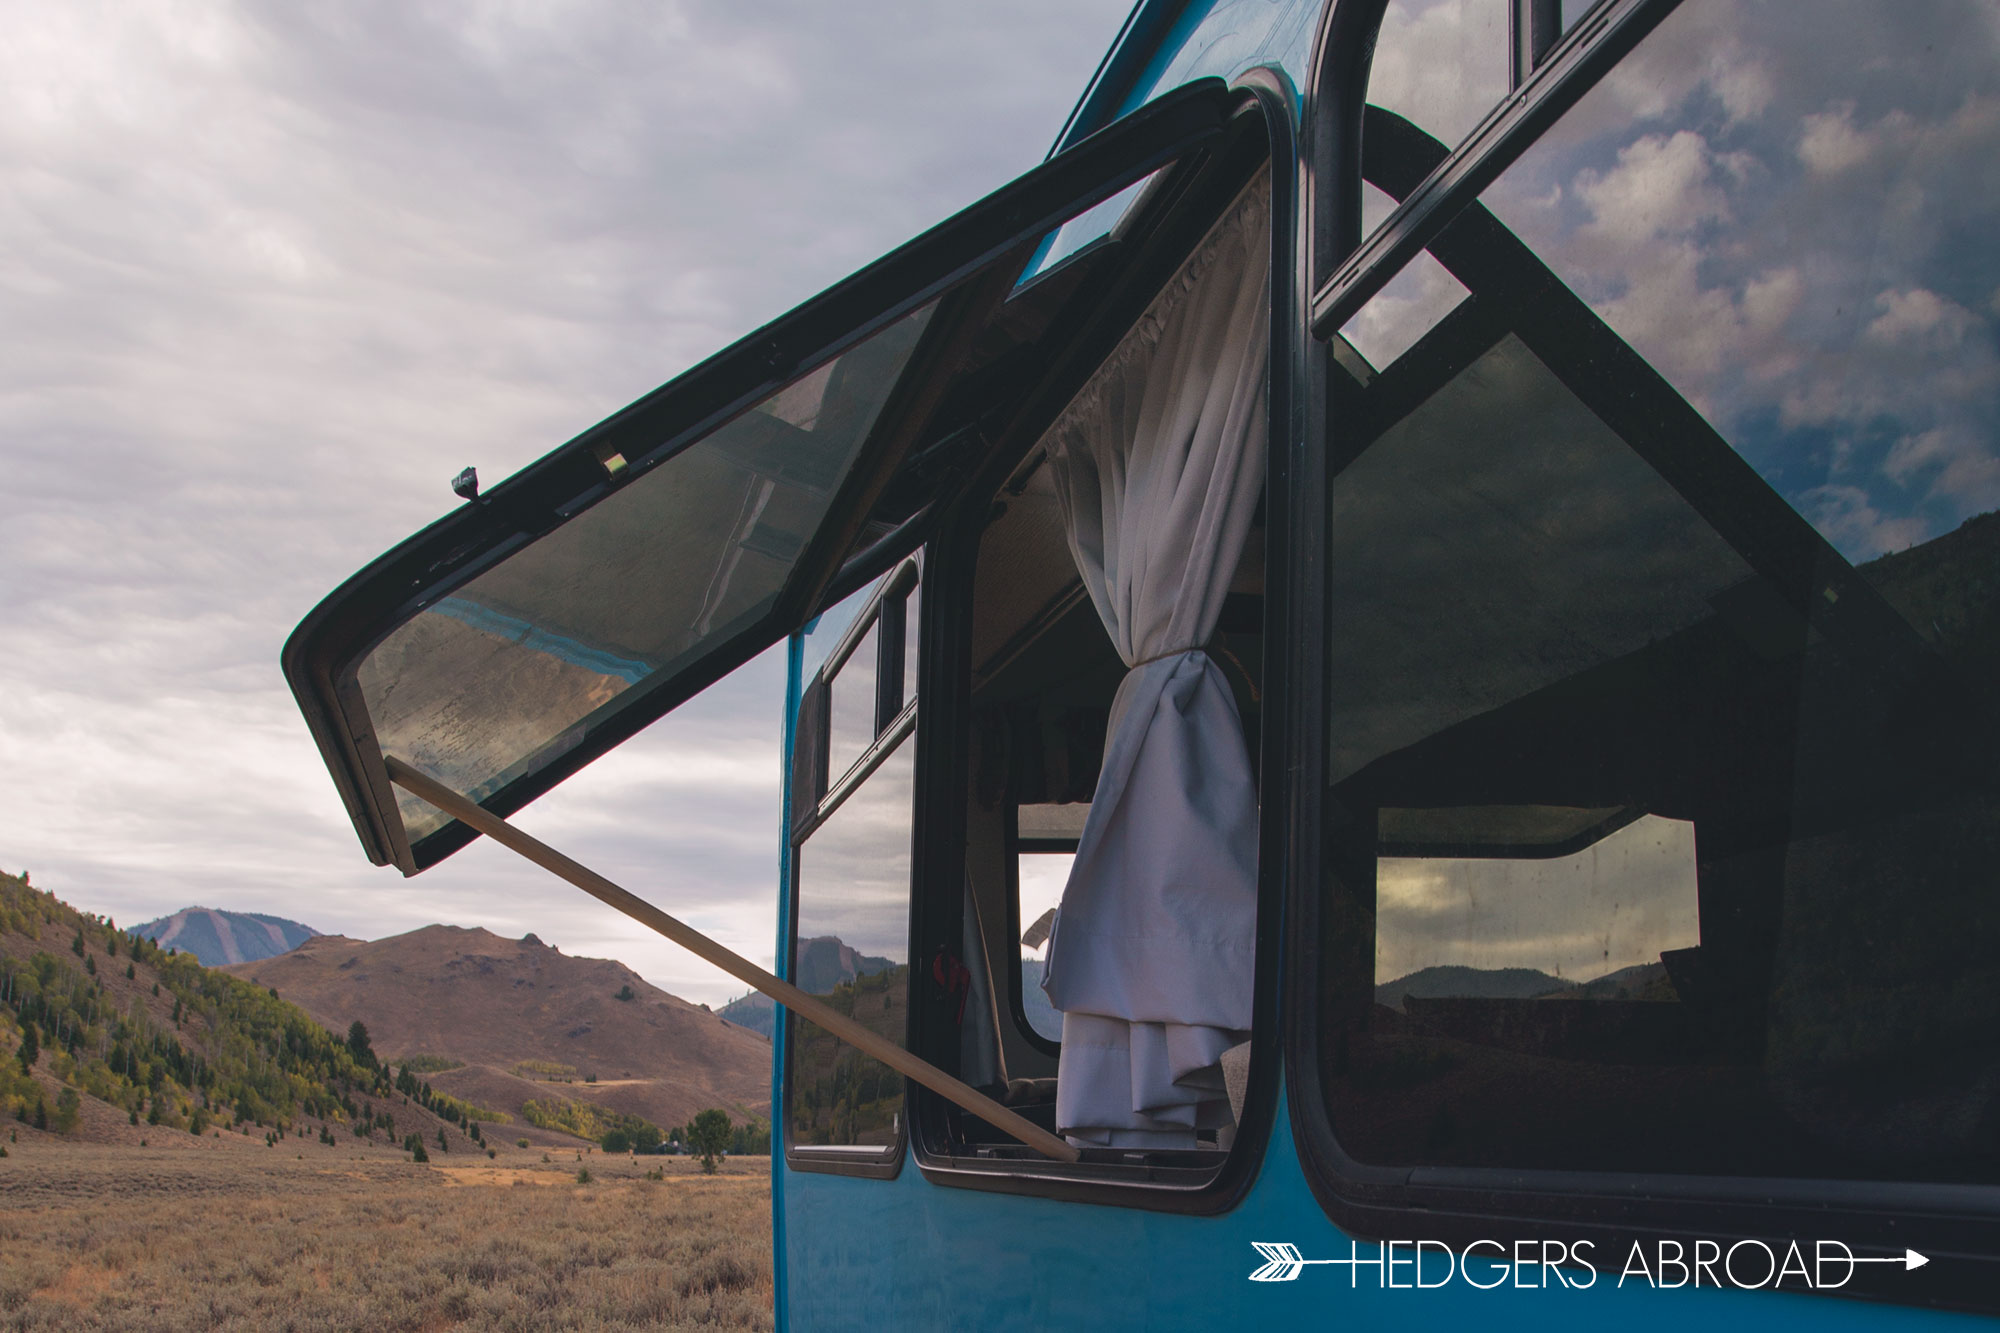
We could have covered all our windows up and insulated our bus, but I really love being able to look out our windows and have 360° views of our surrounding landscape! Three of our large windows, two on the sides, one in the back, are old emergency exit windows. This means we can simply use a few dowel rods to prop them open and get amazing cross breezes when it gets a bit too warm on the bus.

Fine, I’ll talk about the panels. We have two 100w solar panels that run to our 200Ah battery inside. Much to everyone’s surprise, the solar panels are glued onto the roof and, so far, haven’t fallen off in heavy winds or while driving down the road. These guys are the backbone of our ability to stay off-grid. Also worth noting is that we have a very nice MMPT Charge Controller that boosts our efficiency quite a lot. We’ve left room on the roof and in the house battery box for expansion, but we’ve been very happy with the electrical setup and our panels. Apparently I’m supposed to be cleaning them off every week, but we’ve done just fine completely forgetting about them and letting them self-clean in the rain.
Check Out: Our Video Episodes of Living Onboard

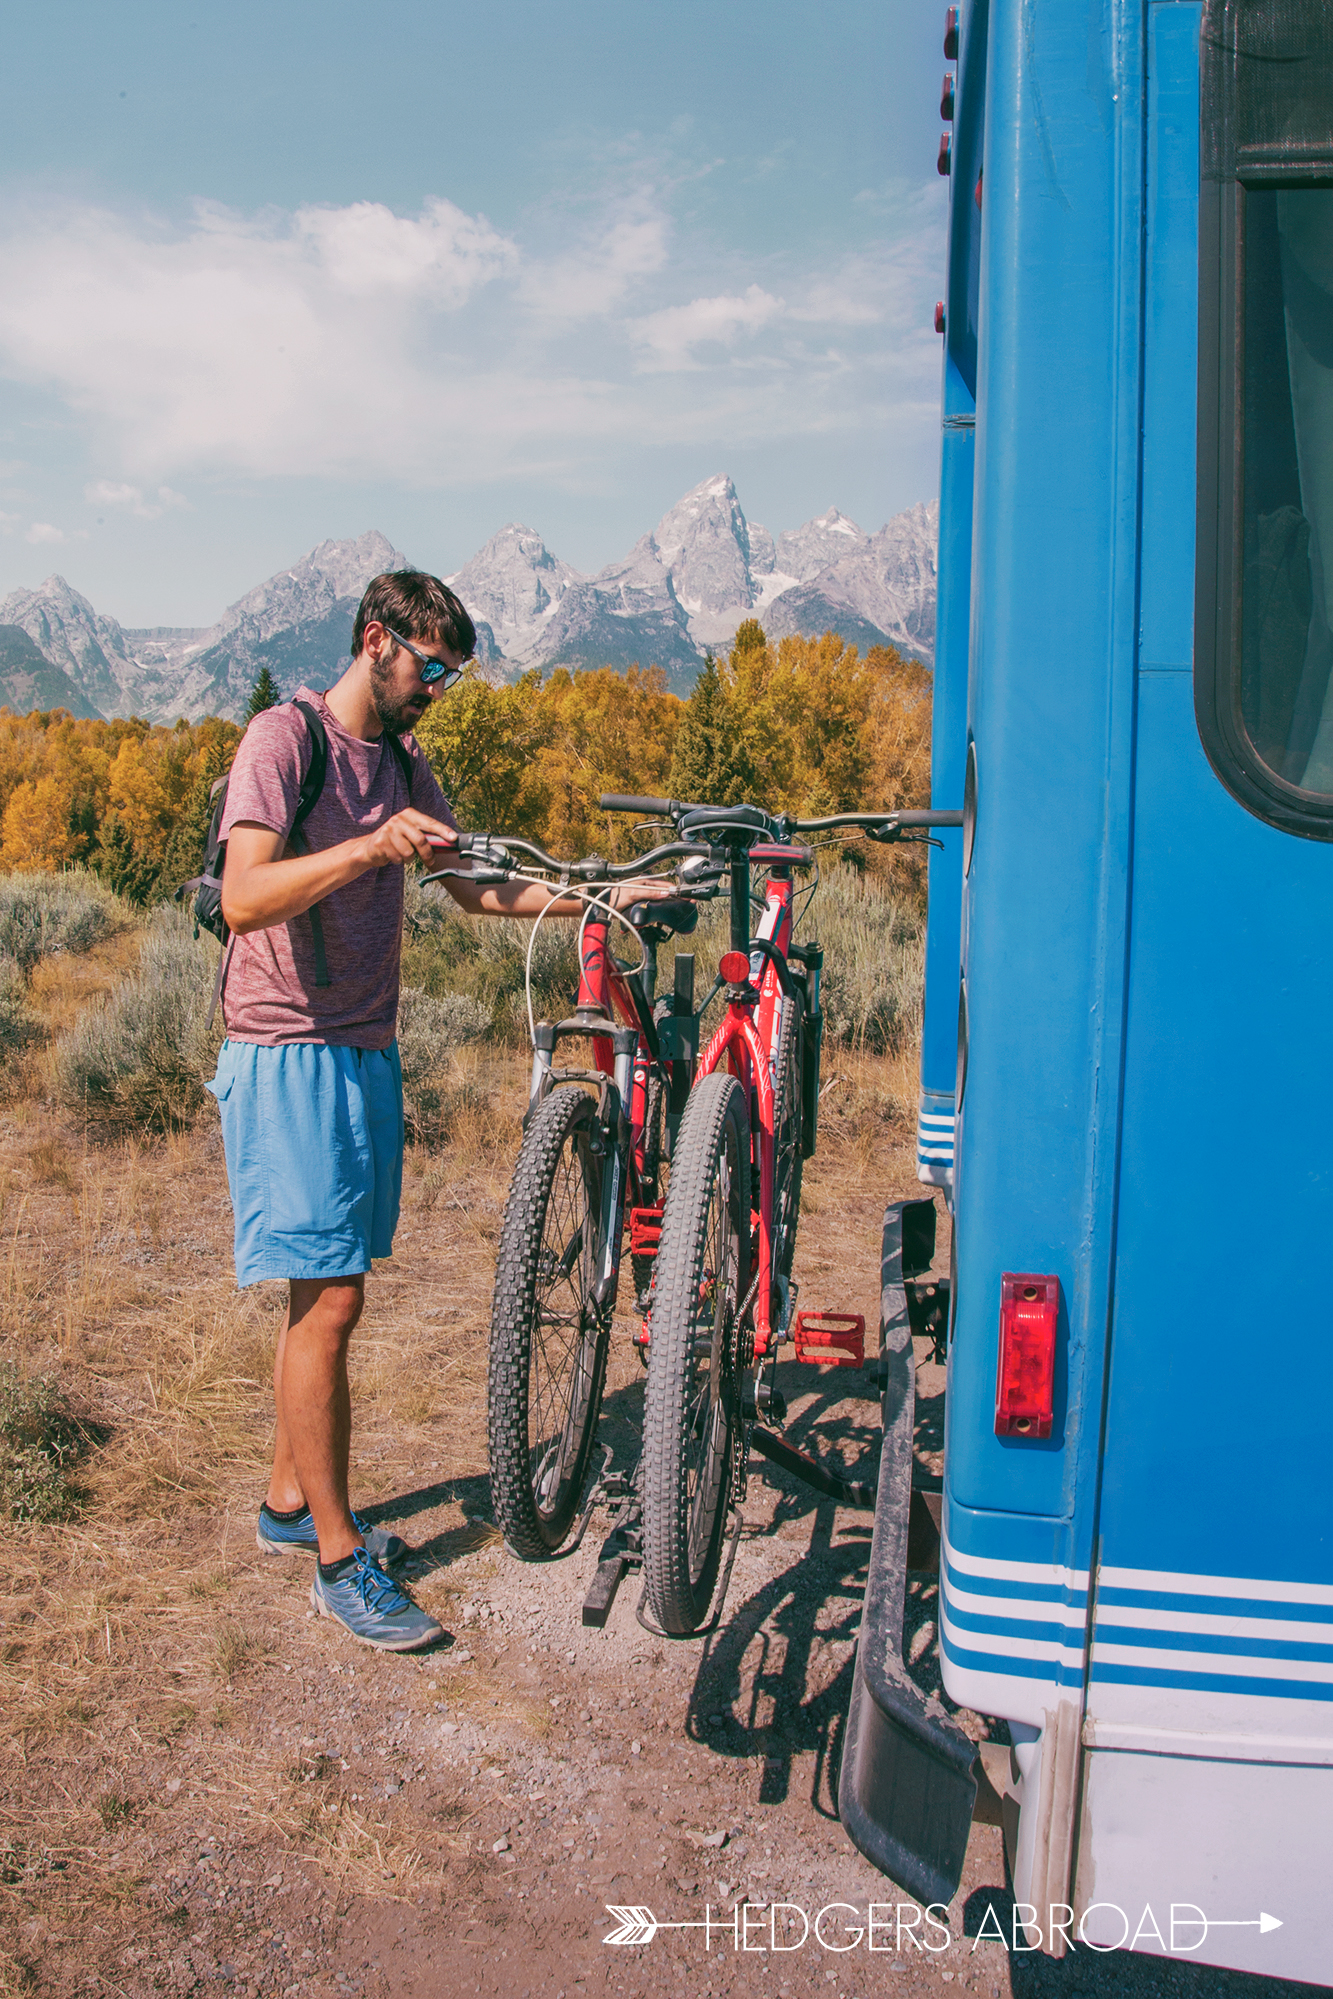
The very last addition to our bus was the bike rack. Since our back wall of our bus is fairly sparse by way of attachment points, a bike rack necessitated the installation of a tow-hitch. After several hours lying in the dirt, drilling 1/2-inch bolt-holes through our frame, we mounted our custom tow hitch and assembled the bike rack for our mountain bikes. Not only have we loved our bikes for riding trails and wooded paths, but having the bikes allows us to explore urban areas without hunting all over for bus-sized parking. We’ve loved having our bikes and the added benefits completely justify the difficulty installing the hardware required.
Have You Ever Been On A Road Trip In A Camper? What Was Your Experience Like? Let Us Know In The Comments Below!
READ MORE CAMPER BUS POSTS:
On the Road: A First Glance of Onward
Our Bus Conversion: Common Questions
The Ultimate Guide to Overnight Parking
Buying a DIY Camper: Tips and Advice
Camper Conversion: What to Know Before You Go


[…] Tour Our Camper Bus […]
[…] Tour Our Camper Bus […]